At some point late this year, I started thinking about making croissants. A few things occurred to me. First, I realized that I'd never made croissants, due to the intimidating and potentially time-consuming process of rolling out butter and dough over and over again. They seemed like the kind of thing I should have tried already in 4+ years of food blogging. I also realized that although croissants can arguably be considered a pastry, given the amount of butter in them, I could count them as a bread, since they contain yeast. And finally, making croissants would meld perfectly with the goal of my bread-making adventure of 2014 - to specifically try different breads and new bread-making techniques.
Thus, Bread 49 of 2014 is croissants - specifically, the Baker's Croissant recipe that I found at King Arthur Flour. The process of making croissants does indeed take some time and requires that you pay attention to what you're doing. It's not for the pressed-for-time baker or the multitasking baker. Since I had both the patience and the time to make croissants this week, I have to say that I was impressed by how not-difficult the process was.
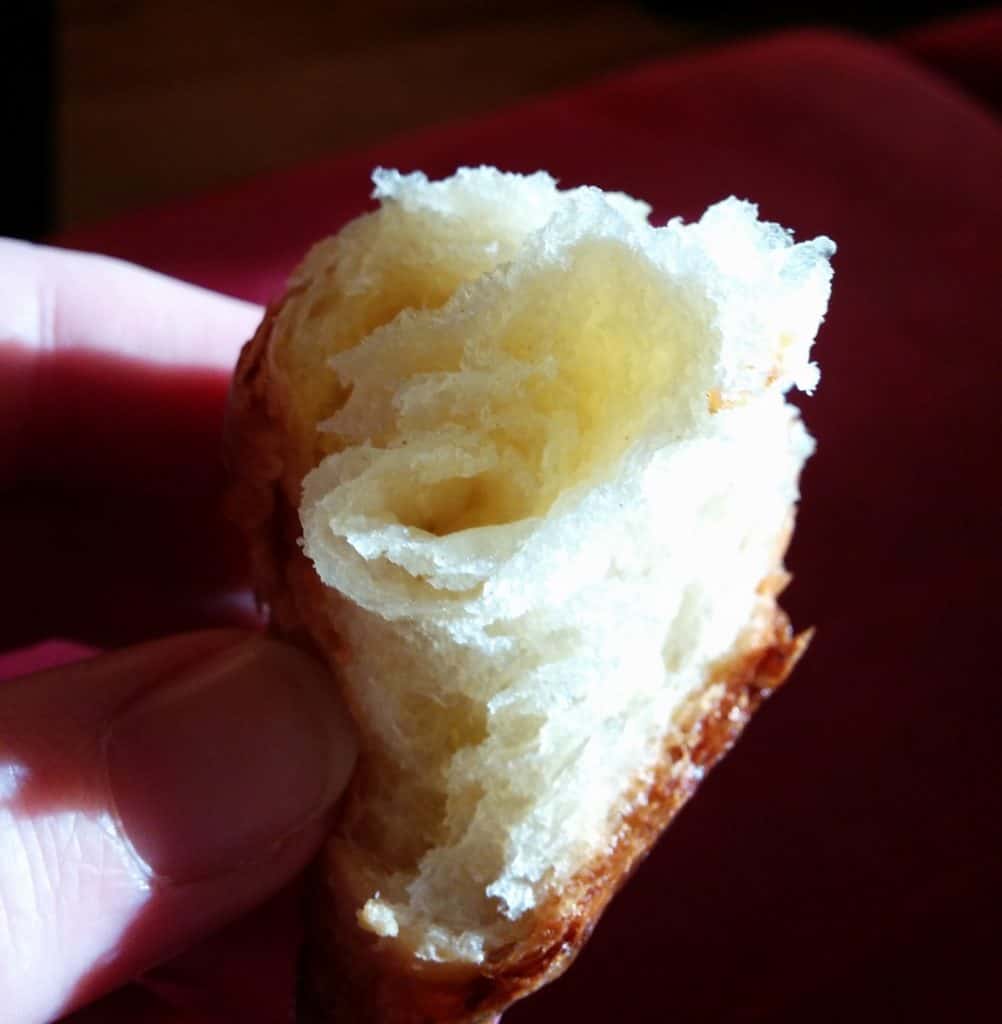
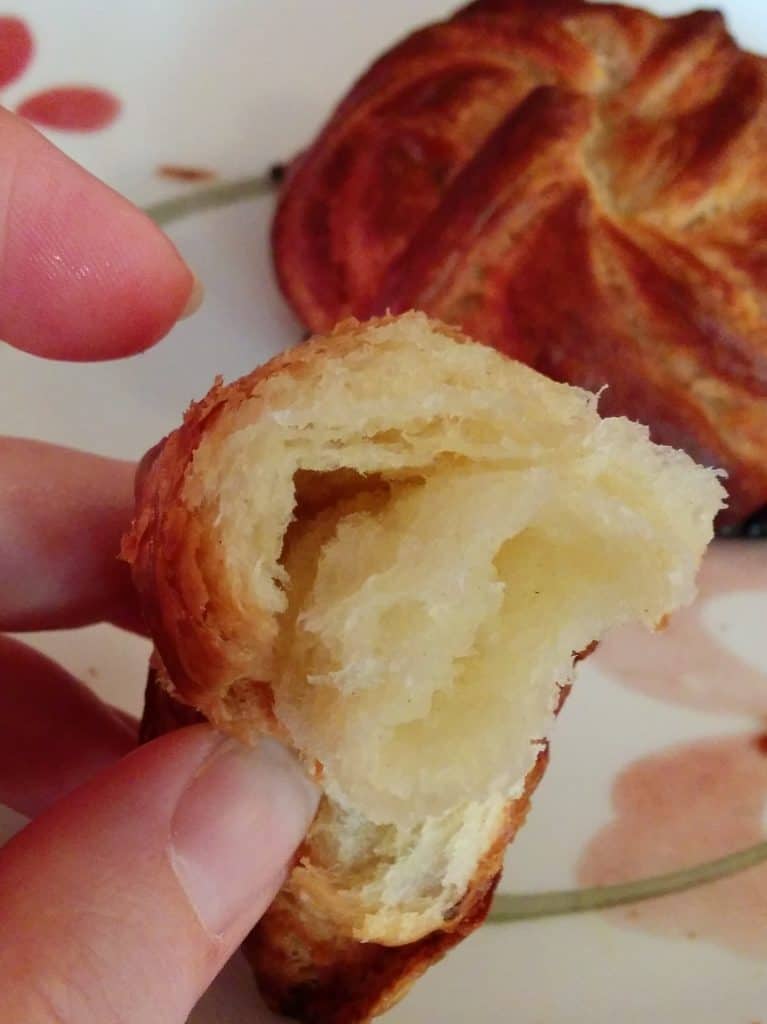
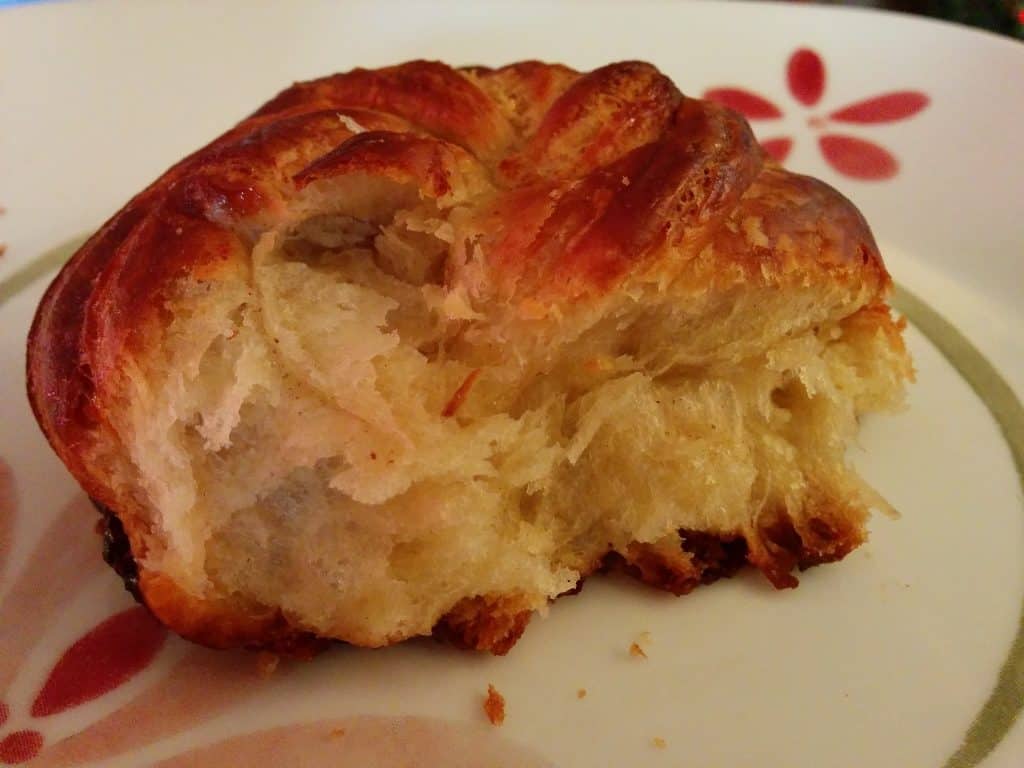
The croissants turned out great. Since I have a surplus of bread around the house already, I only baked two croissants, plus the cinnamon-sugared buns that I twisted together from the scraps I cut from the rectangles of dough. The chocolate-filled croissant puffed more than the plain croissant. Maybe the filled croissant came from the second half of the dough which had a longer rise, or perhaps I degassed the first half of the dough more when I rolled it out. The centers of both croissants were tender and flaky. Plain croissants aren't my favorite, but the flavor was good - definitely buttery. The outside was more done than I expected for croissants; I wonder if my oven cooks a little hotter than I realize. The chocolate croissant was amazingly delicious when warm. The cinnamon-sugar buns I made from the scraps were also very good - nice and flaky, lightly cinnamon-sugared.
Winter is definitely the time to make croissants, since it means that your cool kitchen will help to keep the butter chilled while you work. I can imagine it to be a more frustrating process if your kitchen was warm, whether from summer or from doing other cooking. Also, I can't imagine trying to make something else while I was making croissants, as this recipe definitely takes more of your attention than a standard loaf of bread will. I like that this recipe yields 24 croissants, enough for quite a large brunch party. The bulk of the work was done on the first day of prep, but it did take about 2 hours to finish for me to leisurely roll out, shape, and bake the dough on the second day.
Quite honestly, I haven't had a lot of croissants in my lifetime, but I do think that this recipe is at least as good as, if not better than, any I've ever had. I'm really glad that I made croissants, and would definitely do it again in the future if I got the urge. If you like croissants and aren't afraid, you should definitely try making this recipe.
📖 Recipe

Croissants take some time to make, but are well worth the time spent. Croissant dough freezes well and bakes well from the freezer with a couple of extra minutes baking time.
- 2 eggs plus enough water to make 2 cups of liquid
- ¼ cup sugar
- 22 ¼ - 25 ½ ounces all-purpose flour (5 ½ - 6 cups)
- 2 ¼ teaspoons yeast
- 1 scant tablespoon table salt
- 1 teaspoon vanilla extract (optional for savory croissants)
- 2 tablespoons butter (melted)
- 28 tablespoons unsalted butter (cool to the touch (but not cold), in pieces (3 ¾ sticks))
- ¾ teaspoon salt
- 2 ⅛ ounces all-purpose flour (½ cup)
- 1 egg + 1 tablespoon water (for egg wash)
-
Create a sponge by combining the eggs, water, sugar, 3 cups of the flour, and yeast. Mix until well blended, then set aside.
-
With an electric mixer, stand mixer (with paddle attachment), or food processor, mix the 1 ⅞ cups butter with the ¾ teaspoon salt and the ½ cup flour. Use very low speed to avoid incorporating air into your butter. Mix until there are no solid lumps of butter left. Scrape butter onto a piece of lightly floured plastic wrap and use another piece of plastic wrap to help smooth the butter into an 8x8 inch square. Use the sides of the plastic wrap to help even up the edges while you do this. Wrap butter and place it on a flat surface in the refrigerator for at least 30 minutes to allow it to solidify.
-
In your stand mixer, combine the sponge with the tablespoon salt, vanilla extract, melted butter, and another 2 ½ cups of flour. Use your dough hook to knead the dough for 4-5 minutes, until it is smooth and elastic. It will be soft and tacky, but definitely not sticky. Add flour as necessary. The dough will barely touch the bottom of the bowl once you're done with it. Turn dough out onto a lightly floured surface, form it into a square, and wrap and store it in the fridge for 30 minutes.
-
Remove the chilled dough from the fridge and roll it into a 12x12 inch square. Unwrap the square of butter and place it in the center of the dough like a diamond. Fold in the corners of dough over the butter. Dab a little water on your fingers and pinch together the seams of the dough to seal.
-
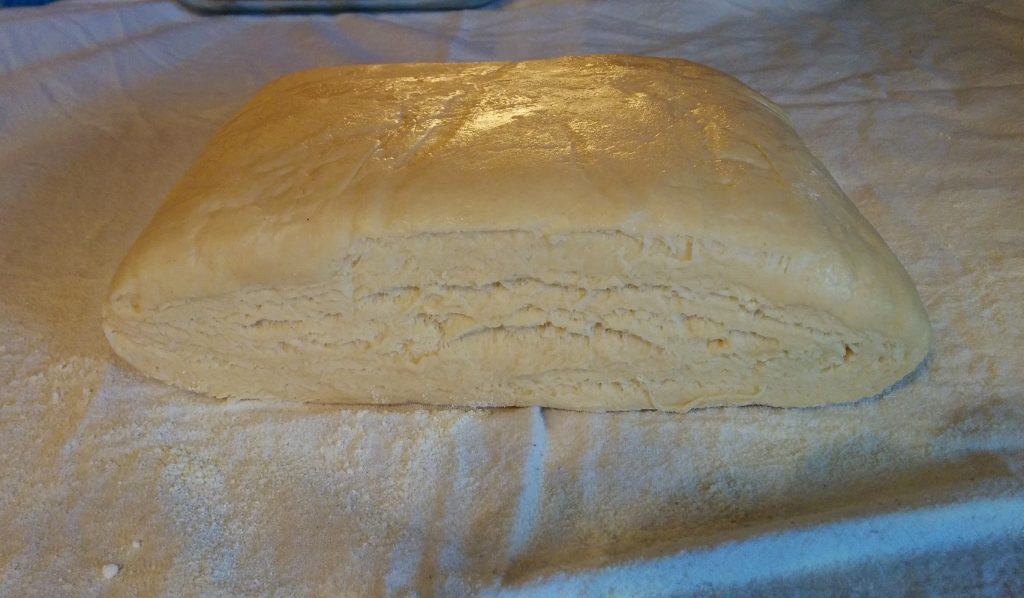
Check to make sure the dough isn't sticking on bottom; dust with flour if necessary. Dust top of dough lightly with flour, then roll out to a 10x20 inch rectangle. Gently brush off any excess flour if necessary. Make a tri-fold with the dough; fold one third of the dough up toward the center. Line up the edges, and use wet fingers to tack the seams in place. Repeat with the other third of the dough. Turn the dough 90 degrees, then repeat the entire rolling and folding process.
-
After you've rolled and folded the dough for the second time, wrap dough and place in fridge for 30 minutes to allow the dough to rest and the butter to chill.
-
Remove the dough from the refrigerator. Place upside down and roll out to a 10x20 inch rectangle again. Fold into a trifold again, lining up seams and tacking them into place, and turn dough 90 degrees. Repeat the rolling and folding process for a fourth time, then wrap the dough well and refrigerate it overnight.
-
The next day, remove the dough from the fridge and cut it into half. Return one half to the refrigerator while you work. Place the other half on a lightly floured surface and roll into a 12x18 inch rectangle. Use a ruler and a pizza cutter or pastry blade to trim the edges to make the dough a perfect rectangle and to cut off any sealed edges.
-
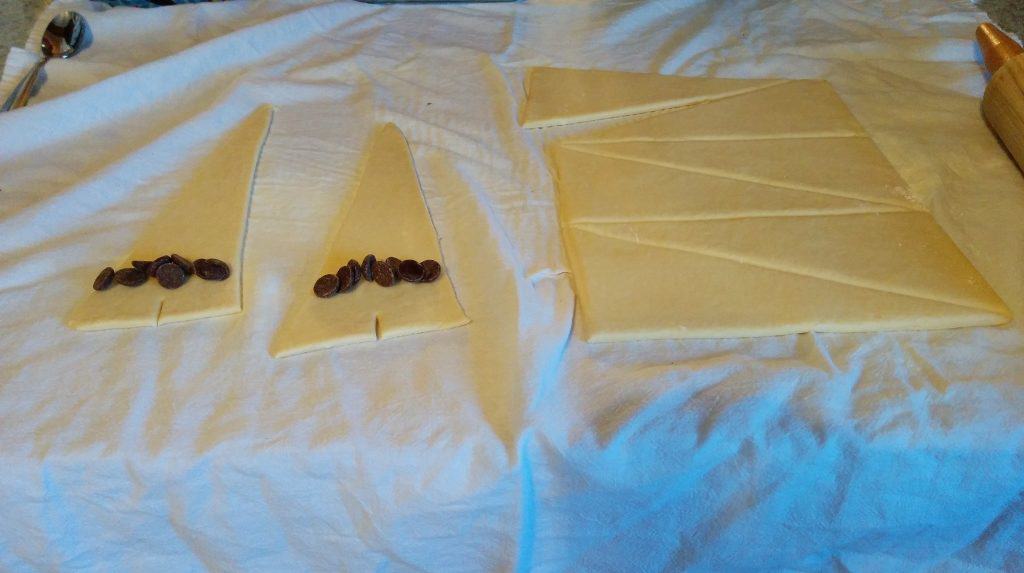
Cut the dough into 3 pieces lengthwise, then into half across the pieces to yield 6 rectangles of dough. Cut each rectangle in half diagonally, to yield 12. Separate the wedges and arrange them so that the short side is facing you. Cut a ½ inch notch in the short edge. Use a rolling pin to roll the dough gently from bottom to top to elongate the triangle.
-
Add fillings (like chocolate) in a row across the dough just above the notch, if desired. You can also sprinkle cinnamon sugar on the dough if you'd like.
-
Starting at the short edge, pull gently on the corners to separate the notch, then roll up the dough. The tip of the dough should end up on the bottom of the croissant; stretch the dough if necessary to get this to happen. Use your fingers to wet the tip to tack it into place. Curve in the ends of the croissant toward the center. Place croissants on a parchment-lined baking sheet and refrigerate for 30 minutes, or freeze if you won't use them immediately. (If freezing, the original recipe says to thaw in the fridge overnight prior to baking, but I've also seen that you can bake straight from the freezer - extending the baking time, of course.)
-
Repeat rolling and shaping process with the other half of the dough.
-
Heat the oven to 425F. Beat one egg with one tablespoon water, and brush on croissants. Bake croissants for 15 minutes, then reduce the temperature to 350F and bake for another 15 minutes. Croissants should be a deep golden brown, even in the seams, when done. Cool briefly, but serve warm if possible.


Leave a Reply