
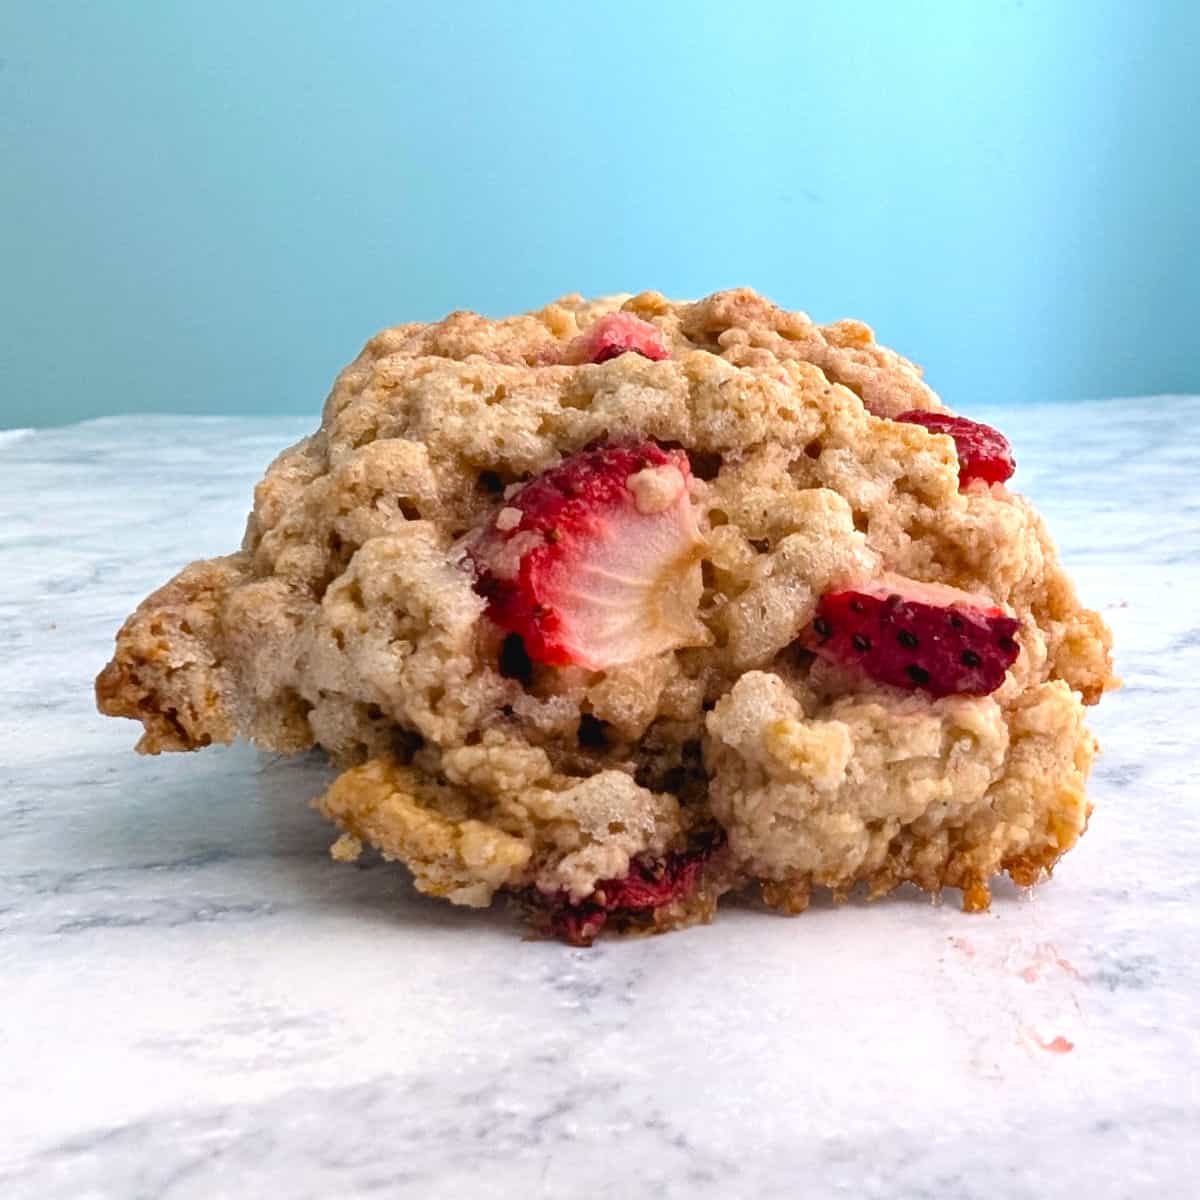
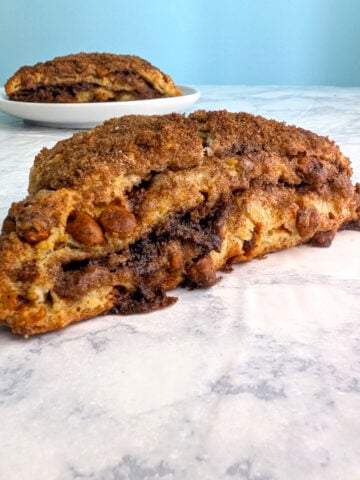
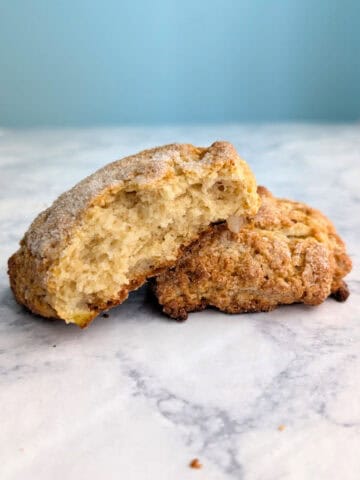
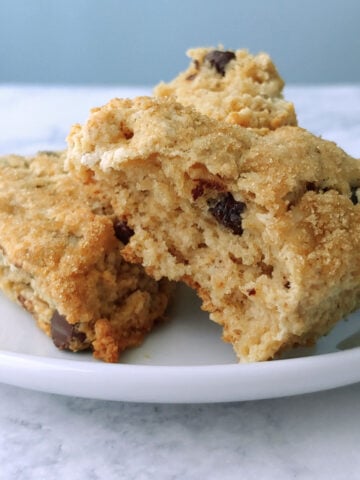
Strawberry and Cream Scones are among my favorite scones, with strawberry puree in the dough and diced strawberry strewn on top that turns candy-like while they bake. They also include a vanilla glaze that goes on before they bake, crystallizing into something more delicious than the usual egg wash and sugar combo - and it won't slide off of a warm scone.

Strawberry and Cream Scones at a Glance
- ⏱ Prep Time: 40 minutes
- 🔥 Bake Time: 15 minutes
- ⏳ Total Time: 55 minutes
- 👪 Serves: 18
- 🍽️ Calories: 117
- 🍓 Main Ingredients: All-purpose flour, strawberries, sugar, butter, cream, egg
- 👌 Why You'll Love It: These scones include strawberries in two ways - pureed into the dough and diced on top where it turns candy-like - with a vanilla glaze baked directly onto the scone.
SUMMARIZE & SAVE THIS RECIPE ON
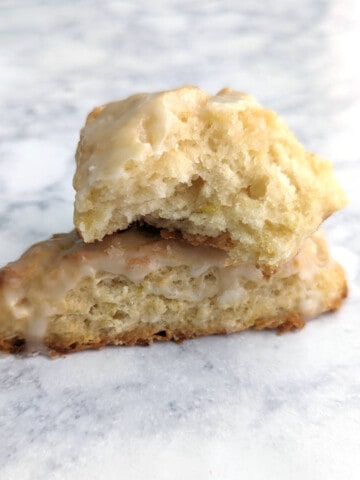
I haven't tried a different strawberry scone recipe since I first tried these in 2012. They're perfect alongside a cup of coffee or tea, and would go nicely with Strawberry Bellinis for a spring brunch. You can round out brunch with my version of Martha Stewart's Popovers, which turn out great even made with cold eggs, or flavorful Orange Muffins, which happen to be vegan.
Why You'll Love This Recipe
- 🍓 Candy-like concentrated strawberry flavor in each bite.
- 😍 Lots of small, colorful scones to share with friends and family.
- ✨ Glaze baked onto the scones, rather than added later, stays on and provides a delicate crunch to the outside.
Key Ingredients
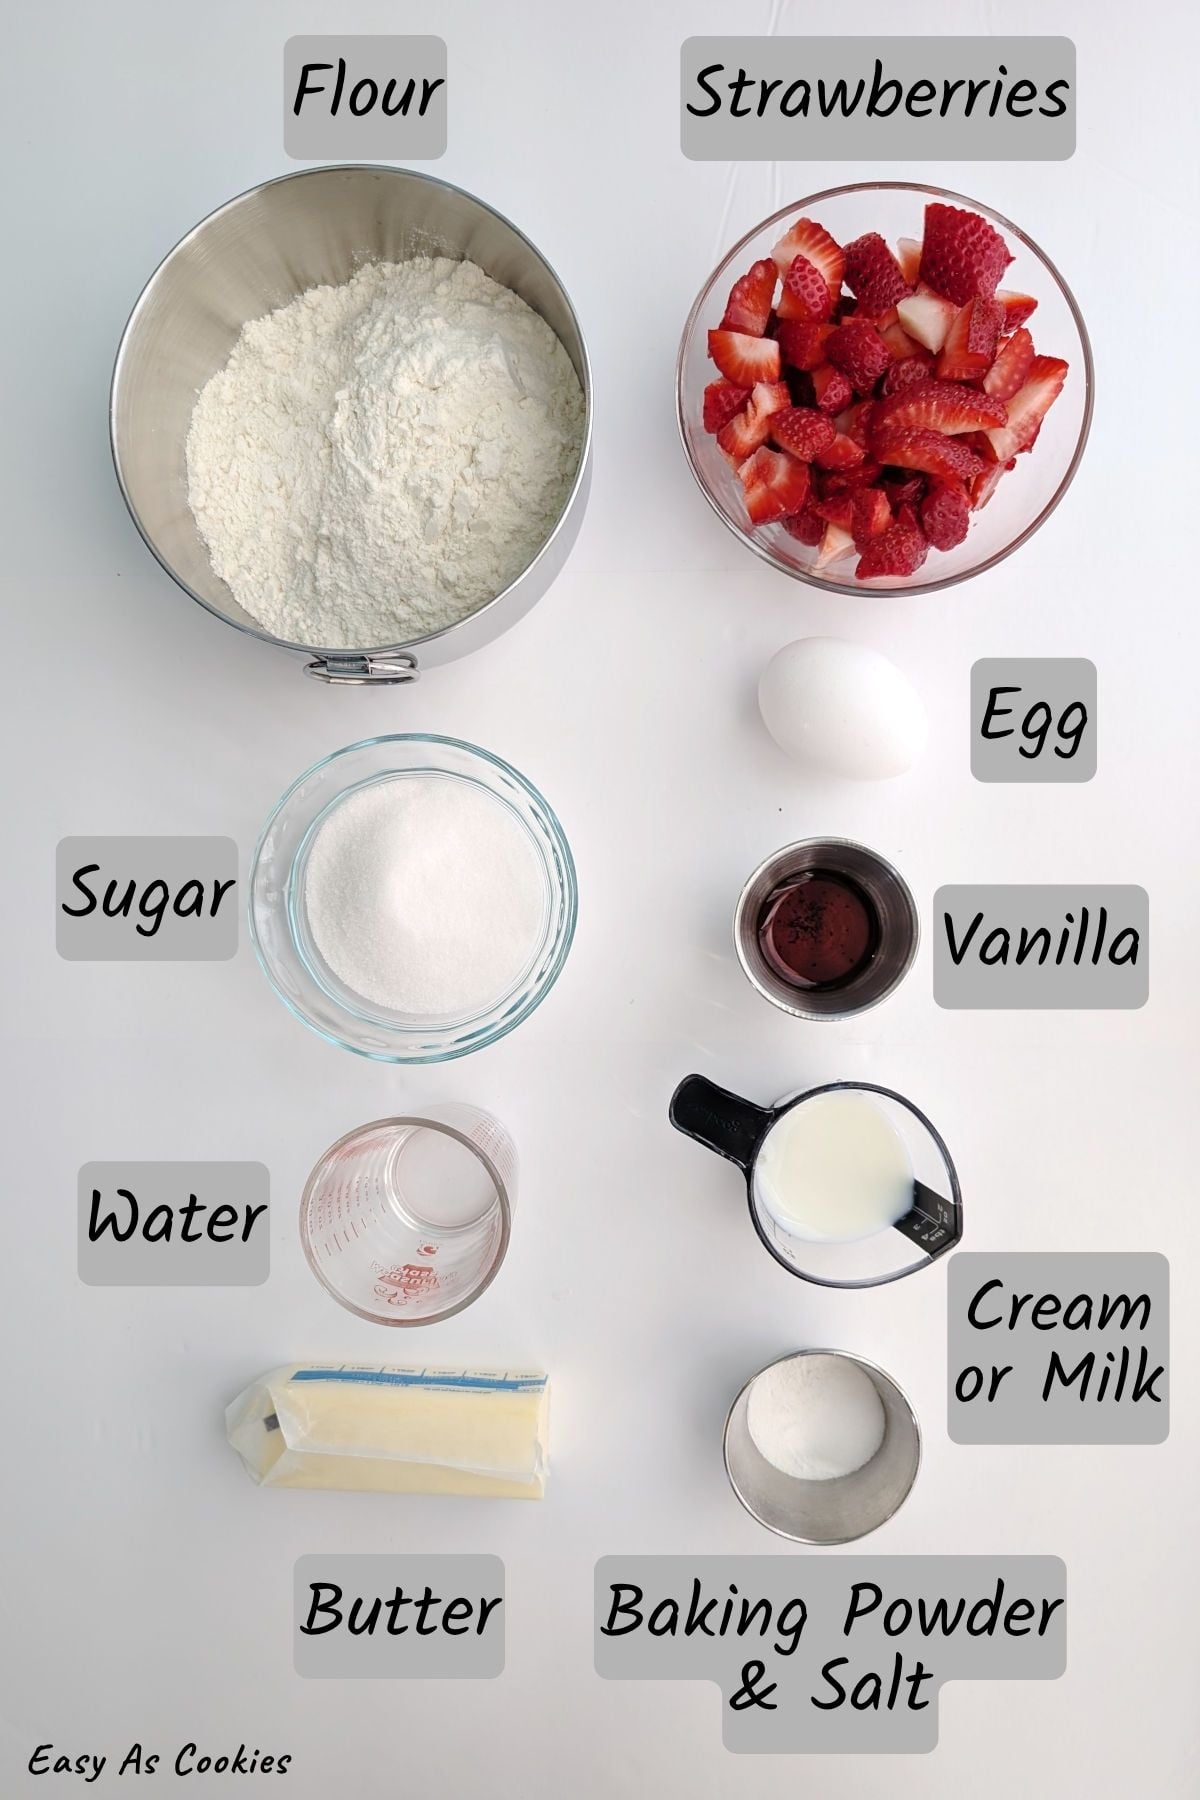
Strawberries: Use fresh strawberries, not frozen, which often have an off taste and will make the scones soggy. Peak season strawberries are best, but scones are still tasty if they're not perfectly ripe yet.
Cream: Despite the name, I usually just use dairy milk.
Vanilla: Somehow enhances the strawberry and cream flavors. Don't skip it.
Butter: Needs to be cold for the scones to hold their shape. I use unsalted butter; cut the table salt down to ⅛ teaspoon if you use salted butter.
How to Make Strawberry and Cream Scones
I've streamlined the original King Arthur recipe over time - here's how I make them now.
One: Cut the green tops and any white parts off the strawberries. Set aside ⅔ cup (or around 100 grams) of your prettiest diced strawberries; these should be mixed in to your scone dough later.
Two: Blend another ½ cup (70 grams) of strawberries with the sugar, cream or milk, egg, and vanilla extract - a bullet blender works well, but a small food chopper also works. Blending it now will start macerating the strawberries, which matters if yours aren't at peak ripeness. Don't blend too long; the egg doesn't need to be worked that much.

Three: Combine the flour, baking powder, and salt in a large mixing bowl. Use a pastry cutter, like I do when I make Homemade Pie Crust, or your fingers to cut the butter into the flour mixture, until it resembles small crumbs.

Four: Use a fork to stir the pureed strawberry mixture into the flour-butter mixture. A fork mixes better than a spoon because it keeps the mixture looser.

Five: Mix the dough just until it comes together in large clumps.

Six: Stir in the ⅔ cup diced strawberries. The dough will become stickier as the juice from the strawberries combines with the dough.

Seven: Use a medium (1.5-tablespoon or #40) cookie scoop, or two spoons, to scoop the dough onto Silpat- or parchment-lined baking sheets.

Eight: Stir together 3 tablespoons sugar, more vanilla extract, and water for the glaze.

Nine: Use the spoon to flatten each ball of dough while you spoon a small amount of glaze.

Ten: Bake the scones until the edges are just starting to turn golden. A toothpick inserted into the scone will come out clean. Don't underbake, or the scones may be gummy.
The scones aren't golden or colorful as you'd expect because strawberry puree changes from a pale pink to a gray as it bakes, and the glaze keeps the tops from browning. Rest assured that despite not being the prettiest color, these scones are still delicious!
Serving and Storage
Cool the scones a few minutes before removing them from the baking sheet. Serve warm.
Store leftovers in an airtight container at room temperature. They're best on the day they're made, but they're still tasty for a few days. Microwave leftover scones for 5-10 seconds before eating.
Tips for Making Great Strawberry and Cream Scones
✨ Don't skip the glaze. It crystallizes as it bakes.
🍴 Use a fork to toss the scone dough together - it clumps less than a spoon.
🌾 A small bit of dry flour mixture in the bowl is generally normal with scones to start; the dough will loosen up with the addition of strawberries.
🤚 Handle scone dough gently and avoid overmixing, which can make the scones tough.
🍓 Move the strawberries around if they all end up in one spot. You'll want a piece of strawberry in each bite.
Strawberry and Cream Scones FAQs
Frozen strawberries have an off taste and release too much liquid, making the scones soggy. Use fresh.
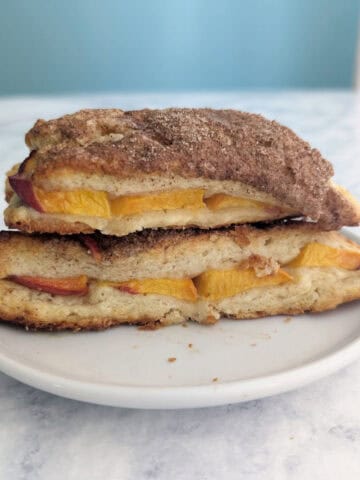
I've substituted fresh raspberries for the strawberries before. The recipe bakes the same, and the raspberry scones are delicious!
Strawberry puree turns gray when baked; this is normal. The pigment that makes strawberries red degrades with heat. If you want pink scones, add red food coloring to the liquid ingredients before mixing.
More Spring Brunch Favorites


I hope this becomes a recipe you'll return to. If you try it, a star rating below helps others find it - and I'd love to hear how yours turns out in the comments! 💕 Questions or trouble? Drop a note, and I'll do my best to help.
📖 Recipe

Strawberry and Cream Scones
Equipment
- pastry cutter (affiliate link)
- bullet blender (affiliate link)
- 2 baking sheets
- Baking parchment or silicone mats
- medium (1.5-tablespoon or #40) cookie scoop (affiliate link)
Ingredients
Scone Dough
- ½ cup diced fresh strawberries (70 grams)
- ¼ cup sugar (50 grams)
- 2 tablespoons cream, half and half, or milk (28 grams)
- 1 egg (50 grams)
- 2 teaspoons vanilla (10 grams)
- 2 cups all-purpose flour (240 grams)
- 1 tablespoon baking powder
- ½ teaspoon table salt
- 6 tablespoons unsalted butter (cold, cut into small pieces) (85 grams)
- ⅔ cup diced fresh strawberries (99 grams)
Glaze
- 3 tablespoons sugar (35 grams)
- 1 ½ teaspoons vanilla (7 grams)
- 1 teaspoon water (5 grams)
Instructions
Scone Dough
- In a food processor, blender, or food chopper (I use my bullet blender (affiliate link)), puree ½ cup strawberries, ¼ cup sugar, cream or milk, egg, and 2 teaspoons vanilla until just combined. (You don't want to whip air into the egg, so don't over-process.) It'll look like a very pale pink milkshake. Set aside.
- In a large bowl, combine flour, baking powder, and salt. Use a pastry cutter (affiliate link) or two knives to cut in the butter until the mixture resembles small crumbs. (Crumbs don't have to be the same size, though.)
- Add the blended strawberry mixture, stirring until the dough just comes together. There may be a little stray flour left behind; this is okay.
- Fold in the ⅔ cup diced strawberries, and mix until just combined. The dough will become sticky.
- Use spoons or a medium (1.5-tablespoon or #40) cookie scoop (affiliate link) to portion the dough onto two parchment- or Silpat-lined baking sheets. You will flatten these, so don't overcrowd. I get between 18-21 scones using this scoop.
Glaze and Baking
- Mix together the sugar, vanilla, and water to make a gritty glaze. Spoon a small amount on each scone and flatten it out to about ½ inch thickness. You'll want at least 1-2 inches between each scone once they're spread out. Reposition pieces of strawberry so they're not all in the same spot.
- Bake at 375F for 14-16 minutes, until the edges are starting to brown. If baking two sheets at once, place the racks in the top and bottom thirds of the oven and rotate the pans' positions from top to bottom halfway through baking. It is also okay to bake the sheets one after another.A toothpick inserted into a scone will come out clean, without dough or any sticky residue. The tops of the scones themselves will not brown, due to the glaze baked on top. Do not underbake; underbaked scones may be gummy.
- Serve warm. Store leftovers in an airtight container and reheat briefly (5-10 seconds) in the microwave. Scones are best the first day, but are still moist after a day or two.


Leona Konkel says
Am I biased that these are my favorite scones? Perhaps, but I think it's justified since I've been making them for 10+ years. I hope you love them too. Please leave me a comment and rating if you've tried them and liked them! And, let me know if you have questions; I'm happy to troubleshoot!