I decided to make New York Deli Rye Bread (from Peter Reinhart's The Bread Baker's Apprentice (affiliate link), of course) to make sandwiches out of my homemade corned beef. I was excited. This gave me a reason to buy rye flour, which I'd always wanted to buy. This also happens to be my first purchase of non-wheat flour since I began doing serious cooking and began this blog in 2010. (I bought other various starches several years ago, but they don't really count.)
Schnucks only had 2 kinds of rye for me: stone ground rye flour or light/white rye flour. Frugality won me over, and I bought the larger, better deal per pound bag of stone ground rye flour. Should be fine, right? Well, behold - my recipe called for light rye flour. Oh well. I forged ahead anyway.
[This post contains affiliate links. I may make a commission for purchases made through links on this post.]
This rye bread is a sourdough bread, and as such, it takes about 4 days of planning to make it. Or at least, I started on a Thursday to bake a loaf on Sunday. First, I had to revive my dried-out sourdough starter. I mixed it with equal parts flour and water and left it out, covered, on the counter overnight to let it come back to life. I fed it again in the morning, encouraging it to still be alive. On Friday evening, assured that my sourdough was still alive, I fed my sourdough starter so it would be ready for Saturday, when I actually started the actual dough.
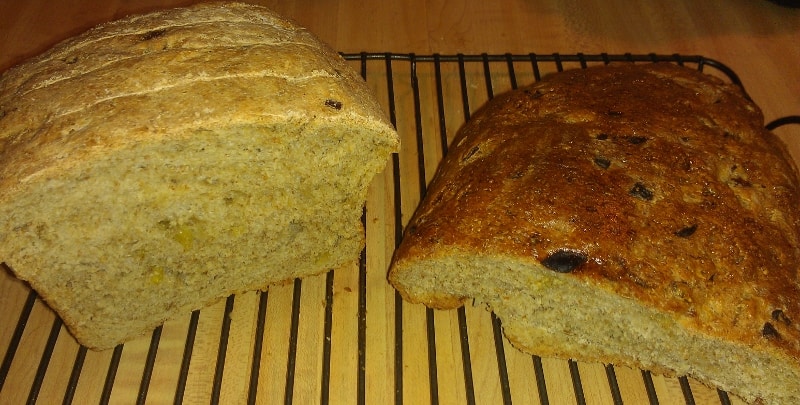
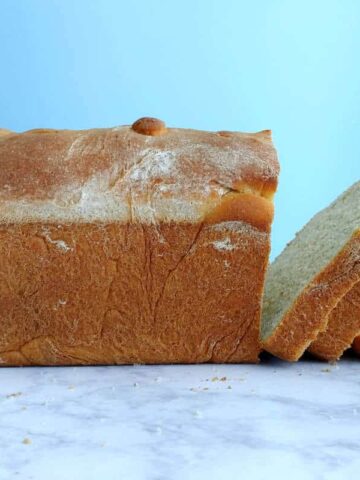
Alex and I used sandwich loaf for corned beef sandwiches. The bread was sturdy yet soft and tender. The crust on the sandwich loaf, baked at a lower temperature, was chewy but not hard. Honestly, this bread turned my corned beef into one of the most satisfying sandwiches I've ever had.
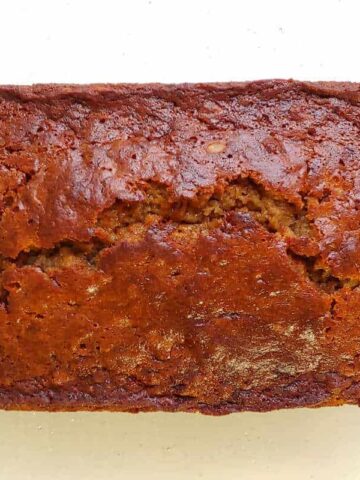
The freestanding loaf I took to share at work. The crust was harder due to the egg wash, which made it a crunchier pleasure to eat. Everyone at work really enjoyed it, and I tried to send coworkers home with some.
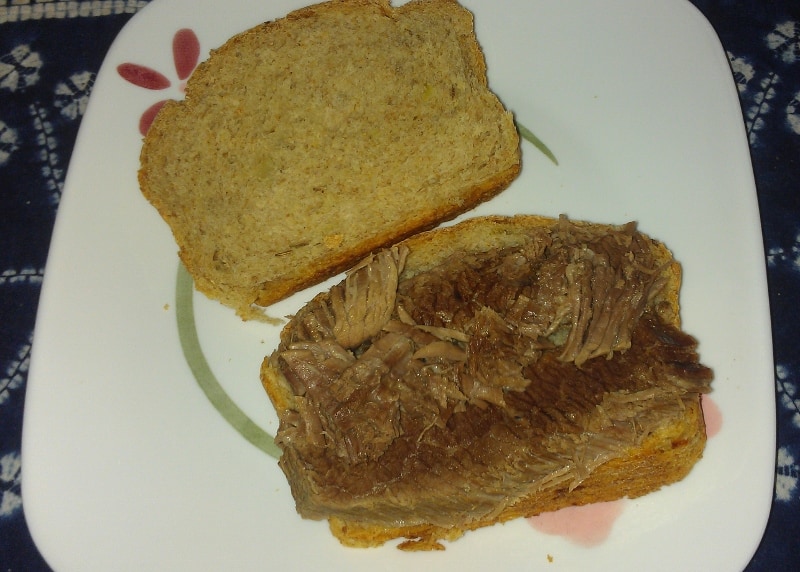
The bread was a little sour, but not overly so. The caraway seeds really seem to define rye bread for me; I can't imagine omitting them. The onions seemed to be a large quantity when I started the dough, but they weren't too strong. They mellowed and blended into the bread, which gave my sandwiches a nice flavor; this was particularly for me, since I don't like condiments.
This bread makes me want to have sandwiches for lunch often. I have a 5lb bag of rye flour in my pantry, so I think that more of this bread is in my future.
📖 Recipe
A delicious New York Deli Rye Bread recipe, adapted from The Bread Baker's Apprentice (affiliate link).
- 7 ounces sourdough starter
- 4.5 ounces rye flour
- ½ cup water
- 12 ounces onions
- 2 tablespoons vegetable oil
- 16 ounces bread flour
- 4.5 ounces rye flour
- 1 ounces brown sugar
- .56 ounces salt
- 2 teaspoons yeast
- 2 teaspoons caraway seeds
- 2 tablespoons vegetable oil
- 1 cup lukewarm milk
- ¼-1/2 cup water as needed
- egg white for egg wash (optional)
-
The day before you want to bake the bread, mix together the starter, rye flour, and water. Cover with plastic wrap and set aside.
-
Dice the onions and saute in oil until they sweat. Cool onions until they're no longer hot. Mix them into the starter, cover, and let dough ferment until it bubbles. (I did this in a warmed oven. It still took several hours.) Refrigerate overnight.
-
Remove the starter from the fridge 1 hour prior to making the dough. Combine starter with all remaining ingredients except water and egg white in the bowl of a stand mixer. Stir together. (Reinhart suggests with a wooden spoon or paddle attachment; I used the dough hook.) Add water as necessary to form a soft but not sticky dough. Let dough rest for 5 minutes to allow gluten to develop.
-
Knead the dough with the dough hook, adding bread flour as needed to make a firm, tacky dough. (Reinhart says to complete this within 4-5 minutes, because rye flour can make your dough gummy when worked too much. However, I took longer than this to get the dough right, and my dough didn't suffer.) Windowpane your dough to see if the gluten is well developed. Transfer the dough to a large greased bowl and cover with plastic wrap. Let rise until the dough doubles in size, about 1 ½ - 2 hours.
-
Divide the dough into 2 equal pieces. Shape into sandwich loaves and place into greased 9x5 inch loaf pans, or shape into freestanding loaves. Shaping is similar for both kinds of loaves. On a floured surface or sheet of parchment, flatten dough into a rectangle roughly the size of a sheet of paper. Fold the dough like a trifold letter; fold the top third toward you and tuck the seam into the dough. Fold the bottom part up and over the rest of the dough, sealing it back into the dough. This should increase the dough's surface tension. Work with the dough until the top of the loaf looks tense and stretched. The dough should be a little shorter than your loaf pans; place in greased pans and pat the dough to the edges. For freestanding loaves, let the dough rest for a few minutes, and then stretch out to the desired length. Spray the loaves with oil, then cover with plastic wrap and let proof about 90 minutes, until the dough has grown roughly 1.5 times in size. Sandwich loaves should have risen 1 inch over the top of the pans.
-
I do not recommend you make one of each (as I did) because they bake at different temperatures and times. This meant that I baked the loaves one after another, rather than at the same time. I preheated the oven to 350F, placed the sandwich loaf on a sheet pan to protect the bottom, and baked it for about 35 minutes, rotating it when halfway through. The internal temperature was about 190F when I took it from the oven. (I don't recall the exact time, but I did take the temperature for each loaf.)
-
I heated the oven to 400F for the freestanding loaf. I brushed it with the egg wash and baked it for about 35 minutes, rotating once, until its temperature was about 190F. Thanks to the egg wash, the freestanding loaf had a deep golden color. I cooled the bread for 1 hour before cutting.


mydearbakes says
What a fantastic post! Thanks so much for sharing your delicious bake! =)
Leona says
Thank you for taking a look. It was really good!