
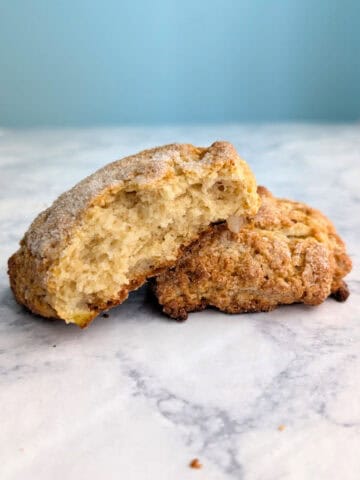
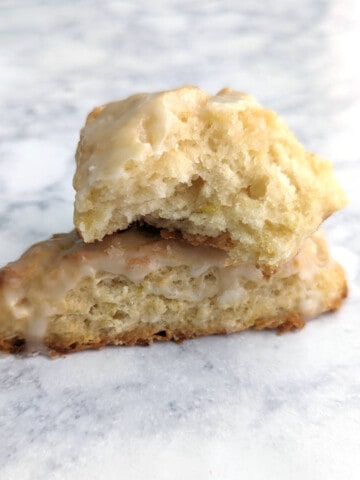
I adore these Layered Cinnamon Scones. They're like moist cinnamon rolls with pull-apart layers, but faster and easier!
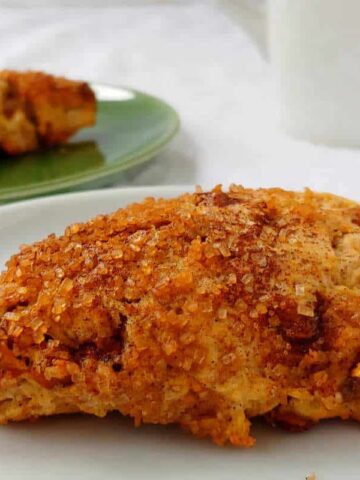
The scones have moist, tender layers with a crisp exterior. Cinnamon chips in the dough give bursts of sweetness and flavor. Cinnamon sugar on the top provides great crunch. They're sweet, just this side of being too much. In so many ways, these are my ideal scone.

These could definitely be considered cinnamon roll scones. You don't get the yeasted texture of my overnight cinnamon rolls, but these scones are so much faster to make!
These come incredibly close to good bakery scones in texture and flavor. Maybe it's because they're so sweet from cinnamon chips 😆 If you can bring them to not eat them all yourself, you should share them with friends.
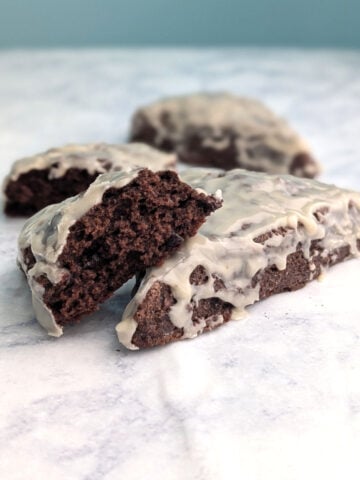
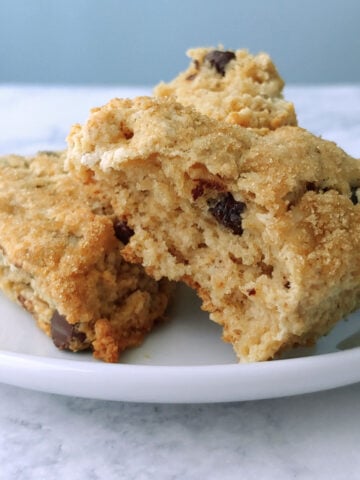
If you like these scones, you'll also want to try my Chocolate Chip Cookie Scones (which yes, taste like cookies!), Double Chocolate Scones, and Chocolate Orange Scones.
Jump to:
Ingredients You'll Need
While I also love gooey yeasted Cinnamon Rolls with Cream Cheese Glaze, there's something to be said for breakfast treat you can put together on a weekend morning. For my Layered Cinnamon Scones, just pull out these ingredients:

I use unsalted butter. It will need to be cold for your scones to get their best rise.
Cinnamon chips are the special ingredient in these scones, and they can be difficult to find. They're usually available in the fall. In 2018, I found them at Target in the Halloween aisle. This year I found them in late summer at Shoprite. You can also order cinnamon chips from Amazon. If you can't find them, add butterscotch chips, which are easy to find and add just as much sweetness.
Eggs help bind the dough together, especially important since you fold the dough to make layers. Milk adds a little moisture and fat; use half-and-half if desired for richer scones.
You use brown sugar and ground cinnamon for the filling and topping. Both light and dark brown sugars are okay. Be sure that your cinnamon is fresh and flavorful.
Equipment I Recommend for Scones
While you don't need special equipment to make scones, there's a few things that will make it easier.
I always use a pastry cutter to cut the butter into the flour. I like the one from Oxo with blades (instead of basic tines) because it cuts cold, stiff butter more easily. If you don't have a pastry cutter, you can use two knives, criss-crossed, to cut the butter, using a motion like when you shred meat. You can also use your fingers, but that will warm the butter a little, and may be messy.
I love using my bench scraper because it cuts more evenly than a knife, without having to make a sawing motion. It's also useful for lifting and transferring this very-soft scone dough from the floured surface to the baking sheet.
I use shiny aluminum baking sheets, which I feel bake very evenly. Regardless, you should line your baking sheet with a silicone mat or parchment paper since these scones will leak a little brown sugar. [PS: when baked goods start to stick to your silicone mat, it's time to retire them from baking. I still find those fine for reheating freezer food, though.]
How to Make Layered Cinnamon Scones
I originally made these scones for New Year's Day breakfast in 2012, based on the Triple Cinnamon Scones recipe from King Arthur Baking. They were delicious, but messy and very sweet. I've made tweaks to my recipe over the years, reducing the sugar a little and cutting out the glaze they suggested.

- Mix together the flour, sugar, baking powder, and salt. Cut the cold butter into small pieces, add to the flour, and use a pastry cutter to work it into the flour mixture, cutting it until the pieces of butter are no larger than peas.

- Add the cinnamon chips, and toss them in the flour mixture.

- Mix together the eggs, milk, and vanilla in a measuring cup. Add to the flour mixture, and use a fork to push the dough together until the mixture is just combined. Some remaining flour is fine, as long as the dough sticks together. Do not overmix.
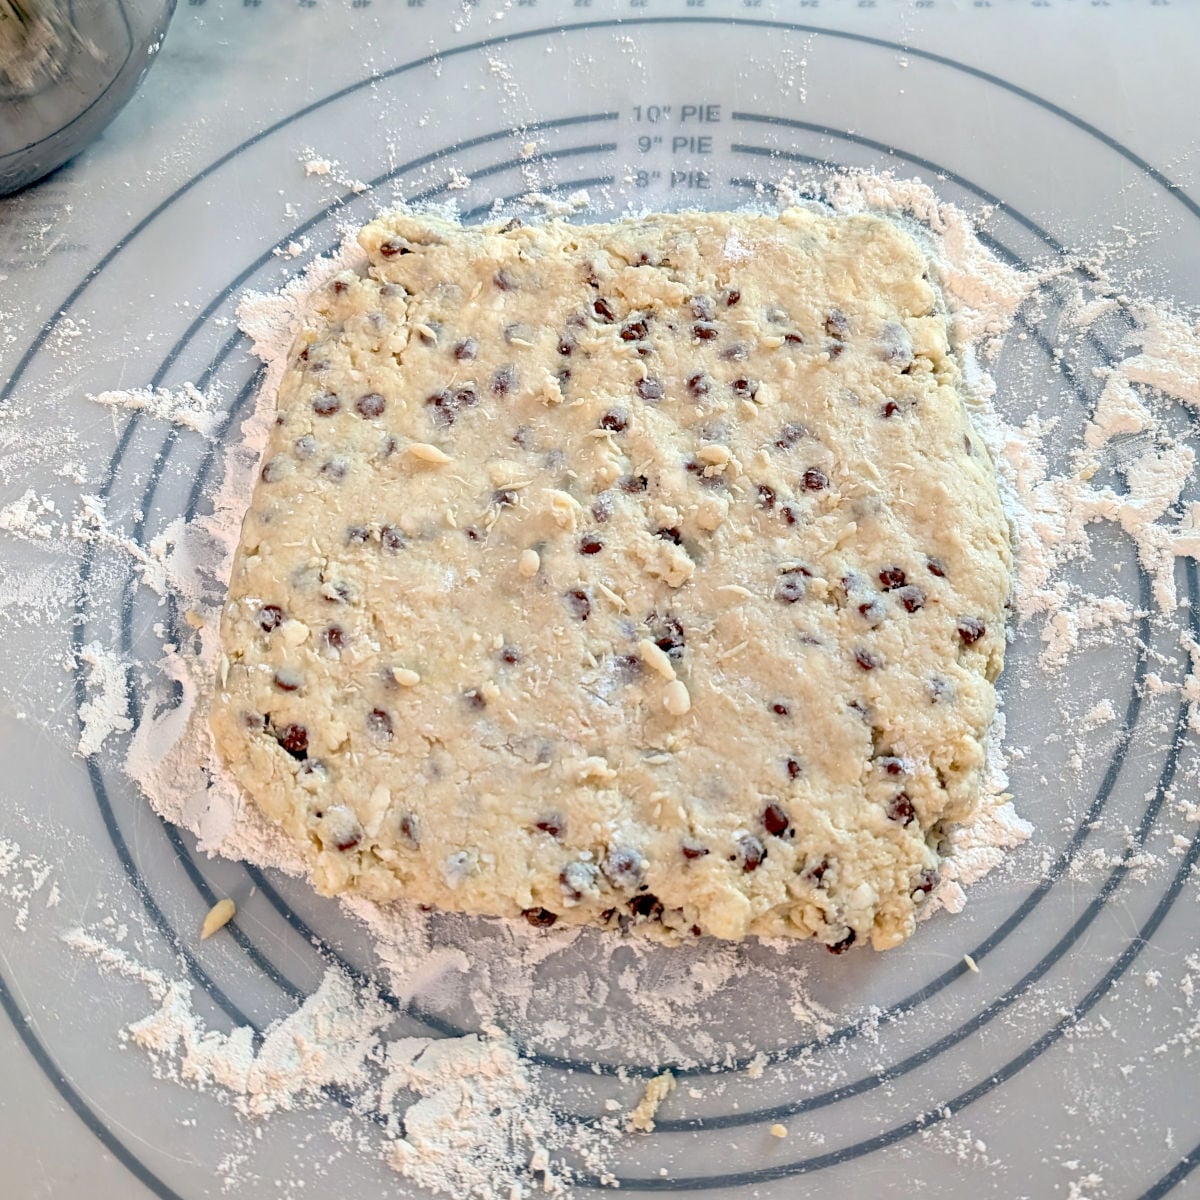
- Turn the dough out onto a floured surface, and pat into a 9x9 inch square.

- Mix together the brown sugar and cinnamon. Pat two-thirds of the mixture over the entire surface of the dough, all the way to the edges. Fold one third of the dough over the middle third, like you would a letter.

- Fold the other third of the dough over, completing the trifold.

- Starting in the center, pat the dough out into a 3x18 inch log. I often lift it from the surface slightly so it doesn't stick, and pinch and pull from the center, so that I squish the dough so it stays 3 inches wide.

- Pat on the remaining cinnamon sugar. Cut into 3x3 inch squares, and then cut each square into half on the diagonal. A bench scraper works well here.

- Place the scones on a parchment- or silicone mat-lined baking sheet. The dough is fragile, but the bench scraper helps me transfer them.
Chill the scones in the refrigerator for 30 minutes.

- Bake at 425F for 16 minutes. They'll be golden at the edges, and a toothpick inserted into the center will come out clean. The cinnamon sugar and chips may ooze a little.
Serve the scones warm.
Hint: Scones will be better if your dough is on the wet side. Be sure the dough isn't dry, and don't overmix!
Substitutions
All-purpose flour: You could substitute white whole wheat flour for up to one-third of the all-purpose flour. I don't recommend regular whole wheat, which would be too strongly-flavored. I also cannot recommend making these gluten-free, as this dough is already very soft.
Milk: You could use half-and-half or cream in place of the milk in scones. You may need to add a little extra, as both are thicker than milk. Non-dairy milk should also work, as the milk mainly just helps bind the dough together.
Cinnamon chips: If you can't find cinnamon chips at your grocery store, you can use butterscotch chips. White baking chips should also work. Please don't skip them entirely; the chips add sweetness and moisture to the scones, and I've been disappointed when I've omitted baking chips entirely.
Top Tips for Making Scones
- Use a fork to toss the dough together. Dough clumps up on a spoon more easily.
- Don't overmix the dough. Overmixing will develop gluten and make the dough tough.
- A little dry flour in the bowl is normal and okay. It will stick to the dough as you shape it.
- That said, if the dough doesn't come together, add another tablespoon of milk. It's better to have a wet dough than a dry dough.
- Chilling scones firms up the butter, which makes them rise better (and spread less) when they bake.
Serving and Storing Scones
I eat these scones immediately, as soon as they are cool enough to handle. I have them with coffee, and they're sweet enough that I insist my daughter have a glass of milk with hers.
Like all scones, these are best on the day they're baked. Store leftovers in an airtight container at room temperature. Leftovers are still good on the second day, though, as long as you warm it gently. I reheat mine for 8 seconds in the microwave; heating more than 10 seconds will make the scone tough.
Make-Ahead and Freezing
You can shape and cut the scones and chill them in the refrigerator overnight, covered. Bake the next day as usual.
You can also freeze the cut, unbaked scones. Separate and freeze the scones on a tray. Once they're frozen, place in a freezer-safe zipper bag. Cinnamon sugar may fall off of them during storage.
Bake frozen scones without thawing them first. Add loose cinnamon sugar to the top of the scones, and add 1 minute onto the baking time. Test it with a toothpick; if it's doughy, bake for another minute.
I've never had much success freezing baked scones.
Recipe FAQ and Troubleshooting
When you mix scone dough, it will become clumpy, but not as wet as a batter. If the dough doesn't come together, add another tablespoon of milk to the dry bits, and use the fork to shove it together and into the dough. The bulk of the dough should be wet, with only some loose flour that will stick to the rest when it's patted together. If you have to choose one or the other, choose for your dough to be wet.
Honestly, wet scone dough will rise nicely and create fluffy scones! But you'll need to handle it carefully.
It's okay for the dough to be wet, as long as it's not batter-like and runny. If your scone dough is just too wet, flour your surface very well before turning the dough out onto it. Use floured hands to shape the dough so it doesn't stick to you. Dust off the excess before you fold layers into the Layered Cinnamon Scones, but proceed as normally otherwise. The floured surface should keep the dough from sticking to the counter. The scones themselves may be extra fragile when you move them to a baking sheet.
Scones can be dry if they're overbaked. There may not be enough liquid in the dough; flour can dry out if it's old or during the winter, and so you may need more milk to make it soft. If the dough is worked too much, the scones can become tough, and they may seem dry as a result. The sweetness provided by cinnamon chips in these Layered Cinnamon Scones typically help keep the scones from being dry. If for some reason the scones seem dry, you can make a thin glaze of 1 ¾ cups powdered sugar, ½ teaspoon cinnamon, and 3 tablespoons water to drizzle over the scones.
I cannot recommend using gluten-free flour in this scones recipe. Since you fold the dough twice to make the layers in Layered Cinnamon Scones, you'll want the slight amount of gluten that will develop from the wheat flour. If you need to eat gluten-free, I recommend using a different recipe.
While I haven't tested the Layered Cinnamon Scones with non-dairy milk, I've had lots of success using it in other recipes, including other scones. I'd go with unsweetened soy milk or oat milk for a neutral flavor; coconut and almond milks do have distinct tastes. You shouldn't notice much difference in texture with non-dairy milk. Scones made with non-dairy milk will have a little less fat, although the difference for these will be small; I use 1% milk in my baking.
Even if you use non-dairy milk, these scones will not be dairy-free since they include butter.
Cinnamon chips are seasonal, and can't be found in all stores. I've sometimes found them in the Halloween aisle at Target, and at Shoprite in the fall. If I can't find them, I use butterscotch chips in my Layered Cinnamon Scones; they still provide the right amount of sweetness. White or vanilla baking chips are another great choice. Don't skip baking chips entirely; I've been disappointed in the results when I do.
Other Favorite Scones
Here's a few of my other favorite scone recipes. I hope you love them too!


I hope this becomes a recipe you'll return to. If you try it, a star rating below helps others find it - and I'd love to hear how yours turns out in the comments! 💕 Questions or trouble? Drop a note, and I'll do my best to help.
📖 Recipe

Layered Cinnamon Scones
Equipment
- pastry cutter (affiliate link)
- bench scraper (affiliate link)
- Parchment paper or silicone baking mat
- baking sheet
Ingredients
- 2 ¾ cups all-purpose flour (330 grams)
- 4 tablespoons granulated sugar (50 grams)
- 1 tablespoon baking powder
- ¾ teaspoon table salt
- 8 tablespoons cold butter (113 grams)
- 1 cup cinnamon chips (affiliate link) (190 grams)
- 2 egg
- ½ cup milk, cream, or half-and-half (113 grams; I used 1% milk)
- 1 teaspoon vanilla (5 grams)
Brown Sugar-Cinnamon Filling/Topping
- 10 tablespoons brown sugar (130 grams)
- 2 tablespoons cinnamon
Instructions
- Combine flour, sugar, baking powder, and salt. Use a pastry cutter (affiliate link) or two knives to cut in the butter, until the butter is in pieces no larger than peas. Stir in cinnamon chips (affiliate link).
- Whisk together egg, half and half, and vanilla in a measuring cup. Pour egg mixture into flour mixture. Use a fork to toss the flour and egg mixture together, stirring just enough to moisten the flour. A tiny bit of leftover flour in the bowl is okay, but if you have a lot, add a teaspoon or two more of milk until a dough forms.
- Use the fork or your hands to gently form a ball of dough, if necessary. (Don't handle the dough too much, or your scones will be tough.) Turn dough out onto a lightly floured surface and pat into a 9x9 inch square.
- Combine brown sugar and cinnamon. Pat about two-thirds of the cinnamon sugar onto the dough, all the way to the edges.
- Fold the top third of the dough over the middle third of the dough, as if you're folding a tri-fold letter. Pat down the dough.
- Fold the bottom third of the dough over what you've already folded. Pat down the dough, lengthening it as you pat into a long, 3x18 inch rectangle.
- Sprinkle with the remaining cinnamon sugar and pat it on to the edges. Cut the dough into 6 (3x3 inch) squares, and then cut each square in half along the diagonal to create 12 triangles.
- Place scones on a lined baking sheet or plate and place in refrigerator for 30 minutes. (Chilling is optional, but the scones will bake better if you chill them.)
- Meanwhile, preheat oven to 425F. Bake your chilled scones for 16 minutes. Eat warm, cold, or immediately.
- Scones are best on the day they're made, but leftovers can be stored in an airtight container at room temperature. Reheat gently, for about 8 seconds in the microwave. Do not overheat, or the scones may become tough.
Make-Ahead/Freezing
- You can shape and cut the scones and chill them overnight in the refrigerator. Bake them the next day for the normal time.
- Bake only what you will eat on the day you make them; freeze the rest. Shape and cut the dough, place on a tray, and freeze.
- Store frozen scones in a freezer-safe zipper bag. Cinnamon sugar will fall off, and that's okay. Bake scones within 3 months.
- Bake from frozen, without thawing. Top with any cinnamon sugar that fell off into the bag, and add 1 minute to the baking time. Test with a toothpick; if it's doughy, bake for another minute.


Leona Konkel says
I've been making some version of these scones for the last 13 years. I love them, and I'm especially glad I have some stored in my freezer! I hope you find them as satisfying to make and eat as I do. Let me know how they turn out!