
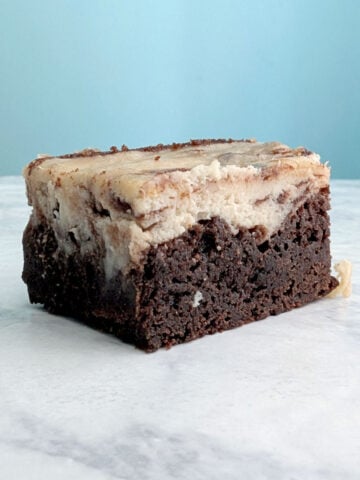
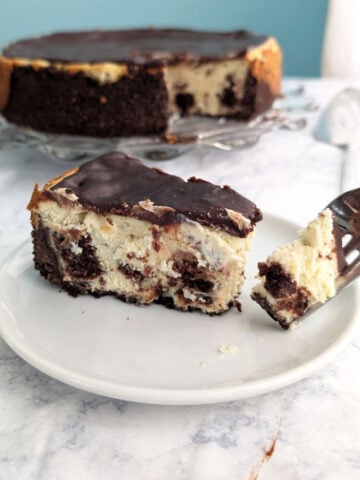
This is definitely the dessert for you if you love cheesecake and the combination of chocolate and peanut butter. But the main reason why I love this Chocolate Peanut Butter Cheesecake is the fudge layer hidden between the crust and cheesecake layer!
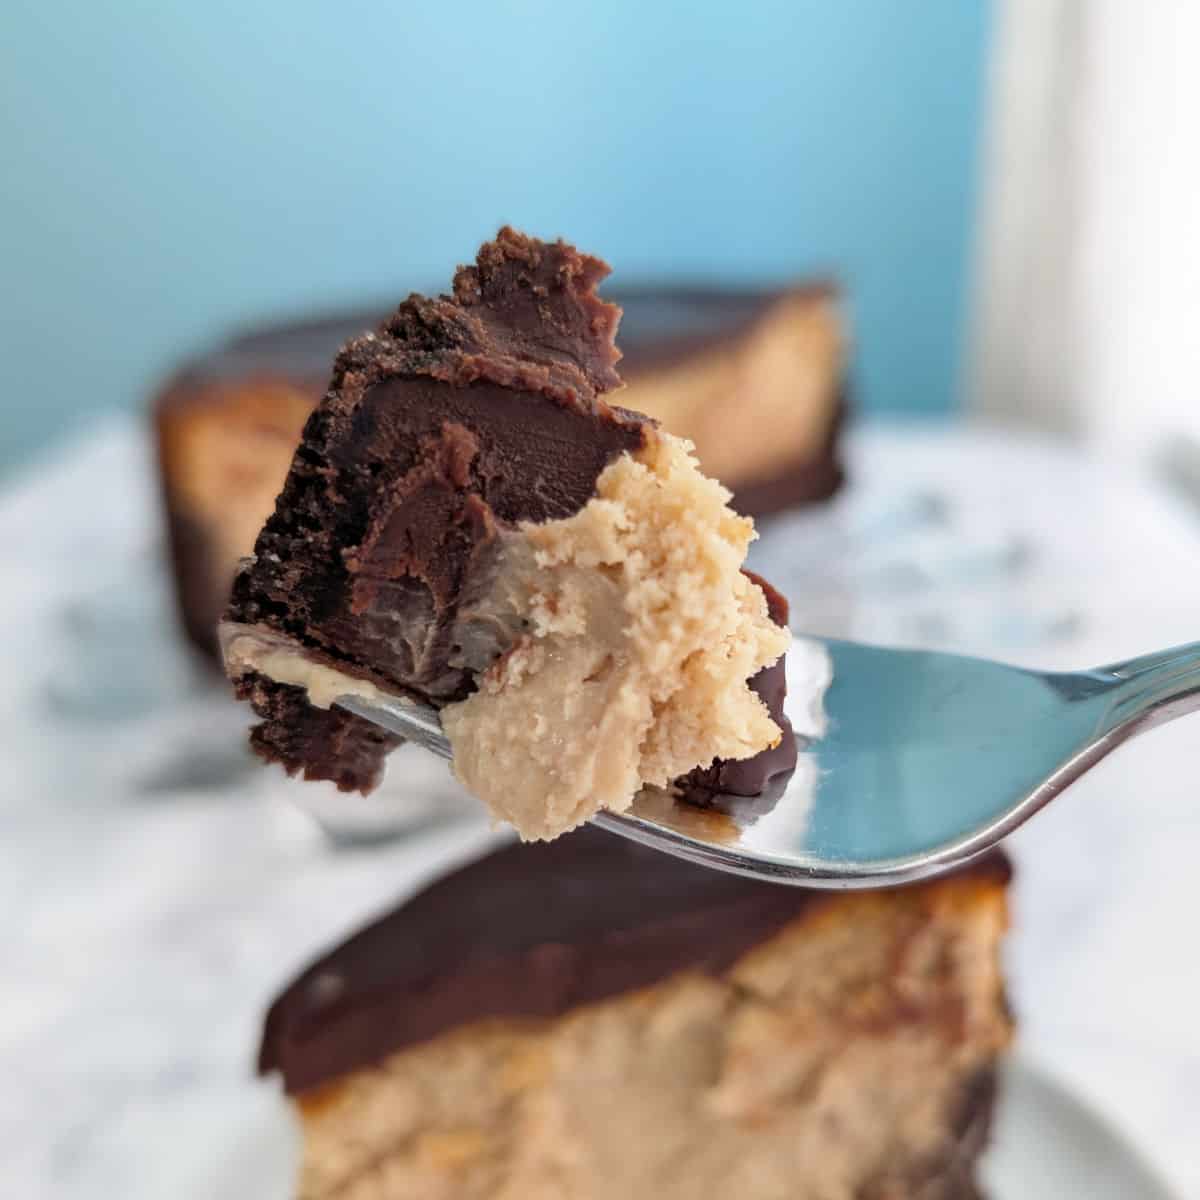
I hadn't made this cheesecake in a while, but it's remained near and dear to my heart. It's smooth and creamy, and so rich and decadent.
I originally made the cheesecake for Alex's birthday in 2014, and made it again and wrote about it in 2016. I've put off making it again for one reason - it just makes too much to eat! But I've come to accept that sharing cheesecake (and freezing slices of it) is a good thing.
I'll warn you - making this cheesecake will take a full morning and a little patience. But it's worth it. After it chills, you'll be chill enough to top it with ganache and serve it at your leisure.
Jump to:
Ingredients
This recipe is based on Smitten Kitchen's Chocolate Peanut Butter Cheesecake, which she adapted from dessert components from Bon Appetit. Since I first tried it, I've modified the crust, fudge layer, and ganache.
You'll want to gather your ingredients before you start. There's 4 layers, so you'll use some ingredients in more than one place!
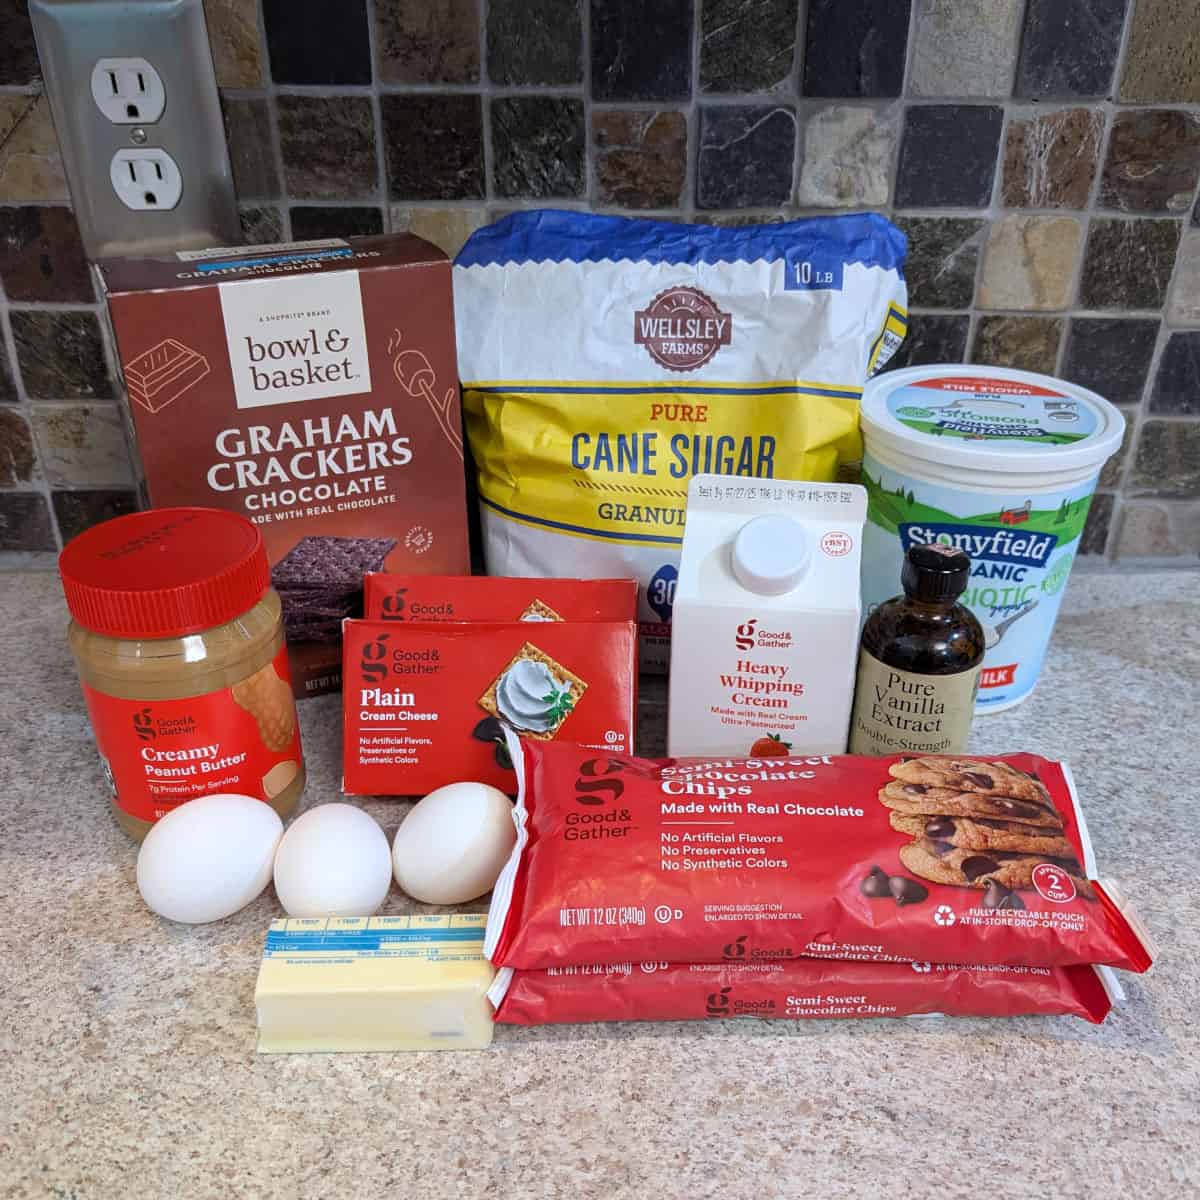
I've used both chocolate graham crackers and chocolate animal crackers for the crust. I prefer chocolate animal crackers because they taste better, but either will work fine.
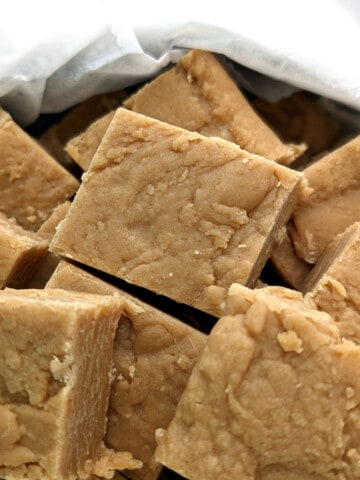
You'll need plenty of heavy cream for both the fudge layer inside the cheesecake and the ganache on top. You can use whipping cream, which is pretty similar in composition.
I use semisweet chocolate chips rather than chopped chocolate, for ease. I've used store-brand here, and they work fine. This dessert is rich enough that I don't recommend using with too high a chocolate percentage.
I used standard fat cream cheese this time, but I used lower fat Neufchatel cheese in years past and thought it worked fine. Use whichever you're used to using. The most important thing is that your cream cheese is very softened before you start, just like for my Brownie Cheesecake or Chocolate Chip Cookie Cheesecake Bars.
I use yogurt to smooth out the batter and add a little extra tang, but Deb at Smitten Kitchen used sour cream, which is more traditional. I simply always have plain yogurt around. I don't recommend Greek yogurt because of its thickness, or low-fat yogurt because it won't bake properly.
Use standard creamy, grocery store peanut butter. You'll want a usual one with sugar and oil added, rather than a "natural," single-ingredient peanut butter. I don't recommend crunchy because I don't think it will mix enough or be peanutty enough; rather, add chopped peanuts to the batter directly if you want crunch.
Instructions
Pull the cream cheese from the fridge an hour before you start making the cheesecake. If nothing else, remove the bricks of cream cheese from the fridge and from their packages and place them in your mixer bowl when you start the crust.
Crust
Crush the grahams or animal crackers in a bowl, food processor, or plastic bag. You want them uniformly small - no big pieces. Measure out the 2 ½ cups crumbs after they're crushed.
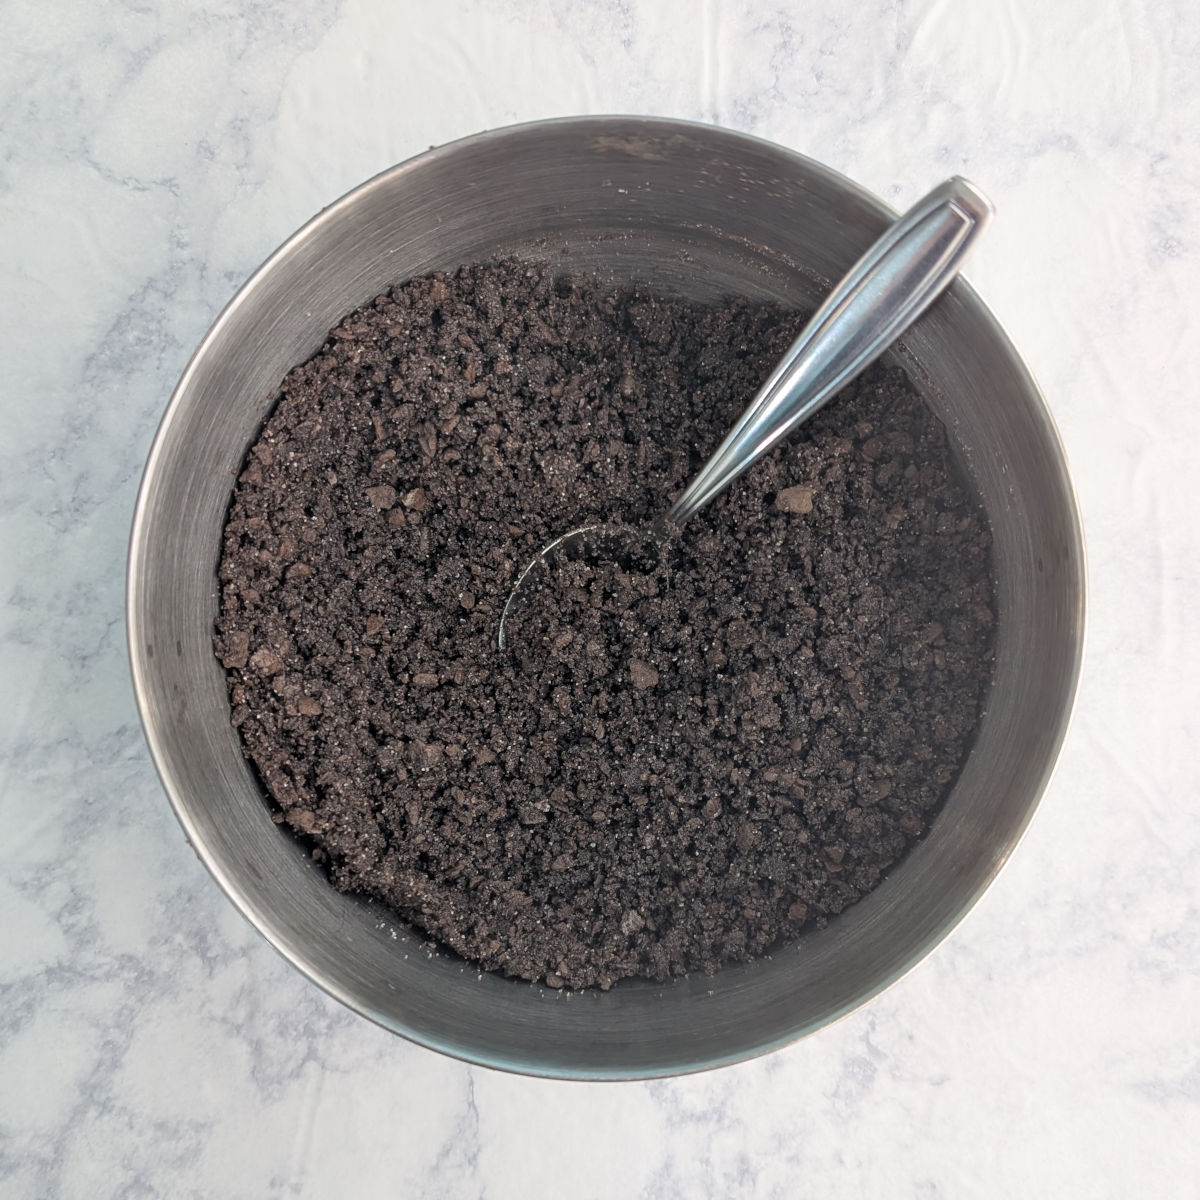
- Mix together chocolate animal cracker crumbs, sugar, and melted butter in a mixing bowl, stirring until everything's moistened. You don't want dry crumbs or clumps.

- Gently but firmly pat the crumbs along the bottom and sides of a 9-inch springform pan, to within ½ inch of the top rim. Use your fingers to swipe around the bottom edge in the corners so that it's not too thick to cut through.
Put the crust in the fridge while you make the fudge layer.
Fudge Layer
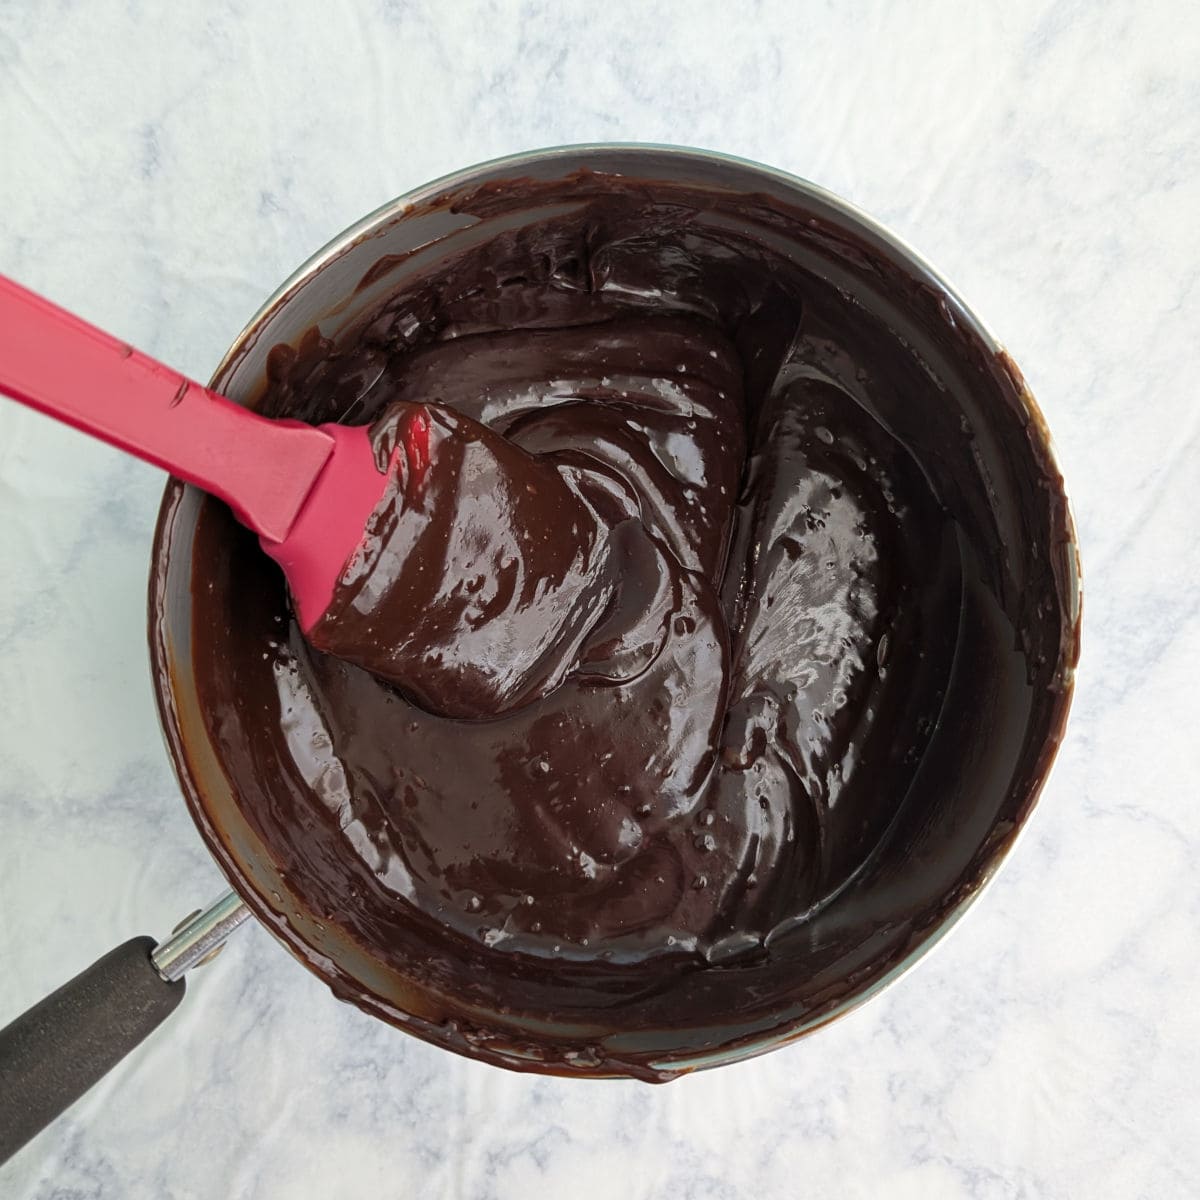
- Bring heavy cream to a simmer in a small or medium saucepan. I usually swirl the cream once or twice while I heat it. Turn off the heat, and add the chocolate, being sure it's submerged. Let rest for 5 minutes, then stir until smooth. A couple of small clumps of chocolate are fine.
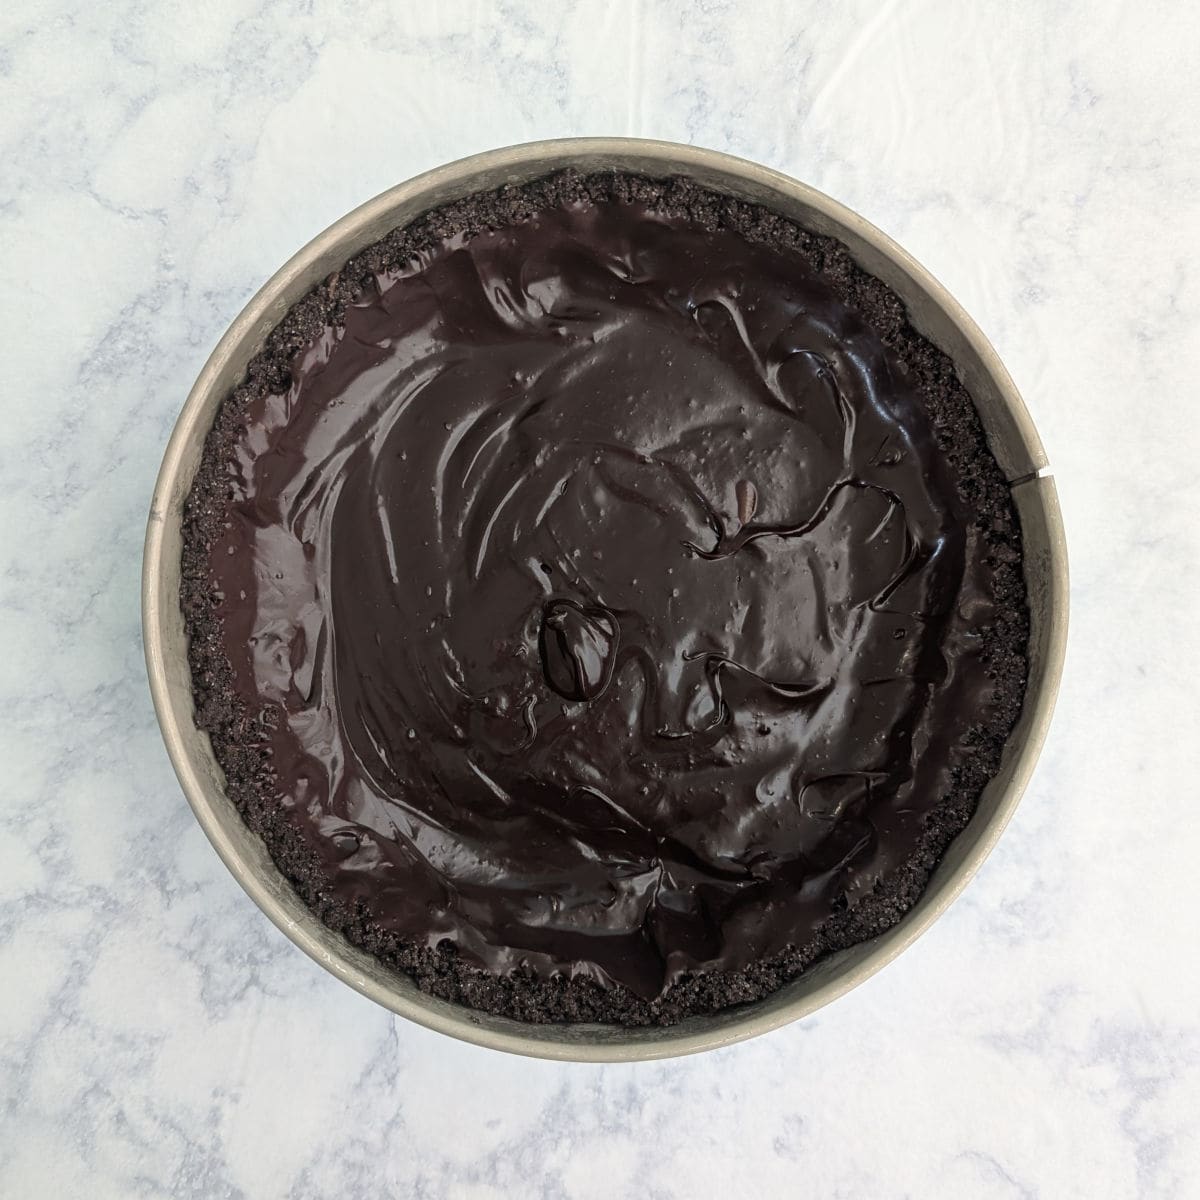
- Pour the chocolate ganache into the prepared crust. Spread it along the bottom and up the sides, but skip doing the sides if the ganache pulls the crumbs down.
Freeze the crust until firm (about 30 minutes) before filling.
Cheesecake Layer
Go ahead and pull out the eggs to get the chill off them when you freeze the crust and fudge layer. After 20 minutes, preheat the oven and start making the cheesecake layer.

- Using an electric hand mixer or the paddle attachment of a stand mixer, beat the cream cheese, peanut butter, and sugar on medium speed until well blended.
This will take about 4 minutes, and it'll lighten in color. It's ok if it looks curdled. Be sure to scrape the bottom and sides of the bowl occasionally!
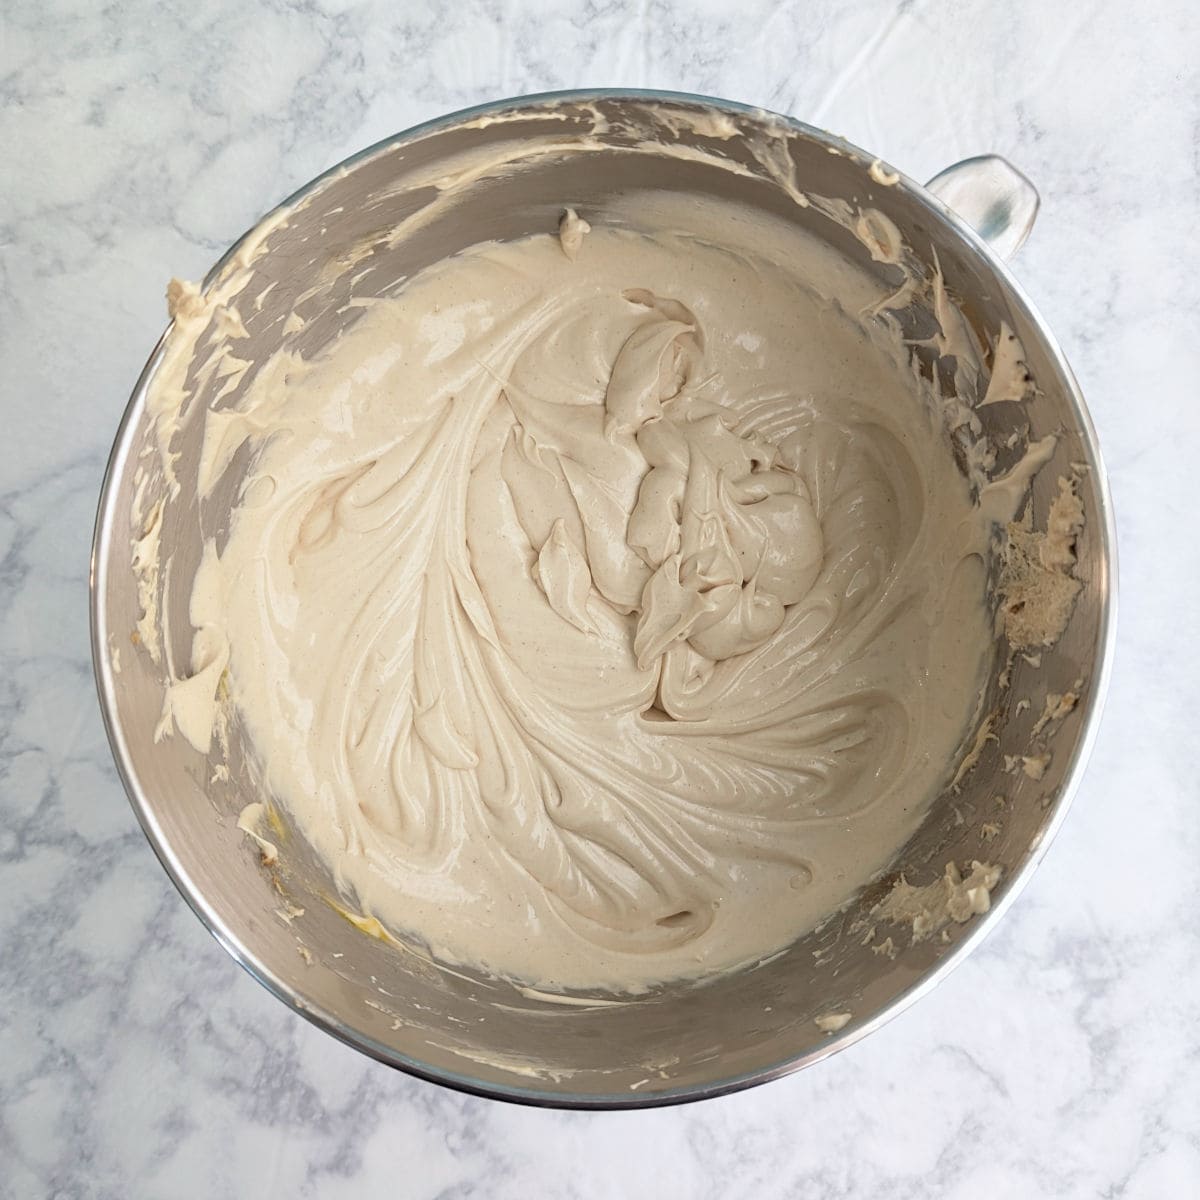
- Add the yogurt (which will smooth out the batter) and the eggs one at a time, beating and scraping the bottom after each addition. Stir in the vanilla with the last egg. This will be around another 2-4 minutes of mixing time.
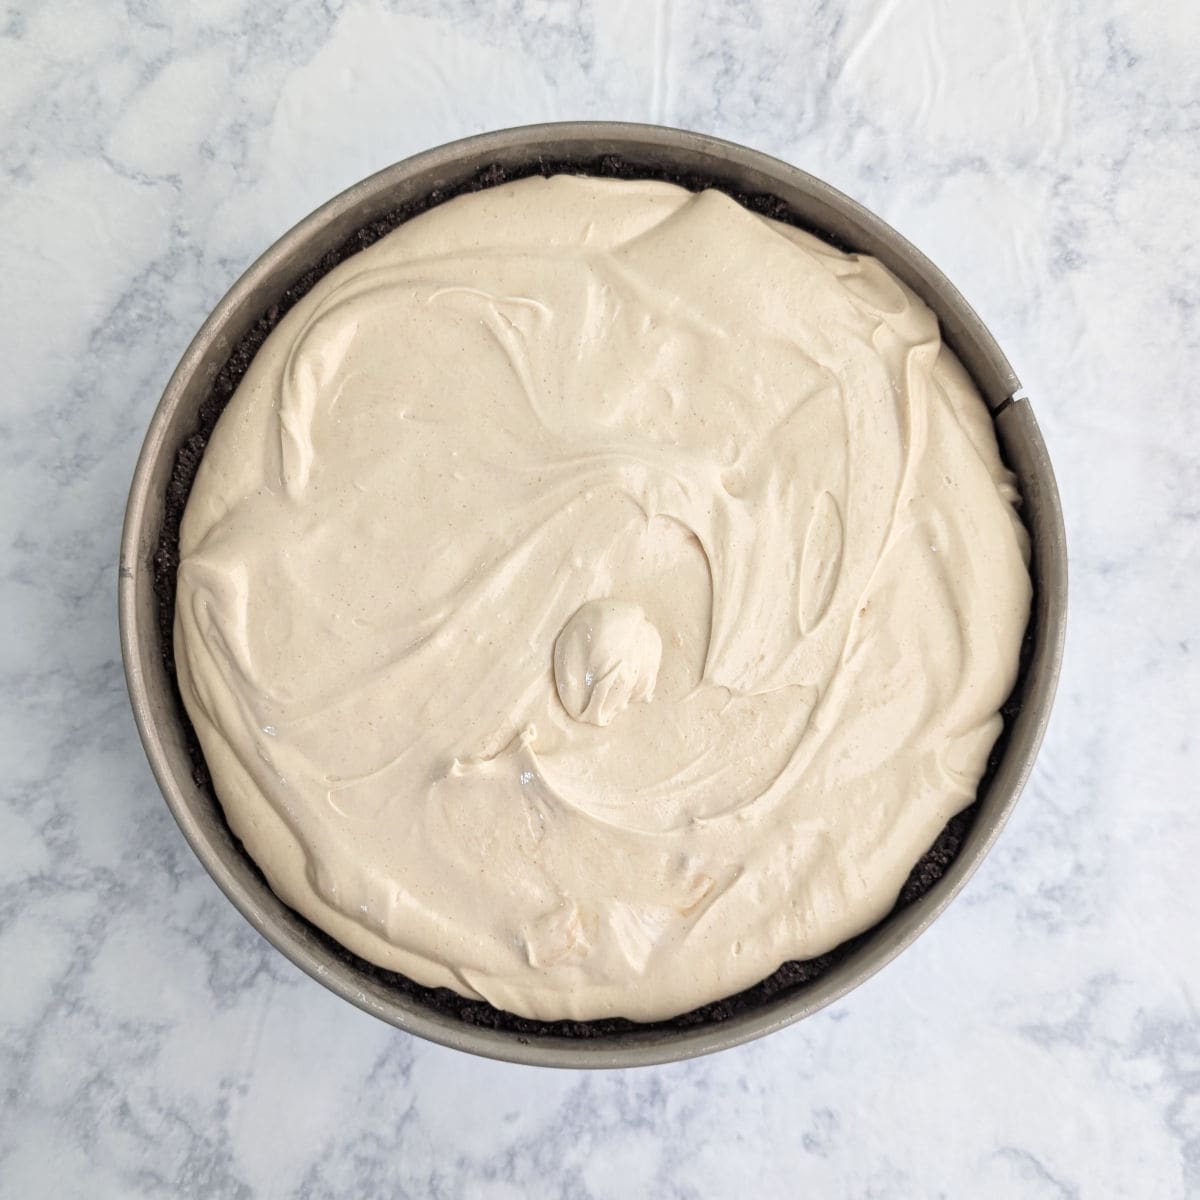
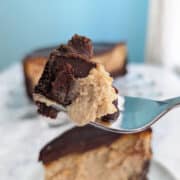
- Scrape the batter onto the chilled fudge layer, and smooth it out (unlike what I did here).
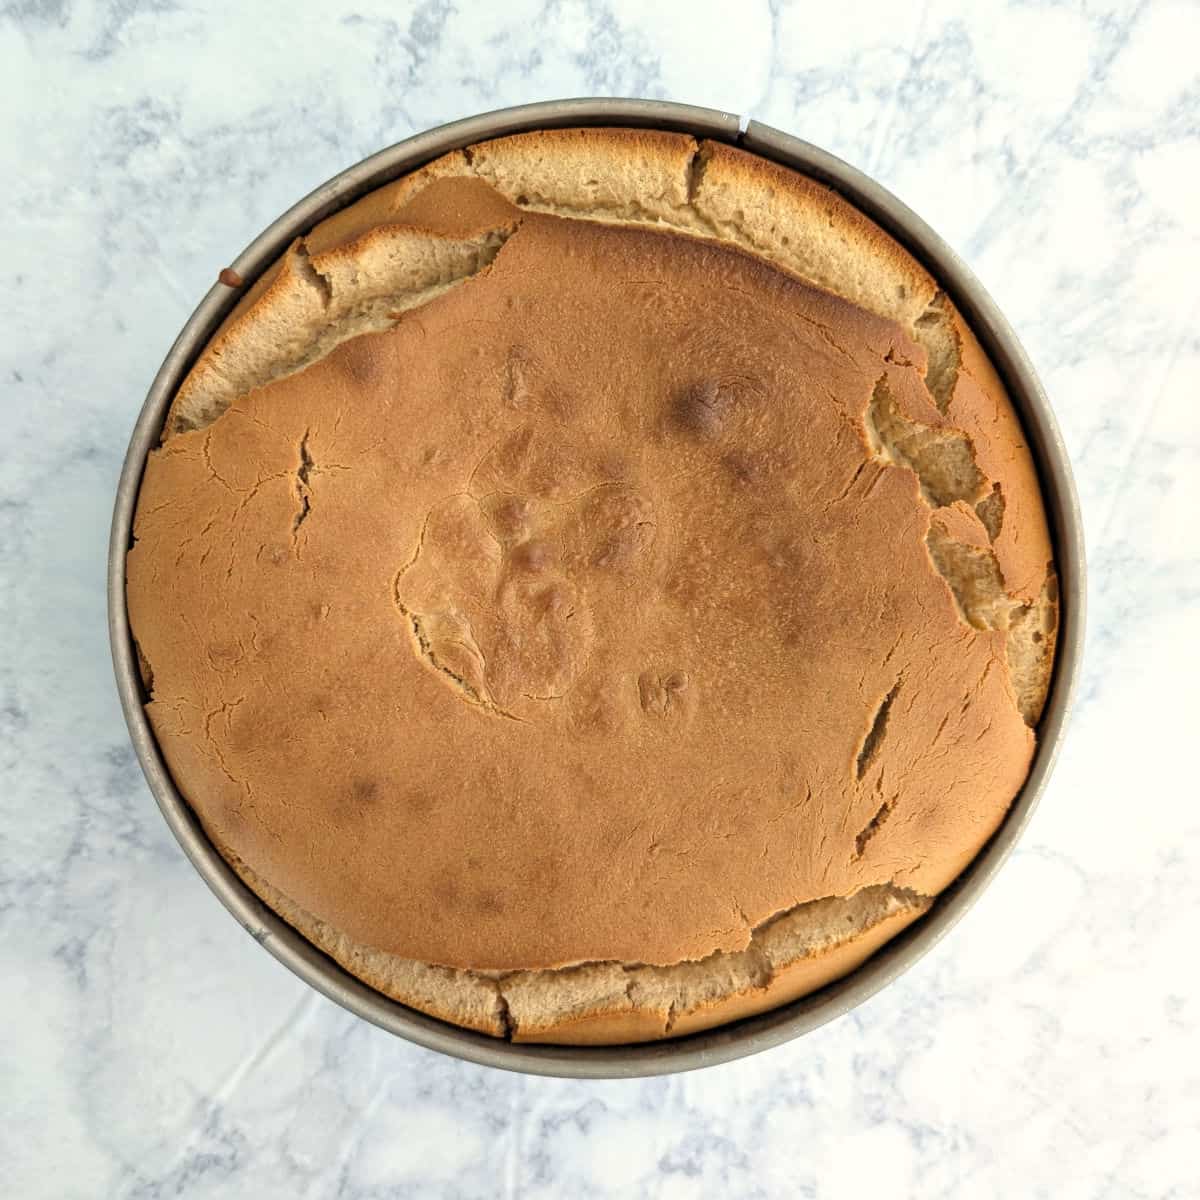
- Bake for 75-90 minutes. (Mine consistently takes 90.) The cheesecake is done when around 2 inches from the edge is set, and the center only jiggles slightly. It will have puffed up and may have cracked, but this is also okay...
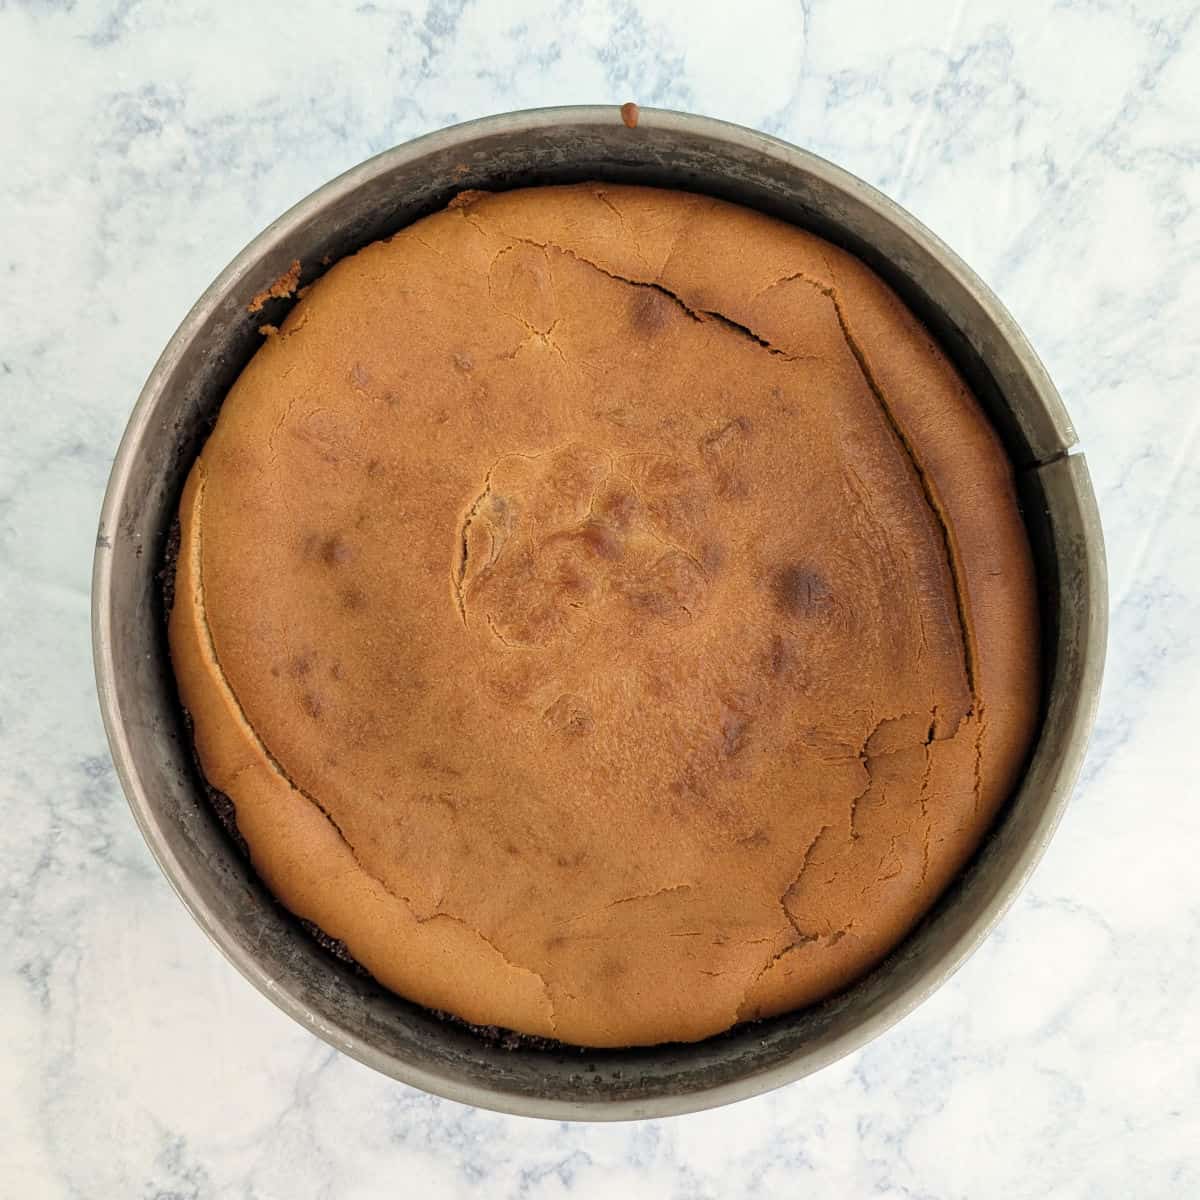
- ...because after your cheesecake cools, it will have deflated somewhat, and the cracks will have closed up.
If you're concerned it's not pretty, don't worry - that's why we top it with ganache.
PS: this isn't the same cheesecake in the photo from Step 7.
Cool the cheesecake at room temperature for at least 30 minutes before storing in the refrigerator on a trivet to finish cooling the rest of the way. Chill for at least 3 hours, preferably longer, before topping with ganache.
Ganache
When the cheesecake is cool enough, make the ganache to top it.
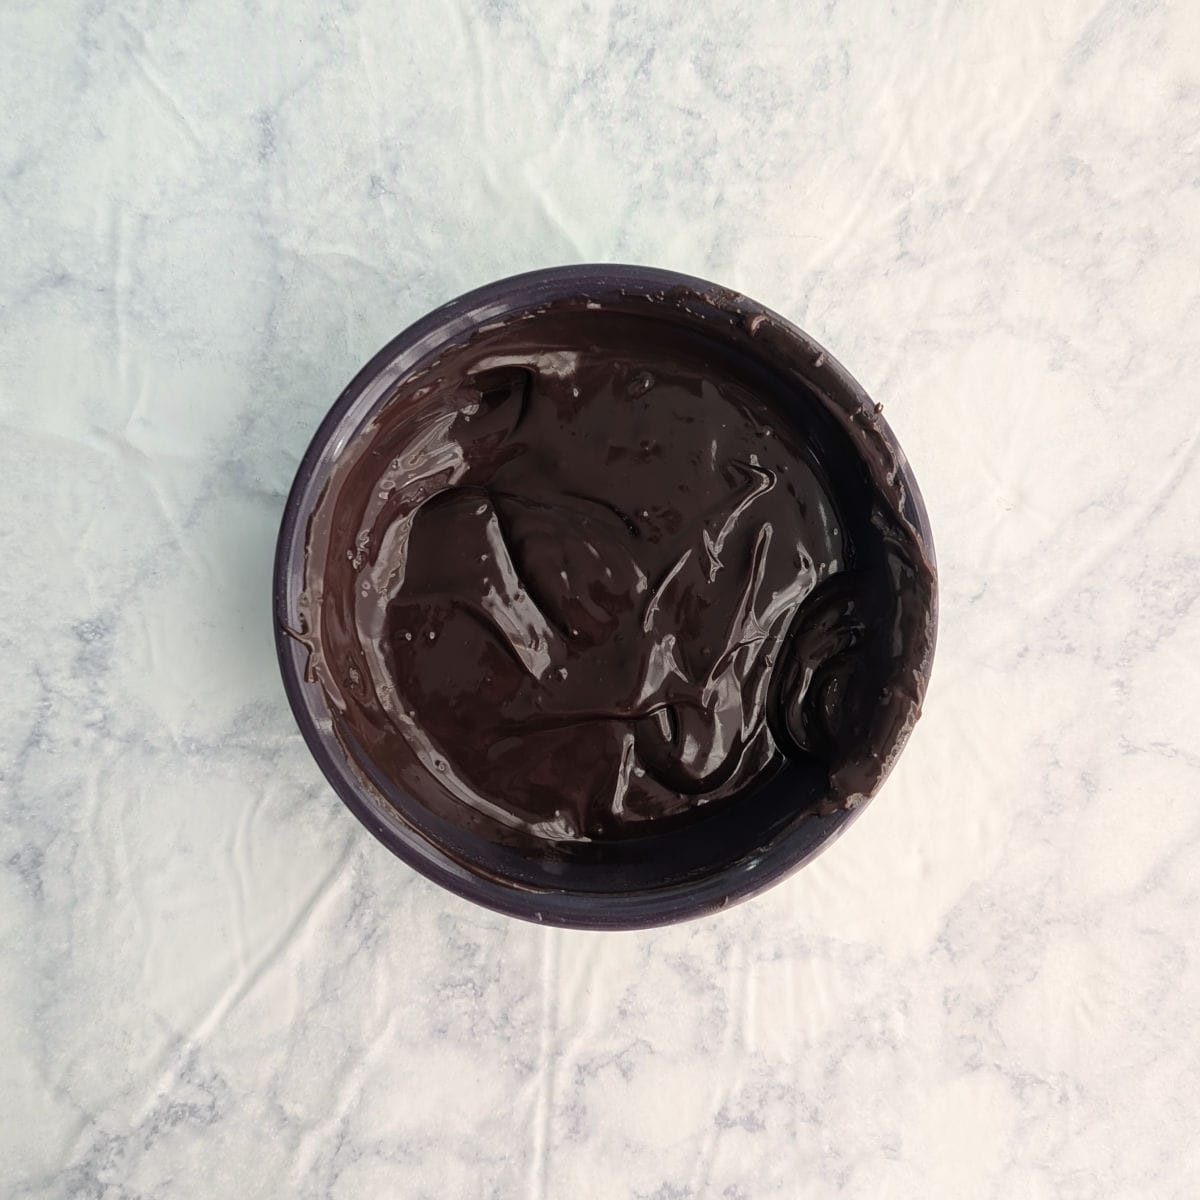
- You can combine the cream and chocolate as in Step 3 above.
Or, combine the cream and chocolate in a microwave safe bowl. Microwave in 15 second increments, stirring after each one, until the ganache is smooth. When there's only a few smaller lumps, switch to 5-10 second bursts.
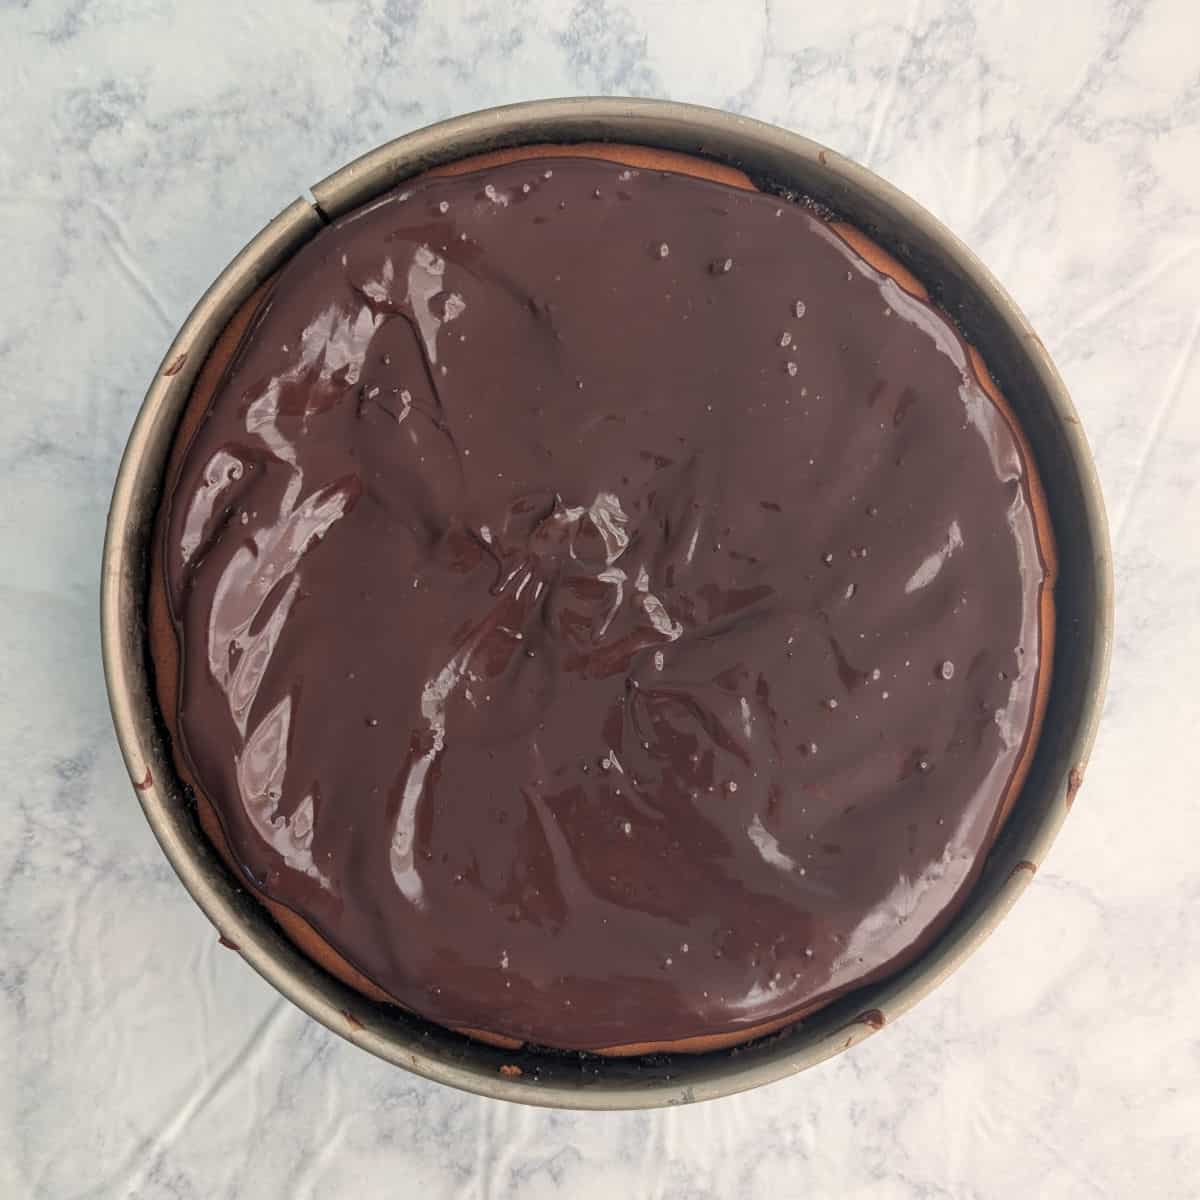
- Spread the ganache over the cheesecake, all the way to the edges. Let set for 30 minutes before serving.
If you don't plan to serve it now, store it in the refrigerator for later.
Storage
Cheesecake should always be promptly stored in the refrigerator. I haven't noticed much difference between cutting it straight from the fridge versus pulling it out in advance.
Cut into at least 16 slices, and smaller if you can, because it's very rich. However, it's a messy cheesecake to cut because it's so tall and dense. At home I prefer to cut a 16th and only eat half of it, storing the rest of the slice in a container for dessert another time. PS: the ganache often pulls off of the cheesecake when I eat it. C'est la vie.
We've enjoyed this cheesecake for days. You can also freeze slices of the cheesecake if you can't eat it all quickly enough; see the FAQ for details.
Top Tip
Always have your cream cheese very softened before making cheesecake. If your cream cheese is cold, you won't be able to beat the lumps out.
Chocolate Peanut Butter Cheesecake FAQs
The best way to prevent cream cheese lumps in cheesecake is to thoroughly soften your cream cheese before you start. I let my cream cheese rest at room temperature for at least an hour before starting, and even longer if it's winter. You can speed up softening the cream cheese if you remove it from the foil packaging and place it in the stand mixer bowl to soften. Unfortunately, I've never discovered a way to get rid of lumps of cream cheese once I've started mixing.
Cracks can happen if you overmix cheesecake batter or if you overbake it. Ones from overmixing aren't as big a deal as those from overbaking; in my experience, overmixing cracks are often a cosmetic issue and don't affect the texture. This happened to my cheesecake, and I just hid them with ganache. The texture was still soft and creamy.
Cracks from overbaking do affect the texture and should be avoided. Be sure to check the cheesecake at the shorter baking time listed and pay attention to visual cues for doneness.
Many people use a water bath or a pan of water in the oven while cheesecake bakes, for extra protection.
Cheesecake is done when it's set around 2 inches in from the sides of the pan, but the center still jiggles or wobbles. Residual heat will cause the cheesecake to still cook and set as it cools. If you feel the need to take its temperature, a done cheesecake should be around 155F in the center.
If there's still a few lumps in your ganache, you may be able to press them out against the sides of the saucepan. You can also put the mixture back on low heat and stir constantly to try to get rid of larger lumps. However, DO NOT overheat. Overheated chocolate will also be lumpy. You should be able to touch ganache with your finger without burning yourself. If it's too hot for your skin, it's too hot for chocolate.
Cheesecake stays good for several days. Keep it in a sealed container in the refrigerator.
For longer storage, you can freeze it. Slice the cheesecake, place on a sheet of waxed or parchment paper, and fold the paper up the sides of the cheesecake. This protects them from air and keeps the slices from sticking together. Once it's frozen, store in a freezer bag after you squeeze the air out of it.
The fudge layer, cheesecake layer, and ganache are all gluten-free! You should be able to substitute gluten-free chocolate graham cracker crumbs for the chocolate animal cracker crumbs. If you can't find gluten-free chocolate grahams, I recommend searching for a gluten-free chocolate crumb crust recipe.
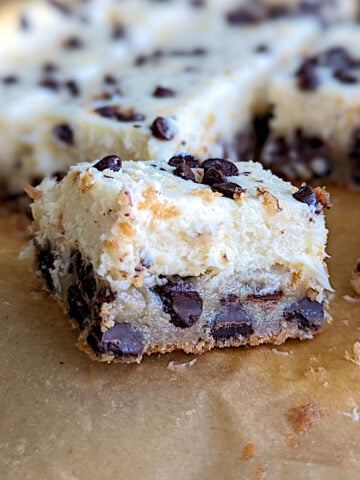
More Peanut Butter Recipes


I hope this becomes a recipe you'll return to. If you try it, a star rating below helps others find it - and I'd love to hear how yours turns out in the comments! 💕 Questions or trouble? Drop a note, and I'll do my best to help.
📖 Recipe
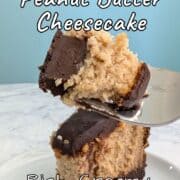
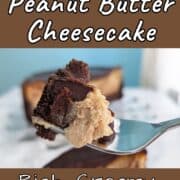
Chocolate Peanut Butter Cheesecake
Equipment
- stand mixer or electric hand mixer (affiliate link)
Ingredients
Crust
- 2 ½ cups chocolate animal cracker crumbs (9 ounces; chocolate grahams work too)
- 5 tablespoons sugar (75 grams)
- 9 tablespoons butter (melted)
Fudge Layer
- 1 ¼ cups heavy cream (10 ounces)
- 16 ounces semisweet chocolate (chopped)
Cheesecake Layer
- 16 ounces cream cheese (2 packages; at room temperature)
- 1 ¼ cup creamy peanut butter (320 grams)
- 1 cup sugar (200 grams)
- ¾ cup yogurt (175 grams)
- 3 eggs
- 2 teaspoons vanilla extract (10 grams)
Ganache
- 9 tablespoons heavy cream (4 ½ ounces)
- 4 ½ ounces semisweet chocolate (chopped)
Instructions
Crust
- Combine the chocolate crumbs, sugar, and melted butter in a bowl, making sure everything is moistened.
- Pour into a 9-inch springform pan (affiliate link) with 3-inch sides. Pat up the sides, leaving ½ inch of space at the top. Spread the crumbs along the bottom of the crust evenly, and gently pat them to stick together. Scrape away extra crumbs from the corner, as it can become very thick, and even everything out.
- Chill briefly while you prepare the fudge layer.
Fudge Layer
- In a small or medium saucepan, bring the 10 ounces of heavy cream to a simmer, giving it a shake every now and then. Turn off the heat, and add the chocolate, being sure to get it all into the warm cream. Let rest for 5 minutes.
- Stir until the chocolate is melted and the mixture is smooth. If you still have bits of chocolate that aren't melted, turn the heat to low and stir constantly to help it along. Do not overheat; overheated chocolate will also be lumpy, but will have a worse taste and texture.
- Pour the fudge into the prepared, chilled crust. Use a rubber spatula to gently spread the fudge up the sides as well. (Skip this if it begins to pull down the crust.)
- Place pan in the freezer for 30 minutes, until fudge is firm. At the 20 minute mark, begin the cheesecake batter.
Peanut Butter Cheesecake Layer
- Preheat your oven to 325℉.
- Using a stand mixer or an electric hand mixer (affiliate link), beat the cream cheese, peanut butter, and sugar for 4 minutes, using the paddle attachment at medium speed, until well blended and lightened in color. (This may take longer with a hand mixer (affiliate link); be sure to scrape the bottom and the insides of the beaters often.) The mixture may look curdled. This is okay.
- Scrape up the bottom. Add the yogurt, and then the eggs one at a time, beating and scraping the bowl after each addition, for a total of 2-4 minutes. Beat in the vanilla.
- Scrape the cheesecake batter into the chilled crust and fudge, and smooth out the top a little. The batter will come up to almost the top of the pan.
- Bake the cheesecake at 325F for 75-90 minutes, until it's set 2 inches from the edges and center only moves slightly. The top will puff up a lot and may develop cracks. This is okay, as you'll cover them with ganache anyway. Mine has consistently needed 90 minutes recently.
- Cool at room temperature for 30-60 minutes, then refrigerate until completely chilled, at least 3 hours.
Ganache
- Heat the cream and chocolate as described for the fudge layer, or make the ganache in the microwave.
- For the microwave, combine the 9 tablespoons cream and 4 ½ ounces chocolate in a microwave-safe bowl. Heat in 15 second increments, stirring after each one. Once it's almost completely melted but still has a few solid bits, switch to 10 second increments. Repeat until it's melted and smooth.
- Spread over the cheesecake. Extend it all the way to the edge if you didn't get ganache up the crust edges. Let ganache set for 30 minutes before serving.
- Cut into very thin slices. Store in the refrigerator. We've enjoyed it for up to a week.
- For longer storage if you can't eat it all, cut into slices and wrap bottom and sides in waxed paper. Freeze until solid, then store in an airtight freezer bag.
Notes
Nutrition
[Originally published July 10, 2016. Completely rewritten and recipe updated July 24, 2025.]
Leona Konkel says
Clearly, I love this recipe. Seriously, it's delicious. I hope you enjoy it as much as we do!