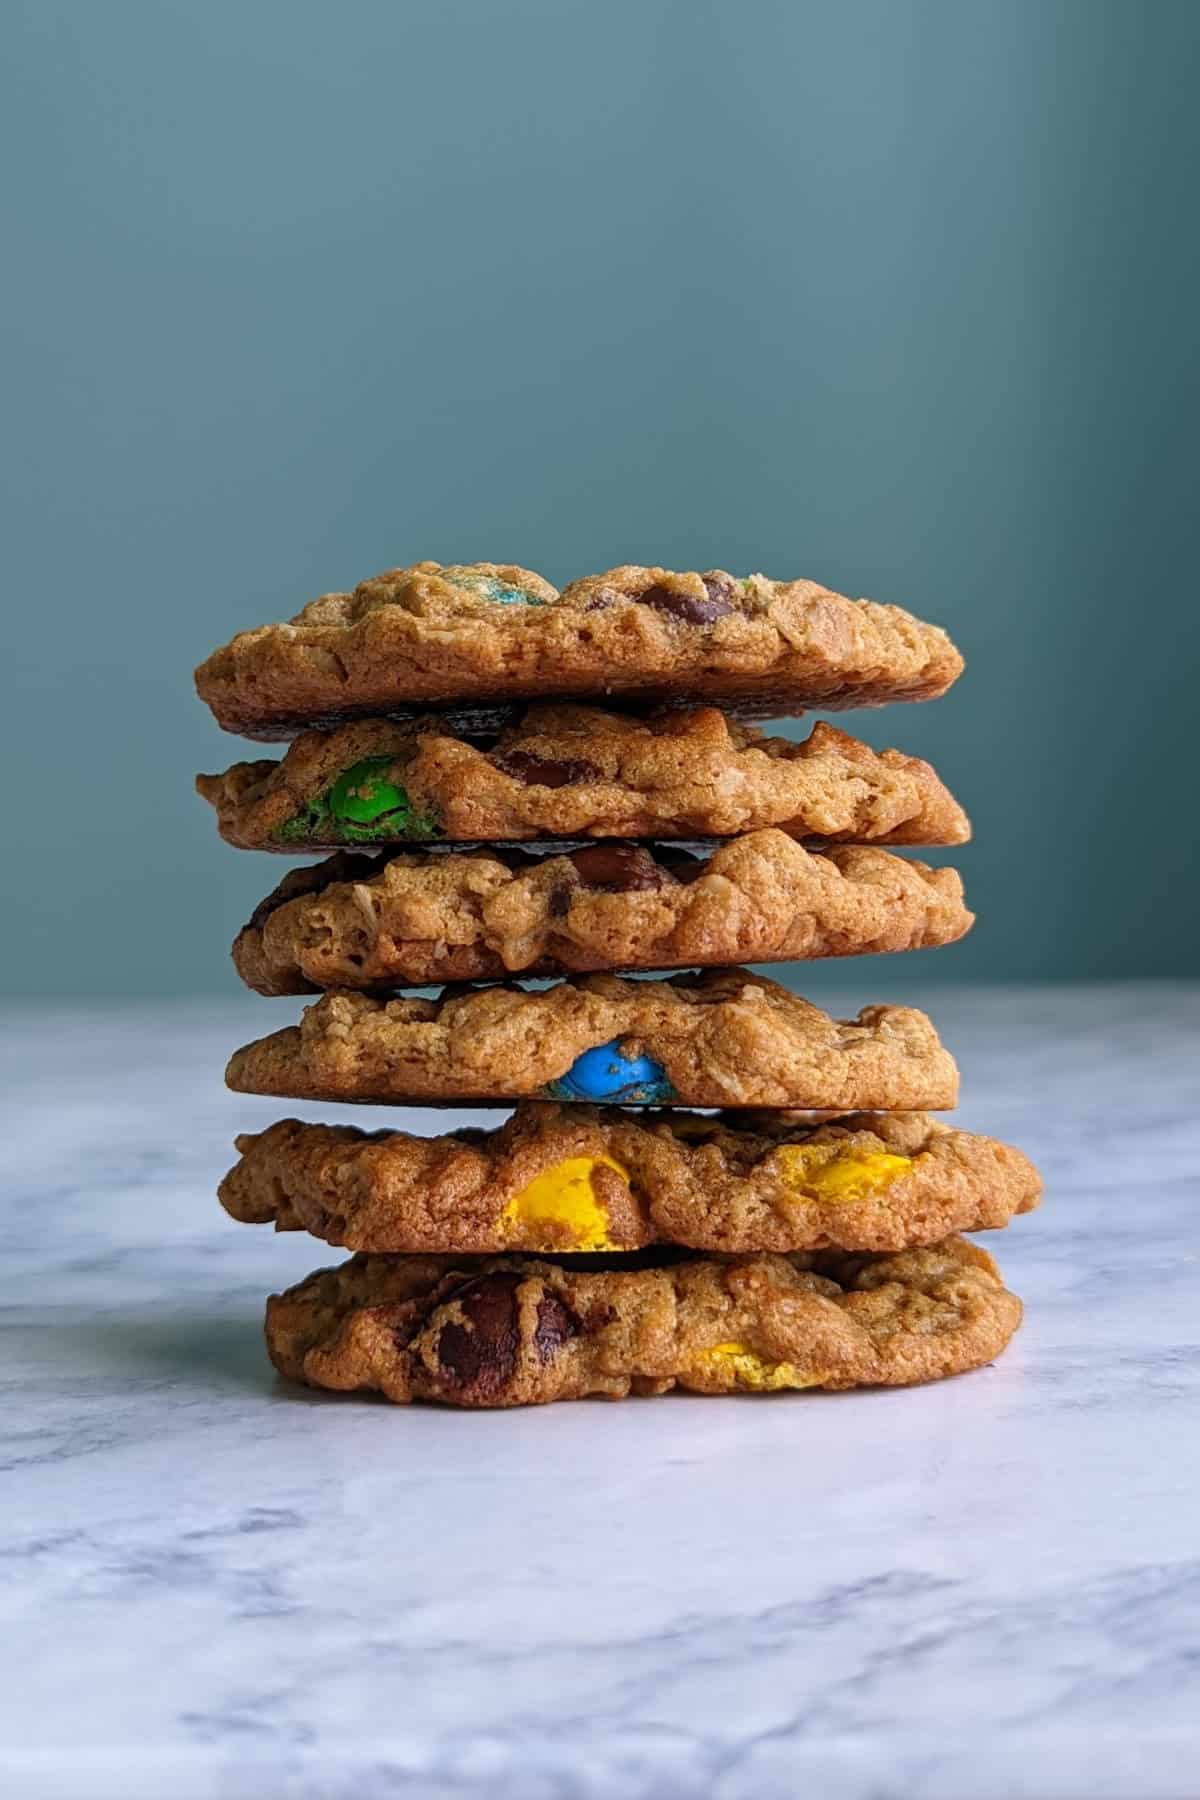
I found this recipe for Monster Cookies in a hand-written recipe notebook I started in 2003. I have no idea where I found it, and no memory of ever trying it. Alex pulled it out a few months ago to try it, and it's definitely a keeper!
It takes a lot, and I mean A LOT, of peanut butter. The other awesome thing is that this recipe takes only rolled oats - no flour. That makes the cookies 100% whole grain, and they can be gluten-free! To counter being too healthy, there's lots of chocolate chips and M&Ms.
With all the peanut butter in the cookies, they stay chewy. With oats and no flour, it's hard to overmix it. It's a practically fool-proof recipe.
I've tried a few other Monster Cookie recipes in the past, and this is absolutely the best one I've tried. They're consistently chewy and satisfying.
[This post contains affiliate links. I may make a commission for purchases made through links on this post. As an Amazon Associate, I earn from qualifying purchases.]
Instructions and Ingredients
The recipe is easy, but here's a few tips for success.
Use a stand mixer or a large bowl with an electric hand mixer (affiliate link) for this recipe. It makes a ton of cookie dough, and it's hard to beat together the butter and peanut butter by hand.
I use regular, creamy, store brand peanut butter. Peanut butter with no oil or sugar added will not work. Crunchy peanut butter may work, but your batter may end up a bit dry.
As a note, I also don't like "natural" peanut butter made with palm oil, although it should work fine in these cookies. The palm oil industry is a major contributor to deforestation, etc., since it largely doesn't use sustainable farming techniques. But really, as a user, I find that the oil separates and I have to stir it back into the rest of the peanut butter.
Mix together the butter, peanut butter, sugars, and corn syrup for 1-2 minutes. The mixture will be creamy and will have lightened in color. You'll be able to see the difference between the color at the top of your mixing paddle or bowl, and the bulk of the mixture at the bottom. Be sure to scrape the bottom of the bowl, since sometimes unmixed bits hide there.
Do you have to use corn syrup? Not really, but I recommend it. The cookies will be great on the day you bake them, regardless. However, the corn syrup keeps them soft and chewy on days 2, 3, and beyond. Cookies made without corn syrup will feel a bit stale by day 3, and won't have as chewy a texture.
You can use agave syrup or honey instead of corn syrup, but it may slightly change the cookies' flavor.
Next, add the eggs and vanilla all at the same time. Mix on low briefly since the eggs will slop around a bit, then kick it back up to medium. Mix just for 30 seconds or a minute. The batter will have loosened up a bit, and the eggs will be well incorporated. Scrape the bottom of the bowl to be sure.
Add the oats, and top with the baking soda. I find that if I layer the baking soda on the oats, it distributes well into the dough when I mix it, while if I sprinkle it directly on the wet ingredients, it may clump up a little.
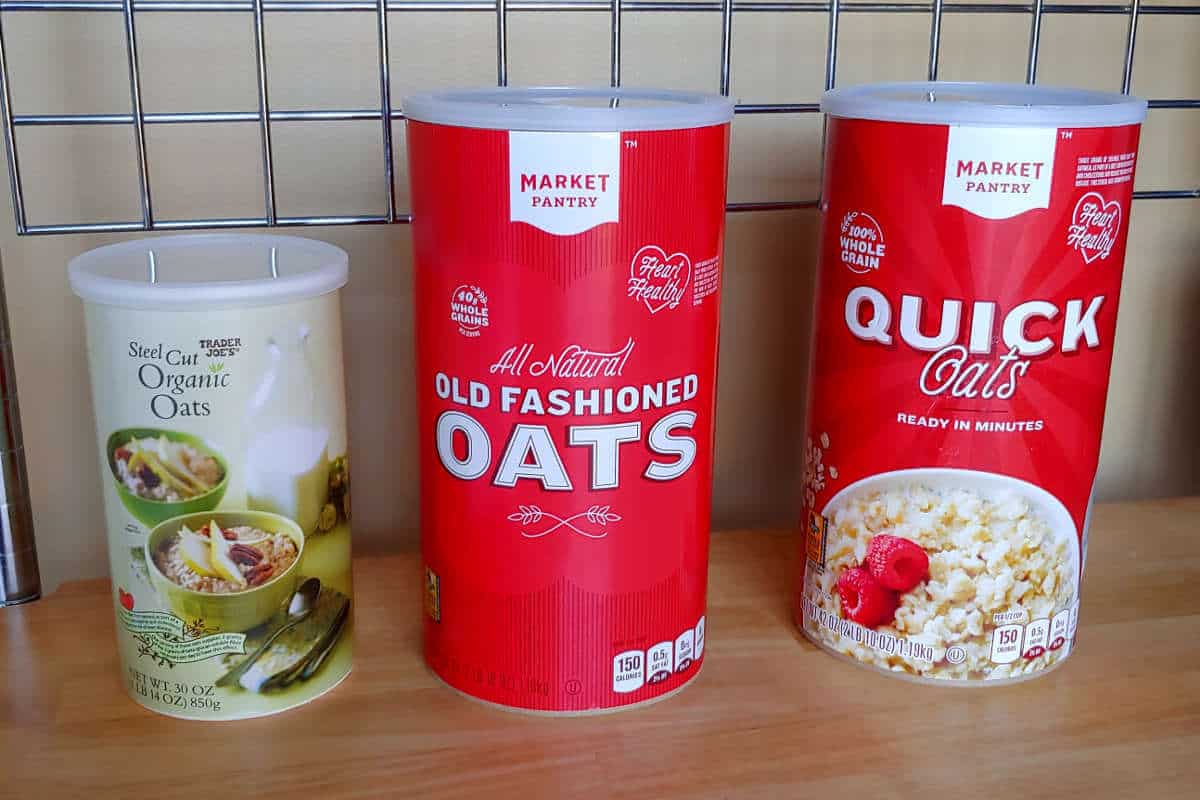
I've used old-fashioned oats and quick-cooking oats. Both are fine, and we haven't noticed a difference between the two in these cookies. Do not use instant oats, or steel-cut oats, which are too thick and won't cook properly.
With the stand mixer, turn it on low to mix everything. Stop it a few times to scrape the bottom, of course. If you're using a hand-held electric mixer, you may have more luck using a rubber spatula to stir in the oats since there's a lot of batter.
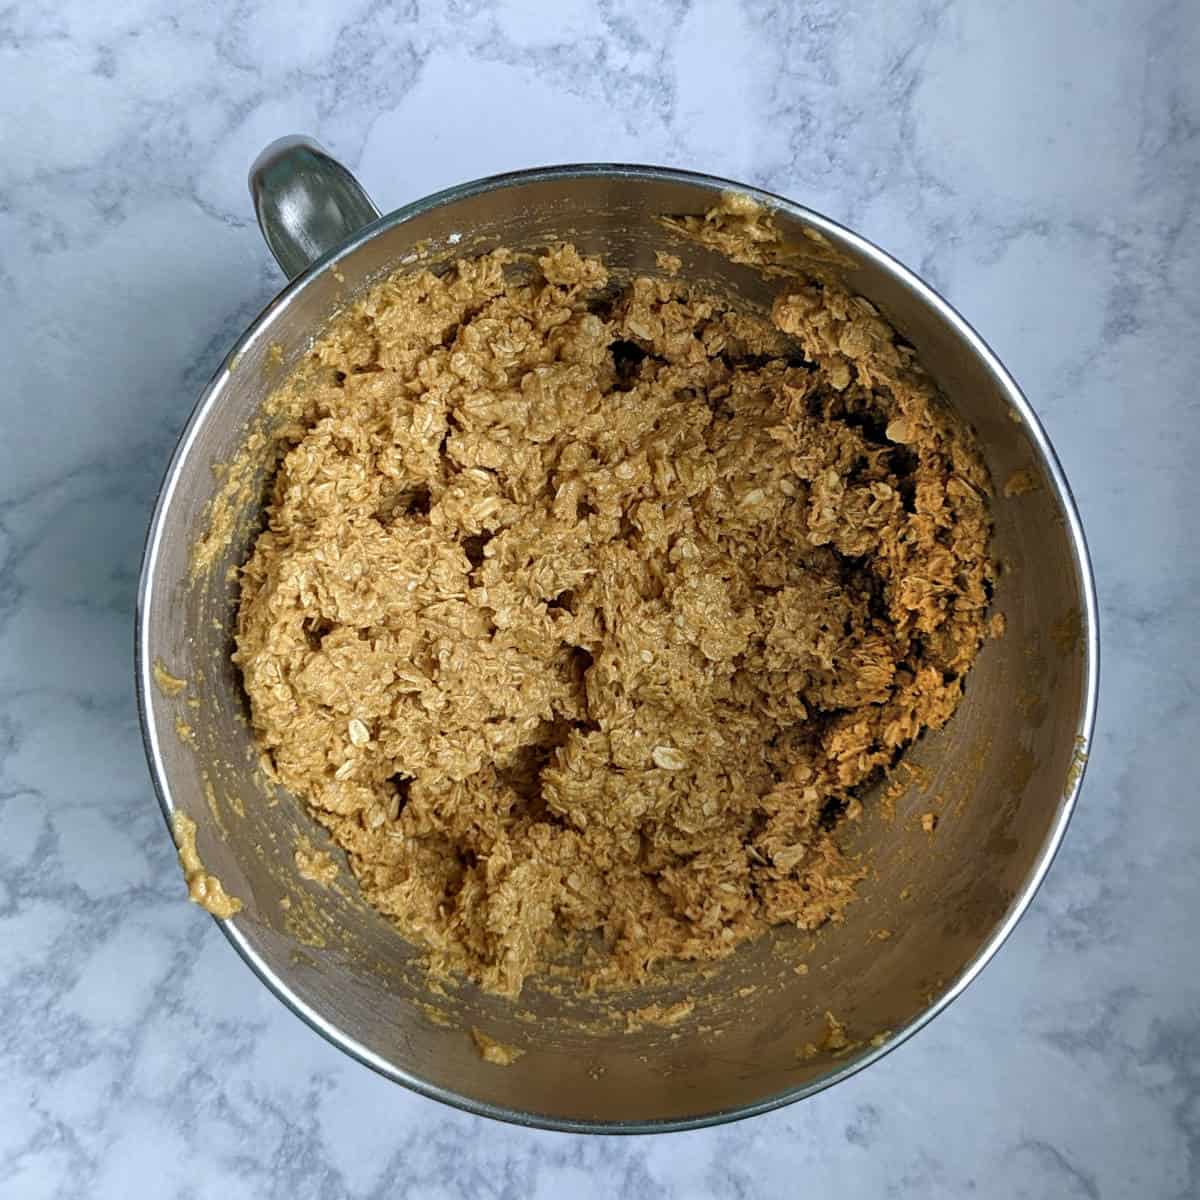
Once the oats are in, add your chocolate chips and M&Ms (or whatever generic chocolate candies you use). Stir to combine.
Some people love giant cookies. I personally prefer average-sized cookies, because then I can eat more of them. Use a ¼ cup measure to make giant cookies, and bake for a few minutes extra.
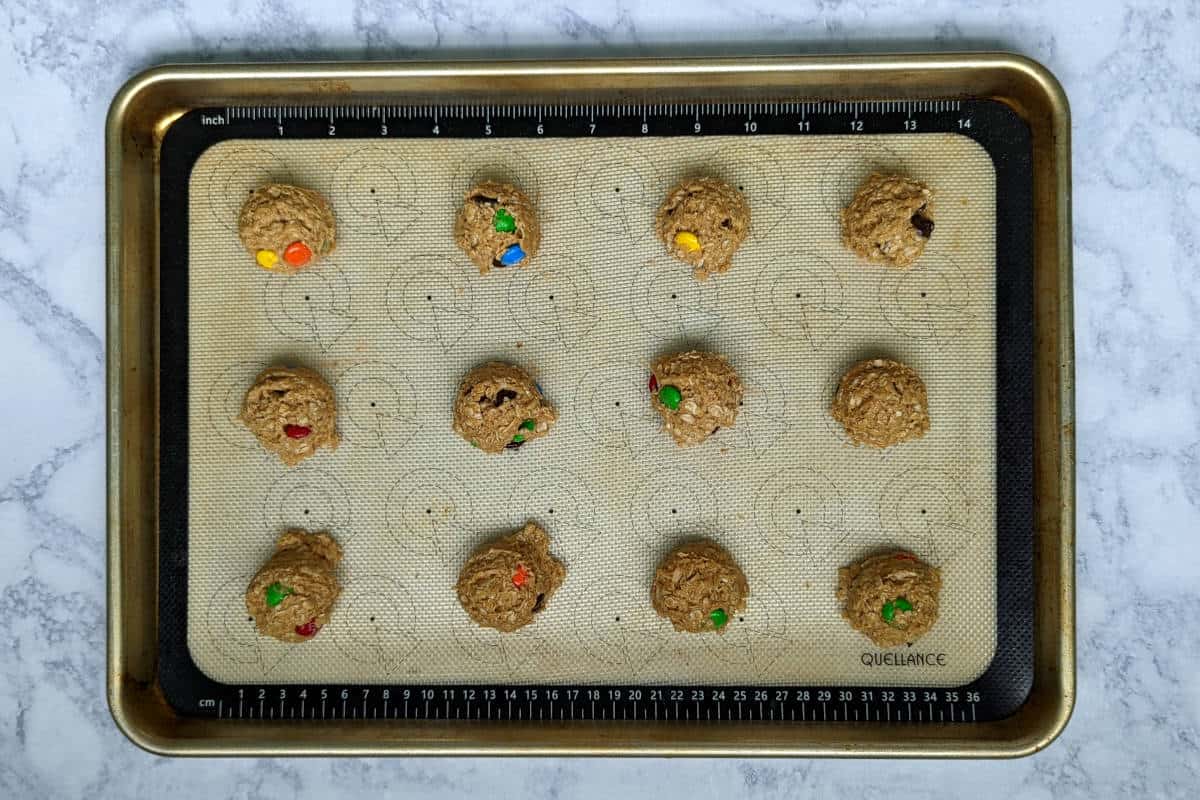
For normal-sized cookies, use a medium (1.5-tablespoon or #40) cookie scoop (affiliate link), or two spoons. Place cookies 2 inches apart on a parchment- or silicone mat (affiliate link)-lined baking sheet.
Bake at 350F for 10-12 minutes. In my oven, 10 minute cookies are a little underdone. 12 minute cookies are a bit less chewy, although they're still not crunchy. 11 minutes is perfect for me; your baking times will vary based on your oven.
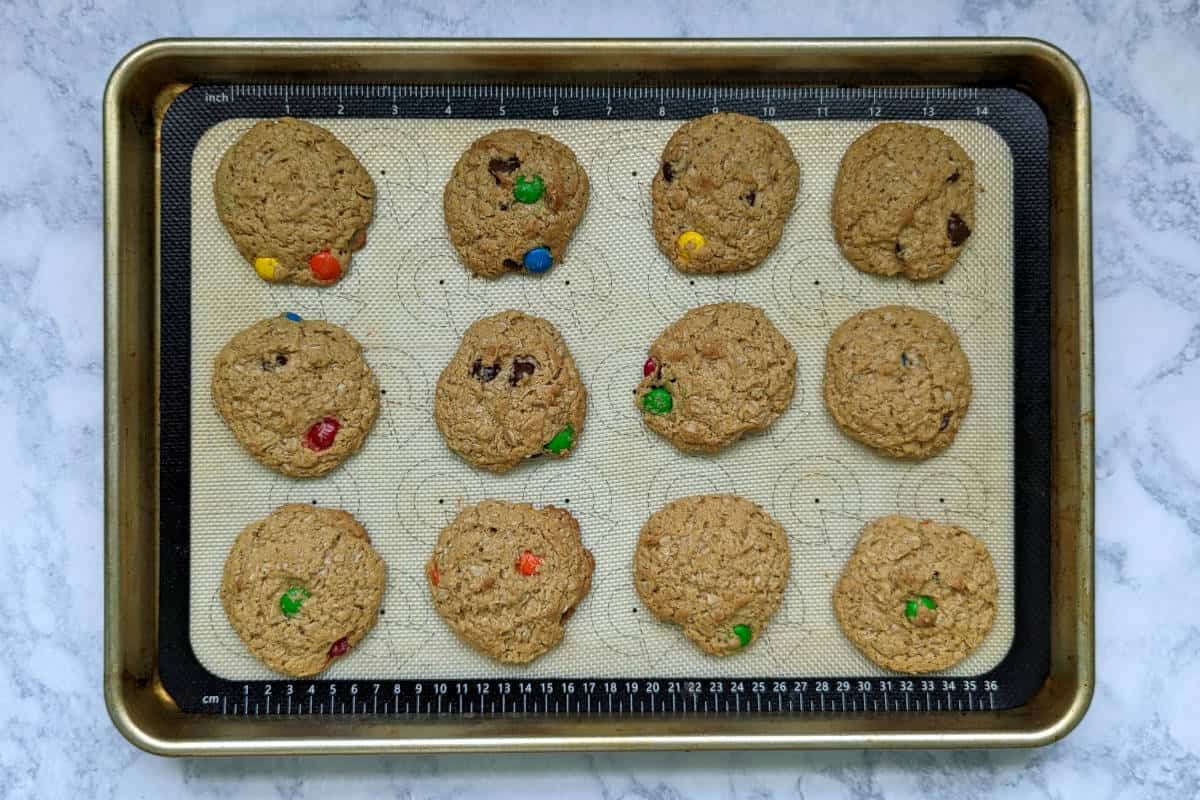
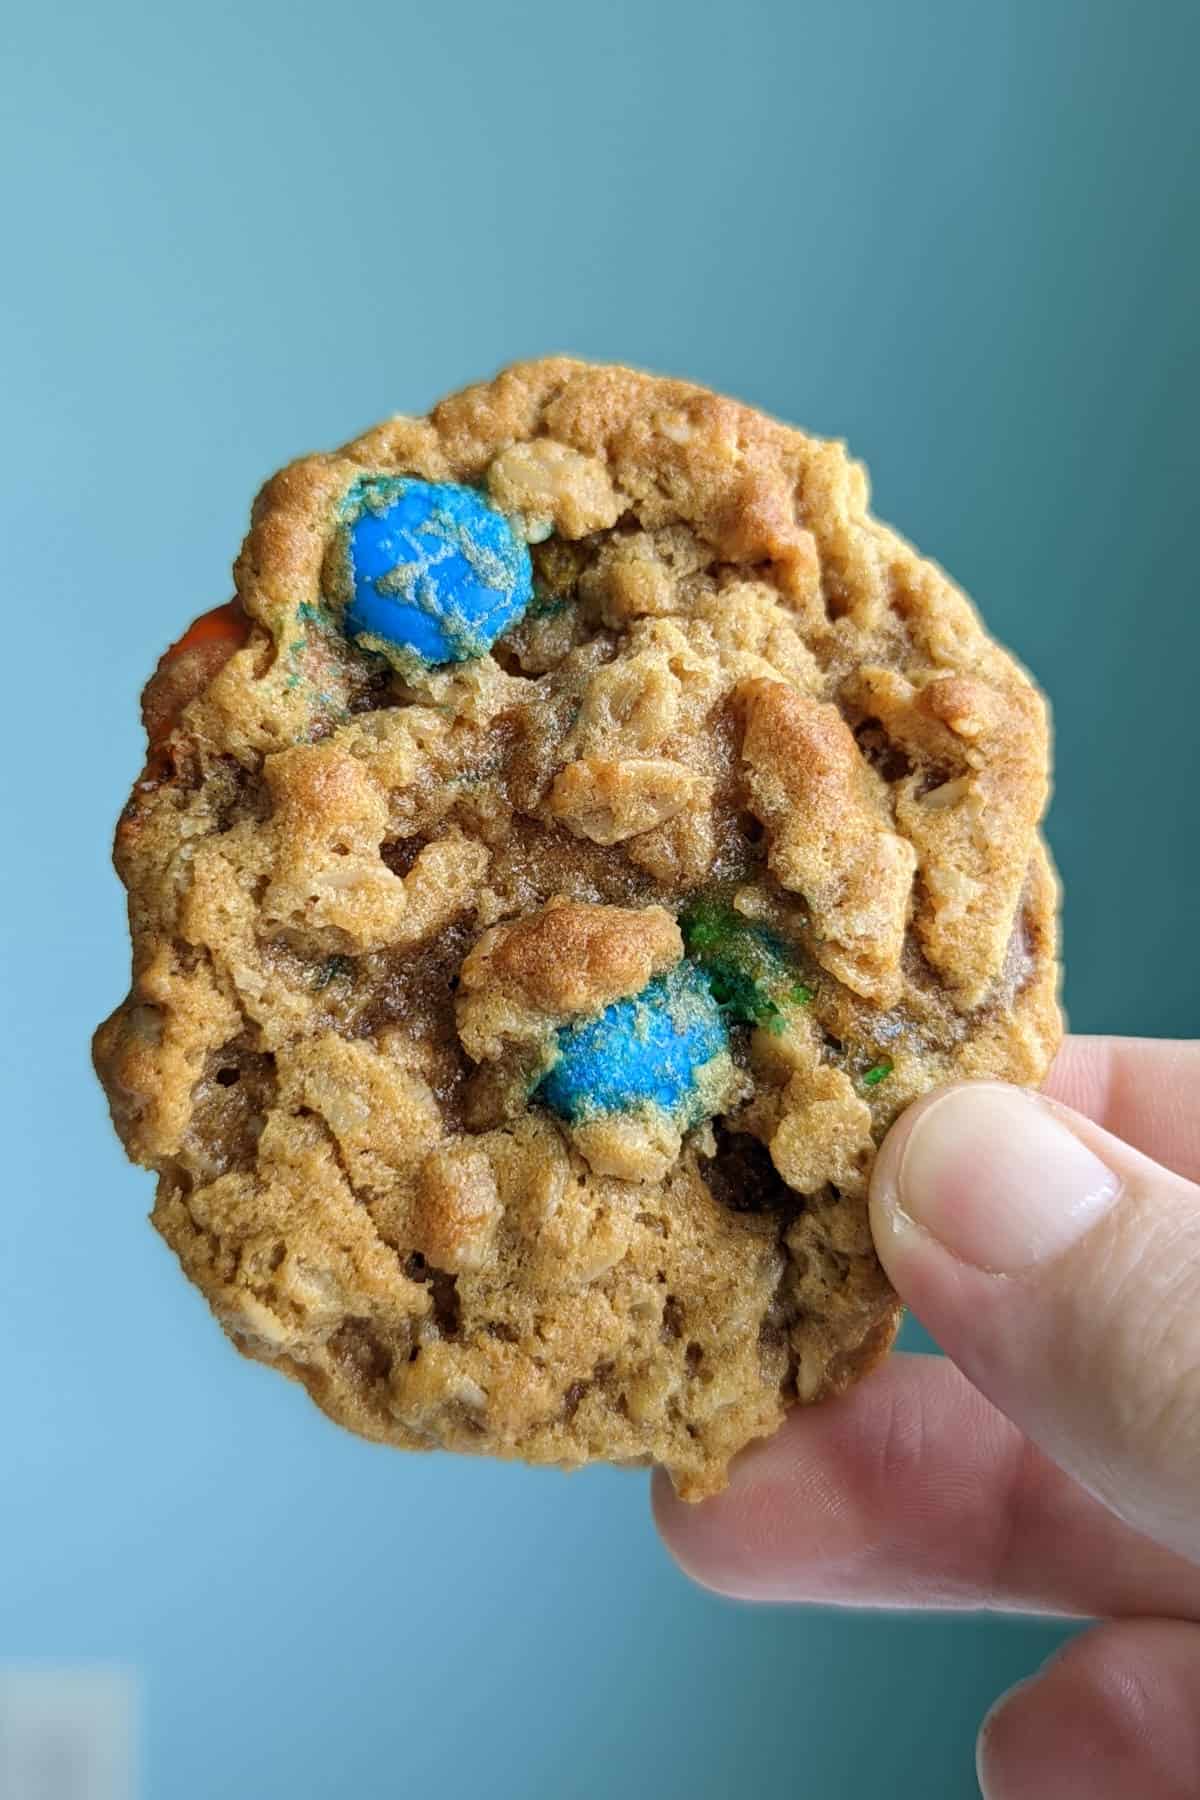
Cookies will be done when the tops look set and more-or-less dry. The cookies will be puffed up and slightly browned on top. (Cookies in the above picture were baked for 10 minutes.)
The cookies will be a bit soft when you remove them. Let them cool for 5-10 minutes before removing them from the sheet. They will deflate a little as they cool; that is normal.
Make Ahead
I usually bake one or two trays of these, and then save the rest of the cookie dough for another day, as I do with the majority of my cookies. The dough freezes well, and then you have cookies whenever you want!
Line a plate or a baking sheet with waxed paper or plastic wrap; this will help you pry the frozen balls of dough off later.
Scoop the cookie dough onto the lined sheet. Crowd the balls of dough as close as you can without them actually touching. Place the tray in the freezer, and leave them there until frozen solid. I often don't get back to them until a day or two later.
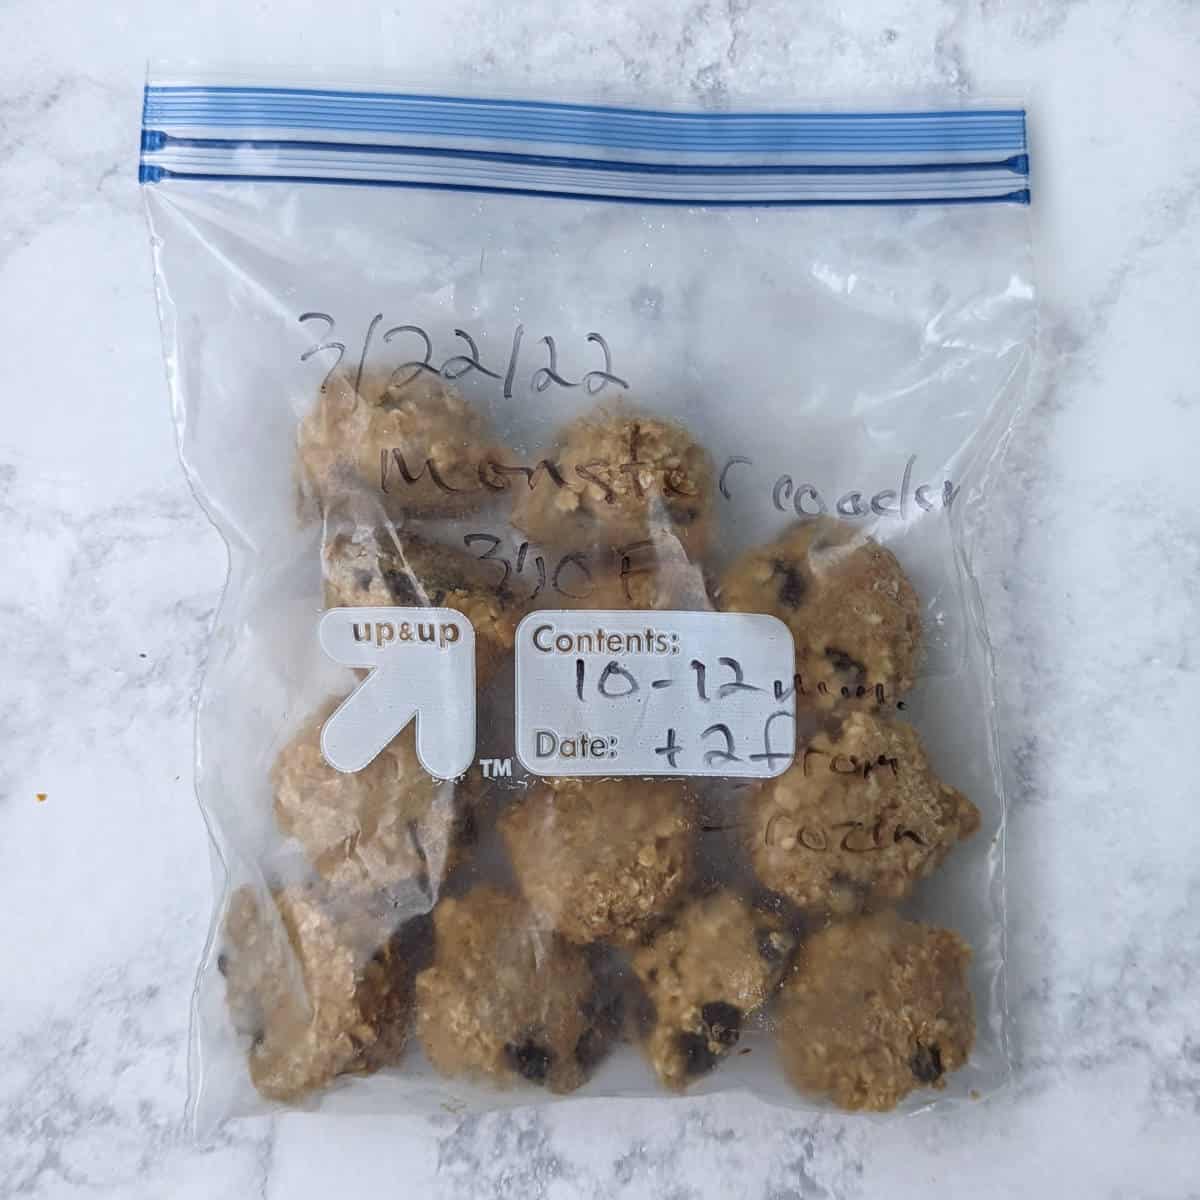
Label a freezer bag with the date and baking instructions. Then pry the dough from the sheet and place them in the bag, squeezing out as much air as possible.
Whenever you want cookies, just heat your oven to 350F. Don't thaw the cookies first - just put them on the baking sheet and bake them from frozen! You'll add a minute or two to the baking time.
Serving and Storage
Store the cookies in an air-tight container at room temperature. Cookies are best on the day they're made, and they're still pretty good on the day after. If you've added corn syrup, they'll still be pretty chewy by day 3. (I've never had any leftover after that!)
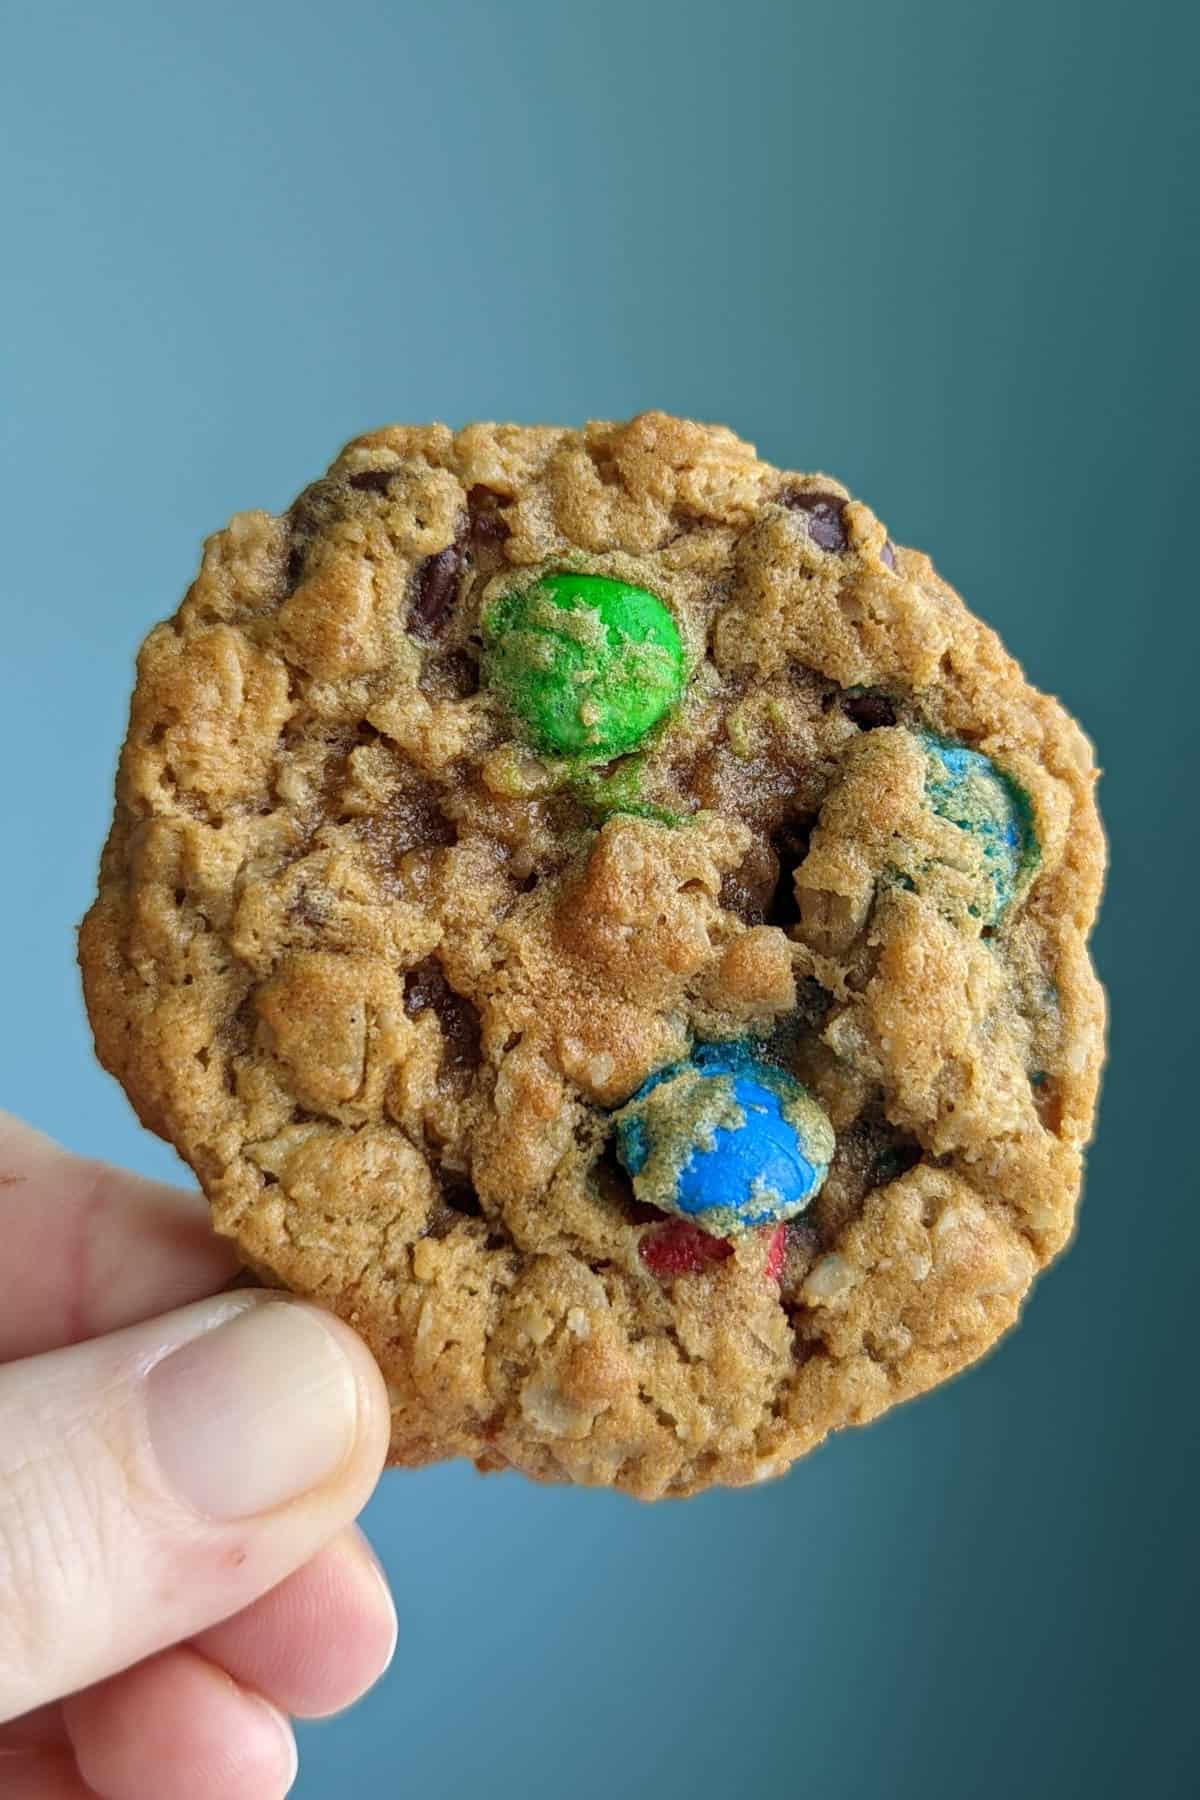
There's no wrong way to serve the cookies. They're only made from oats - that makes them breakfast, right? They're a hearty snack, and I recommend a cold glass of milk to go along with them, if that's your thing.
These are definitely a favorite here at my house. I hope you love these cookies as much as we do!
Interested in other recipes? I save and share recipes I like or want to try on my Pinterest page - follow me there! You can also check out my Facebook page for more recipes and helpful tips. I'm also happy to try to help troubleshoot my recipes there.
Have you tried this recipe? Or have a question about it? Rate it or leave a comment below! (PS: rating my recipes helps other people find them, too!)
More Peanut Butter and Chocolate Treats
📖 Recipe
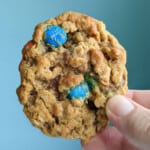
Delicious, chewy monster cookies, made with chocolate chips, M&Ms, and lots of peanut butter. This recipe has only oats and no flour, which makes them 100% whole grain, and gluten-free if you use gluten-free oats!
- 8 tablespoons butter (113 grams; softened)
- 1 ½ cups peanut butter (384 grams)
- 1 ¼ cup brown sugar (250 grams)
- 1 cup granulated sugar (200 grams)
- 1 ½ teaspoon corn syrup (10 grams; optional but recommended)
- 3 eggs (~150 grams)
- 1 ½ teaspoon vanilla extract (7 grams)
- 4 ½ cups rolled oats (360 grams; old-fashioned or quick are both fine)
- 2 teaspoons baking soda
- 1 cup chocolate chips (170 grams/6 ounces)
- 1 cup M&Ms (212 grams/7.5 ounces)
-
With a stand mixer or hand mixer (affiliate link), combine butter, peanut butter, sugars, and corn syrup. Mix at medium speed for 1-2 minutes, until mixture has lightened in color.
-
Scrape the bottom, and then add vanilla and eggs. Mix again on medium speed for about 1 minute, until everything is combined. Scrape the bottom again to look for unmixed bits.
-
Add in the oats and the baking soda. (Switch to a rubber spatula if you were using a hand mixer (affiliate link).) Stir on low until everything is mixed in, pausing to scrape the bottom as you go.
-
Add the chocolate chips and M&Ms. Stir on low just to combine.
-
Using a medium, 1 ½ tablespoon (or #40) cookie scoop, or two spoons, portion dough onto parchment or silicone-lined baking sheets, leaving 2 inches between cookies.
-
Bake at 350F for 10-12 minutes. (11 is perfect in my oven, but yours may be different.) The tops will look set and dry, and they will be slightly browned and a little puffy on top, though they will deflate as they cool.
-
Cool for 5-10 minutes before removing from the baking sheets.
-
Scoop the cookie dough onto plates or cookie sheets lined with waxed paper or plastic wrap. Crowd them on as closely as possible, without letting them touch.
-
Freeze dough until solid. Remove the balls of cookie dough and store them in a labeled freezer bag.
-
To bake, heat your oven to 350F. Place balls of cookie dough 2 inches apart on your parchment-lined sheets. Bake, from frozen, for 12-14 minutes.
Oats are naturally gluten-free, but are often processed on the same machinery as flour. To make these cookies officially gluten-free, choose certified gluten-free oats.
Both old-fashioned oats and quick-cooking oats work fine in this recipe. I often have both and use a mix. Do not use instant oats (too mushy) or steel-cut oats (which are too thick).
I use regular grocery store creamy peanut butter. Do not use "natural" peanut butter that that you have to stir and store in the fridge. It has no sugar or oil added, and the cookies will not turn out right.
Corn syrup is optional, but recommended. Corn syrup helps keep the cookies soft and chewy. The cookies will be delicious without it on day 1, and often still good on day 2. But by day 3, the cookies made without corn syrup will start to seem stale.
These cookies freeze incredibly well. Bake one or two sheets when you make the dough, and follow the freezer instructions to save the rest of the dough for later.
Calorie count is an estimate only.
Recipes from the Past




Leave a Reply