
I love making candy in December - it fills me with such happiness (and sugar). Since I make so much, I stick to recipes that consistently turn out well. That's why this Peanut Butter Fudge recipe, one my friend Lori inherited from her Grandma Wright, makes it onto my Christmas dessert list!
Lori shared the recipe in 2022, and it turned out perfectly on the first try. Just like Lori's Grandma Wright, I now make a batch of it each year to give to friends and family.
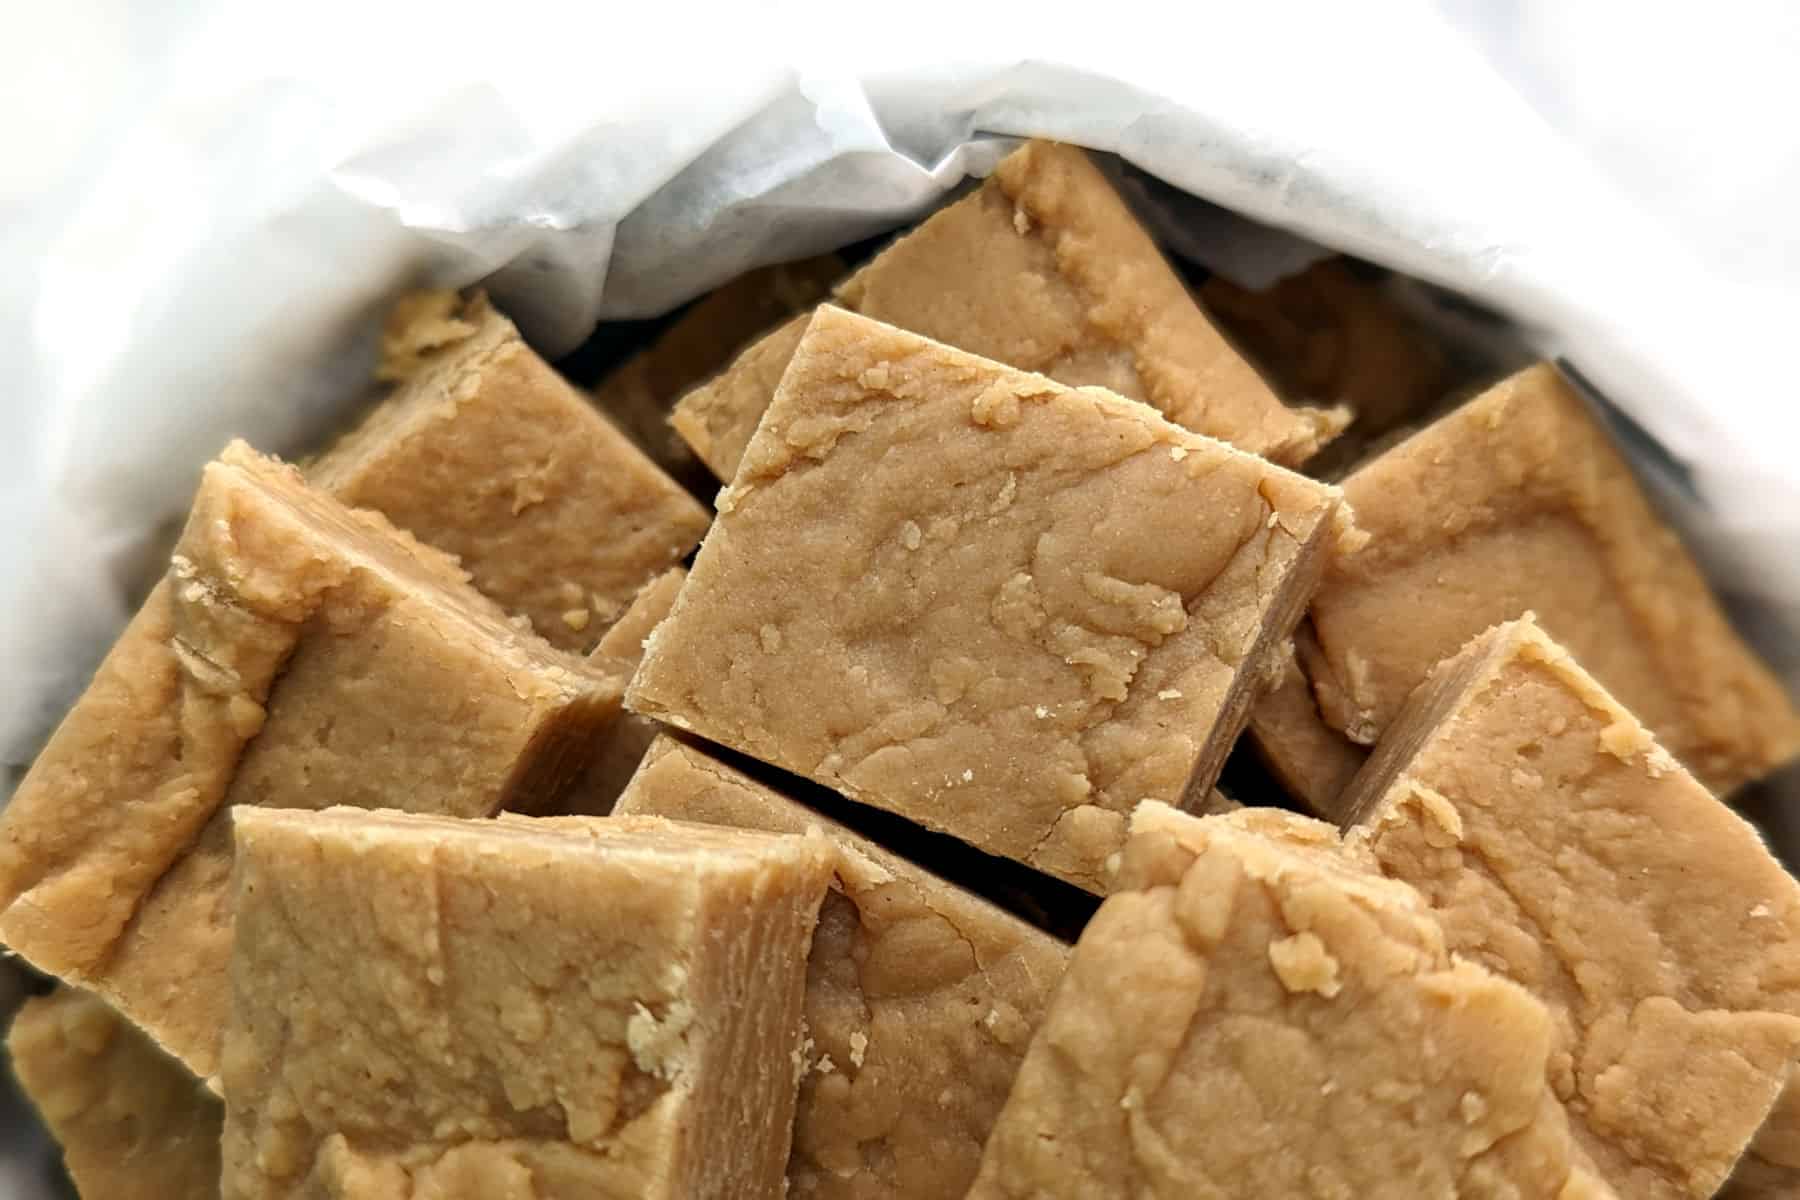
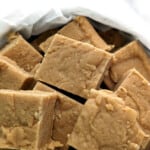
This homemade peanut butter fudge takes just six ingredients and 30 minutes to make. Each piece is firm at first bite, then melts into smooth creaminess. A single batch makes plenty of fudge to share during the holiday season.
Jump to:
Why You'll Love This Recipe
Here's why Grandma Wright's Peanut Butter Fudge deserves a spot on your holiday dessert table:
- Quick and Easy: Just 6 pantry-friendly ingredients and only 30 minutes!
- Straightforward: It's ready to pour when the marshmallows have dissolved - no guesswork!
- Versatile: Casual enough for last-minute parties, but festive enough to serve alongside fancy cookies.
- Generous: One batch makes plenty to share with friends and family.
What Is Fudge?
I always thought "fudge" was synonymous with chocolate, but I've learned that's not true. Simply, fudge is a creamy yet dense candy made from a sugar syrup cooked to the soft ball stage of 234-240 Fahrenheit, and then beaten to create a smooth consistency. It's often chocolate flavored in the United States, but it certainly doesn't have to be.
Fudge originated in the US sometime during the late 1800s, according to Wikipedia. It may have come into being like most things - through happy accident - when someone fudged up a caramel or fondant recipe and ended up with a new confection.
Traditional fudge uses a sugar-milk syrup cooked to 234 Fahrenheit. It's then cooled, untouched, to 110F, at which point you beat it with a wooden spoon until your arm falls off or your wooden spoon breaks. [This is only half a joke. It's difficult and tiring, and I broke a wooden spoon trying to make traditional fudge during high school.]
Fortunately for us modern cooks, recipes were developed in the mid-20th century that use convenient ingredients like evaporated milk and marshmallows. This makes candy-making much easier, and much more successful!
Grandma Wright's Vintage Recipe
Homemade fudge is a little old-fashioned - in the best way! My own grandma and great-grandma had candy recipes on index cards, and I'm sure that some of yours did too. So when my friend Lori offered up her Grandma Wright's peanut butter fudge recipe to me, I was thrilled.
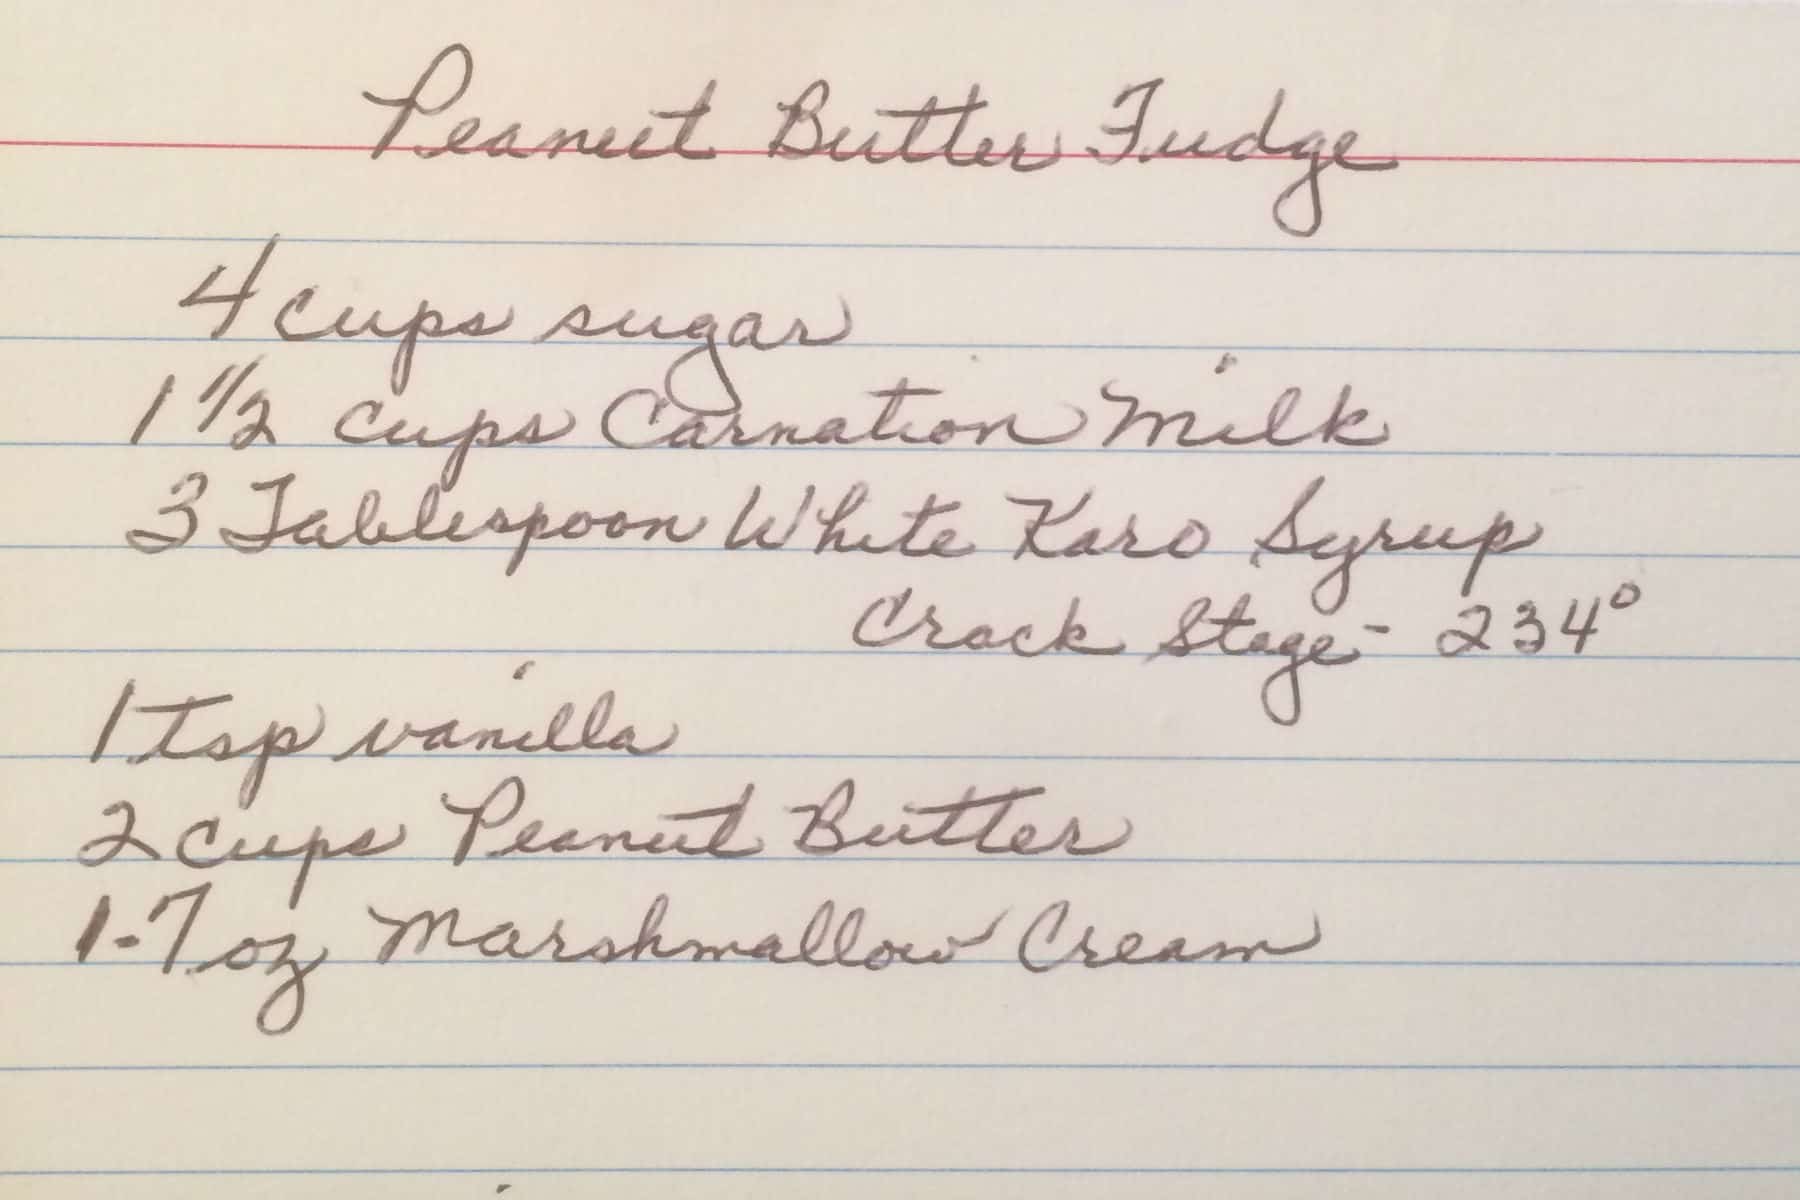
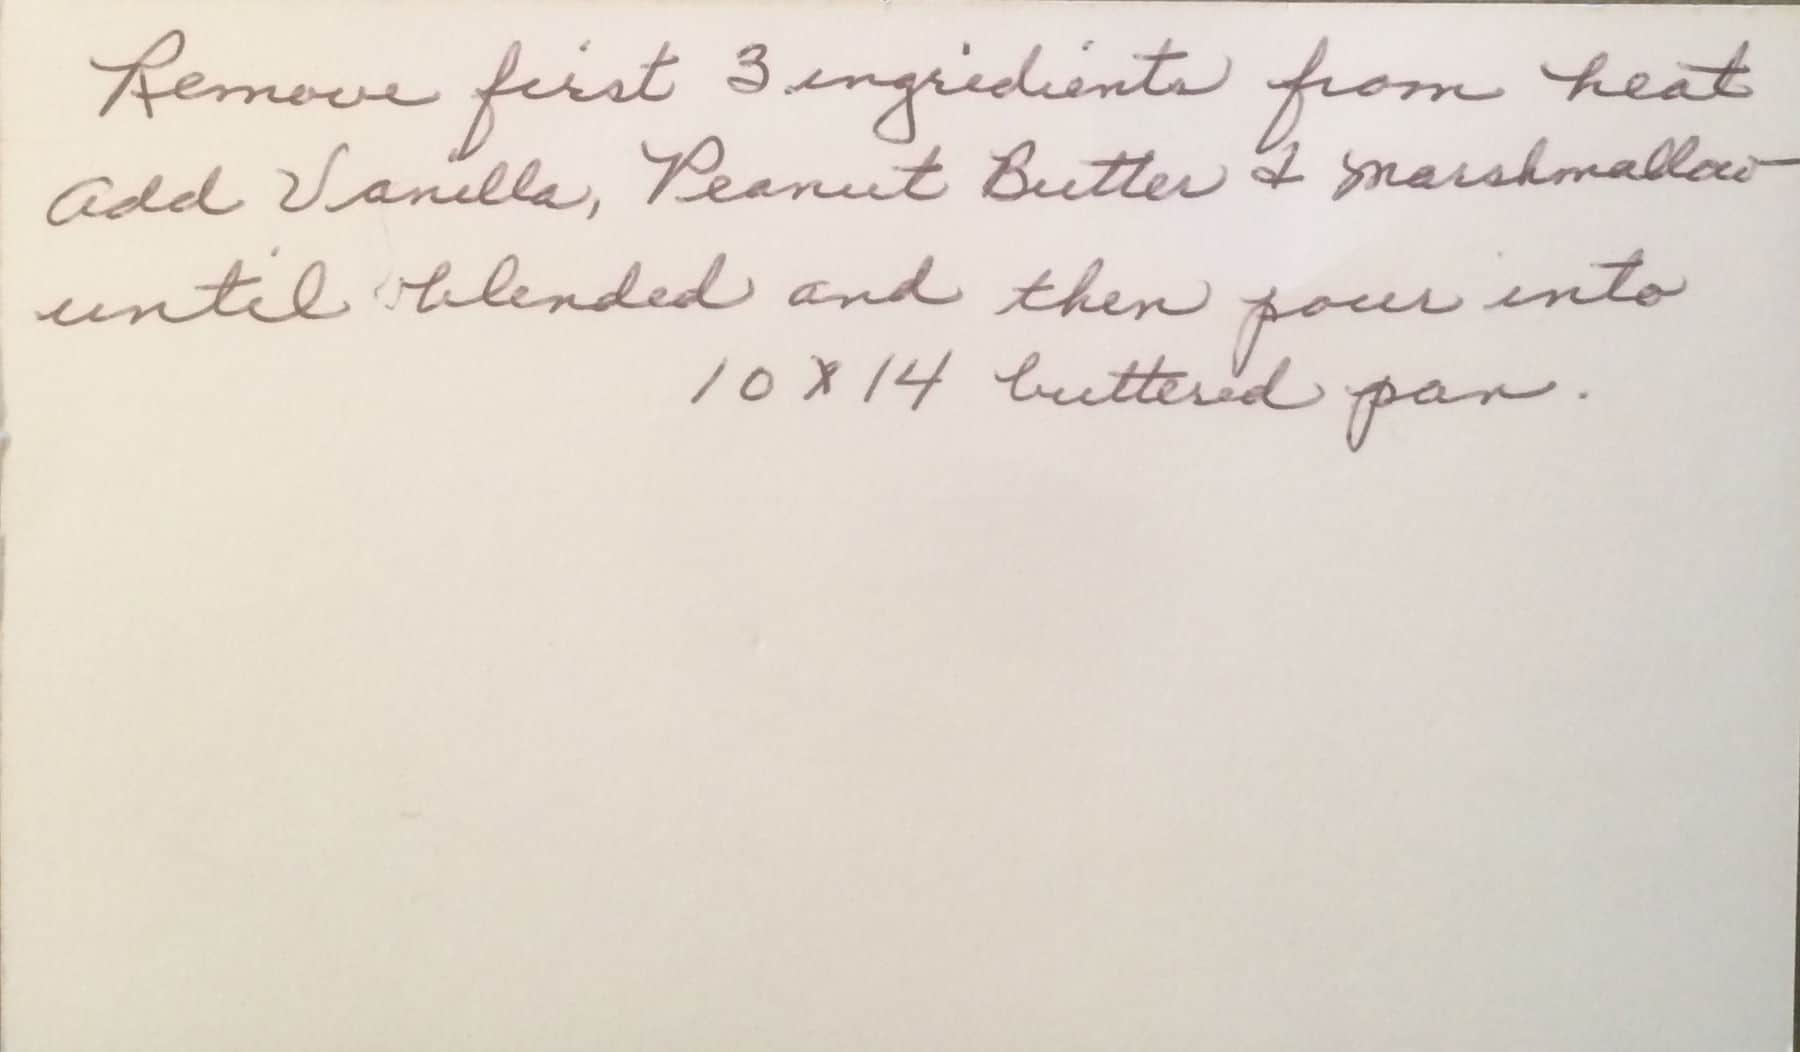
Here's a glimpse of her handwritten card - just look at that beautiful handwriting! I certainly can't write like that. Handwritten recipes evoke so many memories, even if they don't spell out every detail.
Grandma Wright made this fudge year after year and didn't need to write out many instructions. That makes it tricky for those of us reading those cards today, especially if we don't make candy often! I love when I can recreate these family favorites and make them accessible, even if it's online instead of on paper, so that we can all enjoy the treats that generations before us treasured.
Ingredients
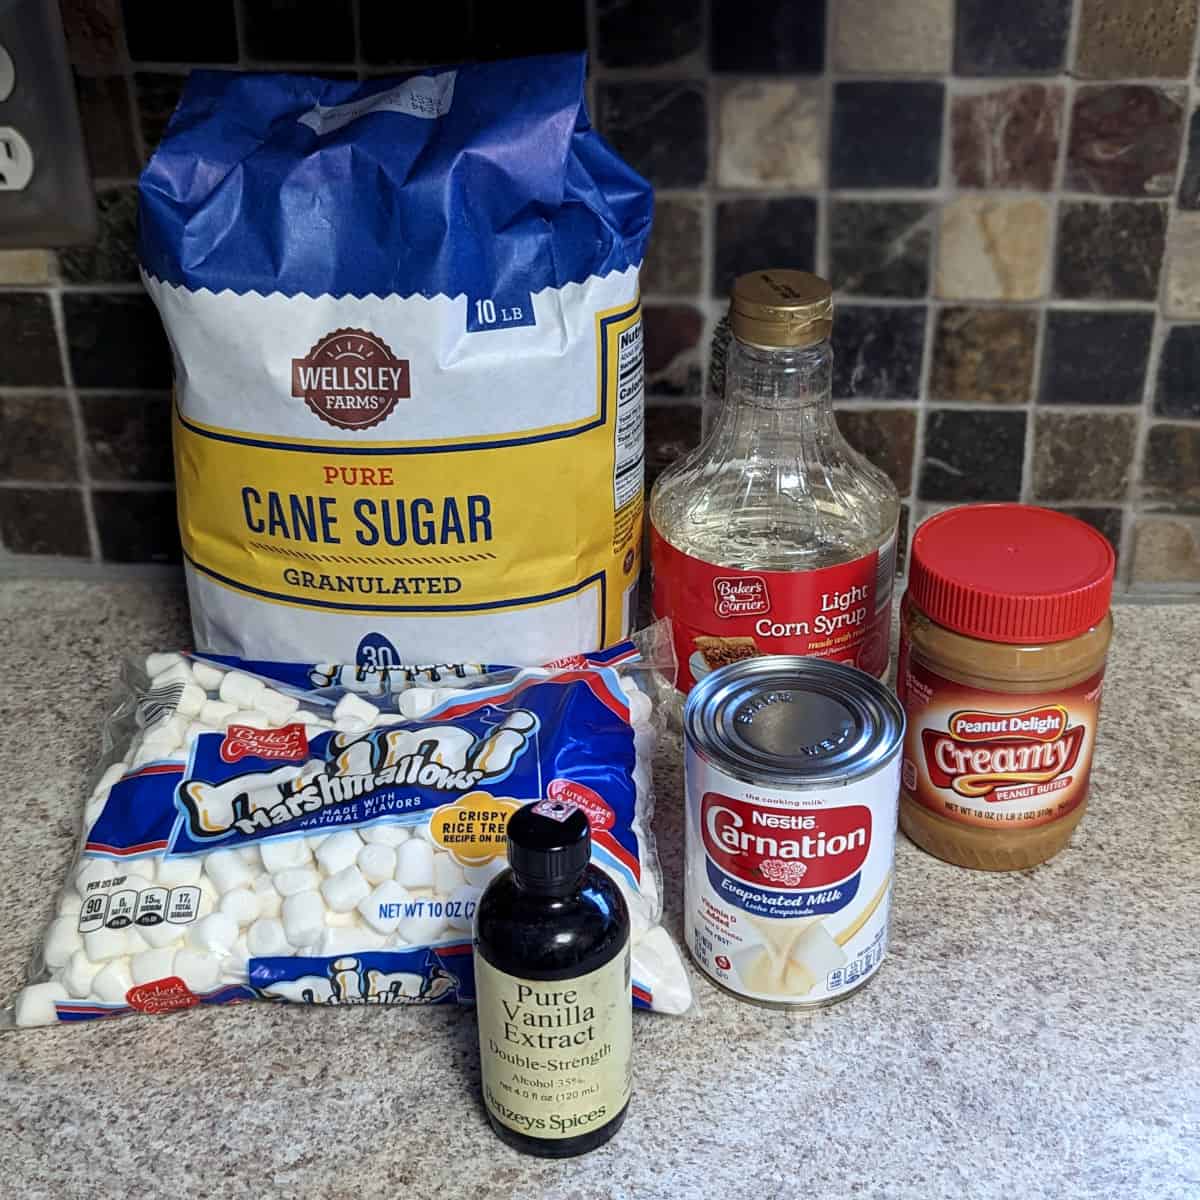
You need just a handful of pantry staples to make peanut butter fudge. Just sugar, corn syrup, evaporated milk, vanilla, marshmallows, and peanut butter!
Corn syrup stabilizes the syrup. It prevents crystallization and keeps the texture smooth.
Evaporated milk is simply milk that has been cooked down. It is unsweetened. Don't use sweetened condensed milk, which is very different and won't work in this recipe!
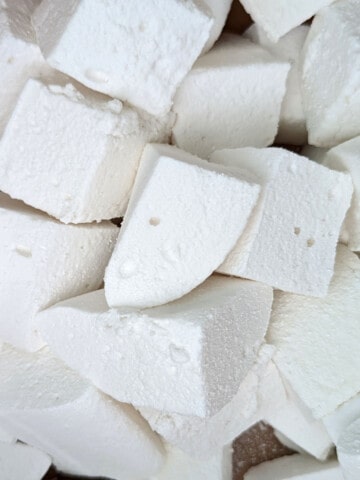
Marshmallows dissolve into the hot syrup. They're already whipped and full of air, making your fudge foamy and not too dense. Stirring them until they melt turns the mixture from syrup into fudge, improves the texture of the candy, and helps set the fudge as it cools. Grandma Wright used marshmallow fluff, but mini marshmallows are less expensive.
Peanut Butter Notes
Use conventional, shelf-stable peanut butter here. Reduced-fat, reduced-sugar, and natural varieties without added sugar or oil will affect the texture and flavor.
Not all jars of peanut butter weigh the same. (Thanks, shrinkflation!) You'll need an entire 18-ounce jar of peanut butter, which equals 2 cups. Aldi brand still weighs 18 ounces, while Shoprite and Target brands are around 16 ounces, around 1 ¾ cups. Always check the package size so you don't end up short on peanut butter.
Equipment
The Essentials
Candy Thermometer: A candy thermometer (affiliate link) ensures you cook the syrup to the right temperature. I like to use a paddle-style thermometer because it rests safely on the bottom of the pan without the bulb touching the hot metal. You can also use a probe thermometer (affiliate link), preferably clipped to the side of the pan. A thermometer is more reliable than testing by dropping candy syrup into water, which I don't have the patience for.

Sturdy-Bottomed 4-Quart Pot: Thin pots will have hot spots that will spoil the syrup. Use something with a heavy bottom. I avoid non-stick as I tend to scratch it up.
Metal 9x13 Inch Pan: You can use whatever pan, whatever shape you want. I use a 9x13-inch pan (affiliate link); the fudge is thick, so I don't recommend you go smaller. Grandma Wright used a 10x14 inch pan.
The Nice-to-Haves
Parchment Paper: While you can grease or butter the pan, I recommend lining it with parchment paper so that you can lift the fudge from the pan easily for cutting. Fudge is easiest to cut neatly for gifting when lifted out of the pan.
Silicone Spatula: A heat-safe one makes it very to mix the marshmallows and peanut butter into the syrup, and scrapes more fudge out of the pot than a wooden spoon!
Bench Scraper: It cuts cleanly and evenly. A butter knife also works, just not as neatly.
Instructions
Any time you make candy, prepare your ingredients and equipment before starting. I gather as I go for many recipes, but I don't *fudge* around with prep when it's a candy recipe.

- Grease or line a 9x13-inch pan with parchment paper. Since I use a digital food scale to measure, I use the pan to weigh my marshmallows out.
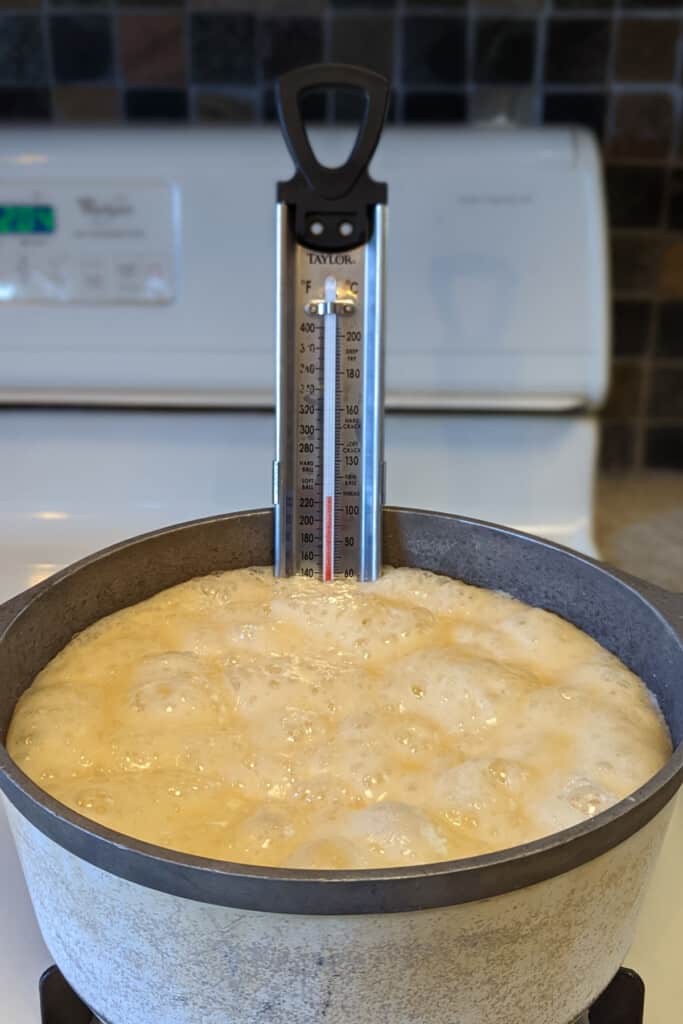
- Combine sugar, evaporated milk, and corn syrup in a 4-quart, heavy-bottomed pot. Cook on medium to medium-high heat, stirring and scraping the bottom occasionally, until the syrup comes to a boil.
When the mixture begins to boil, stop stirring it. Insert a candy thermometer.
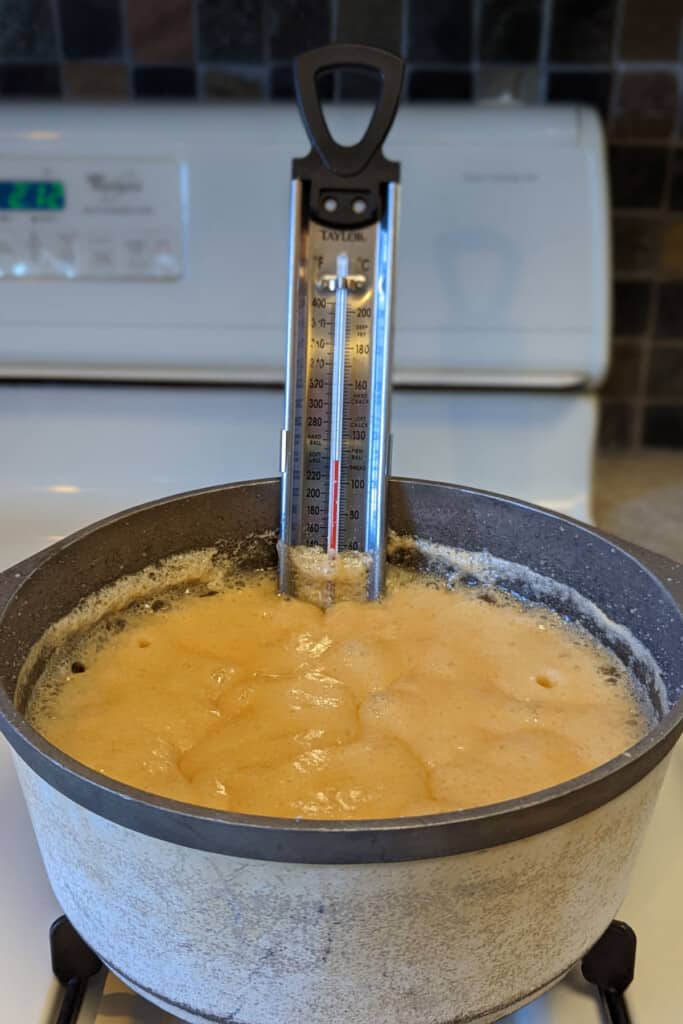
- Do not stir while the mixture boils. Cook until the temperature reaches 234F (or soft-ball stage), then immediately remove from heat.
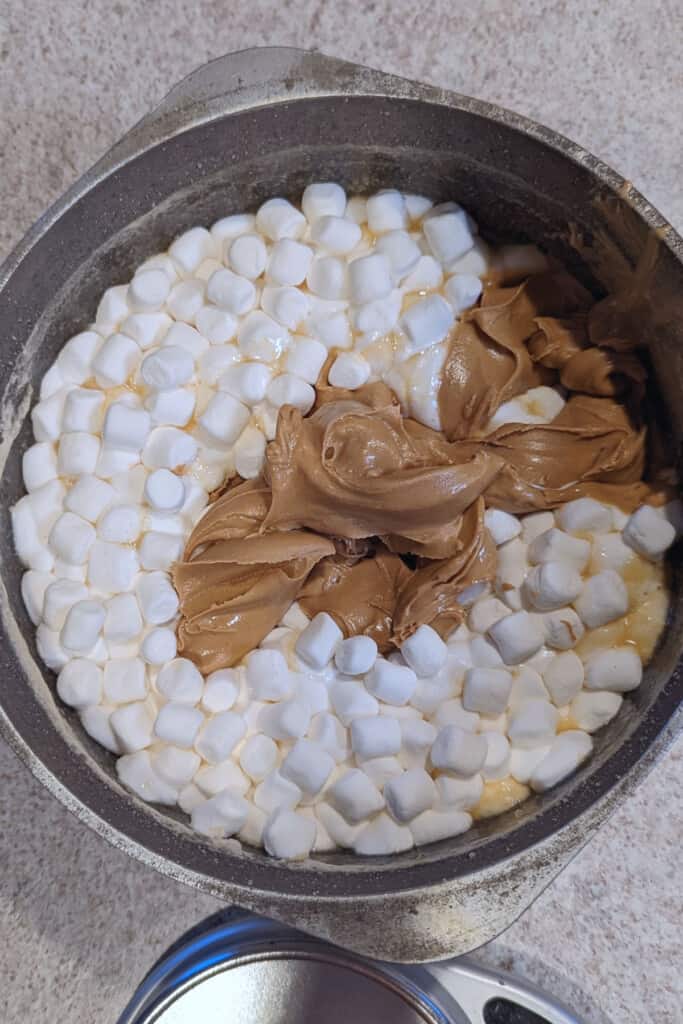
- Add the mini marshmallows or marshmallow creme, peanut butter, and vanilla to the pot. I try to submerge the marshmallows to speed along their melting.
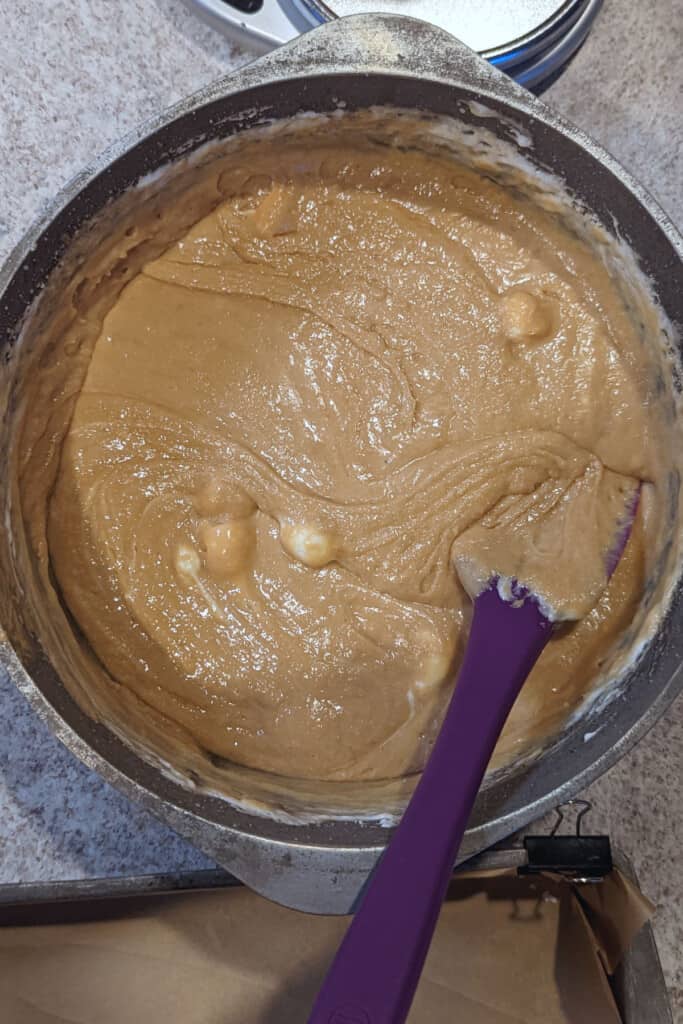
- Use a clean silicone spatula to stir, scraping the bottom, until the peanut butter and marshmallows are dissolved and the mixture is smooth. This is almost, but not quite there.

- Once there's just 2-3 miniature marshmallows left, scrape the fudge into your prepared pan, smoothing out the remaining marshmallows as you pour.
Let the fudge set for a few hours before cutting. Cover the pan with plastic wrap if you're leaving it overnight.
Hint: Sometimes the syrup will stick and brown a little on the bottom of the pot by the end of cooking, depending on the heat and specific pot. If you haven't used nonstick cookware, this isn't a problem as long as it's not burnt. Just don't scrape up those parts as you pour the fudge into the pan, and soak the pot before washing.
Serving and Storage
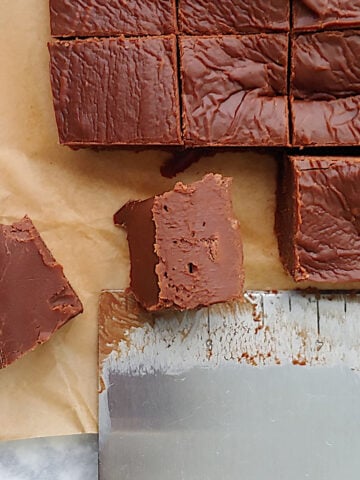
Once the fudge is set, use the parchment paper to lift it out the pan. Use the bench scraper to cut it into neat bricks or squares, and store in an airtight container. For fudge my family eats at home, I use metal tins lined with waxed or parchment paper, because it's festive.
If you're giving it out as a food gift, cut the fudge into rectangles. Wrap each bar tightly in parchment paper, then label it so you can tell it apart from sweets like Homemade Chocolate Fudge if you're making multiple kinds. Wrap each labeled bar in plastic wrap to keep air out.
Peanut butter fudge will keep for a few weeks at room temperature, and ships well.
Variations
Want to change things up? Try one of these easy variations.
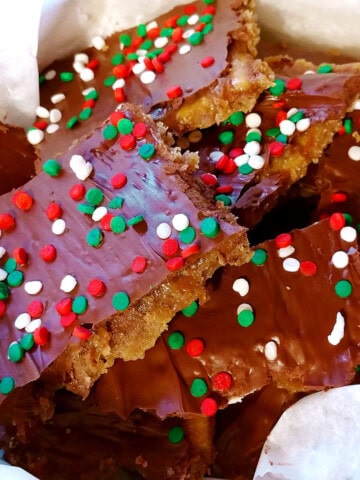
- Top with miniature chocolate chips!
- Add chopped peanuts for crunchy contrast. Salted or roasted would be fine; seasoned would not.
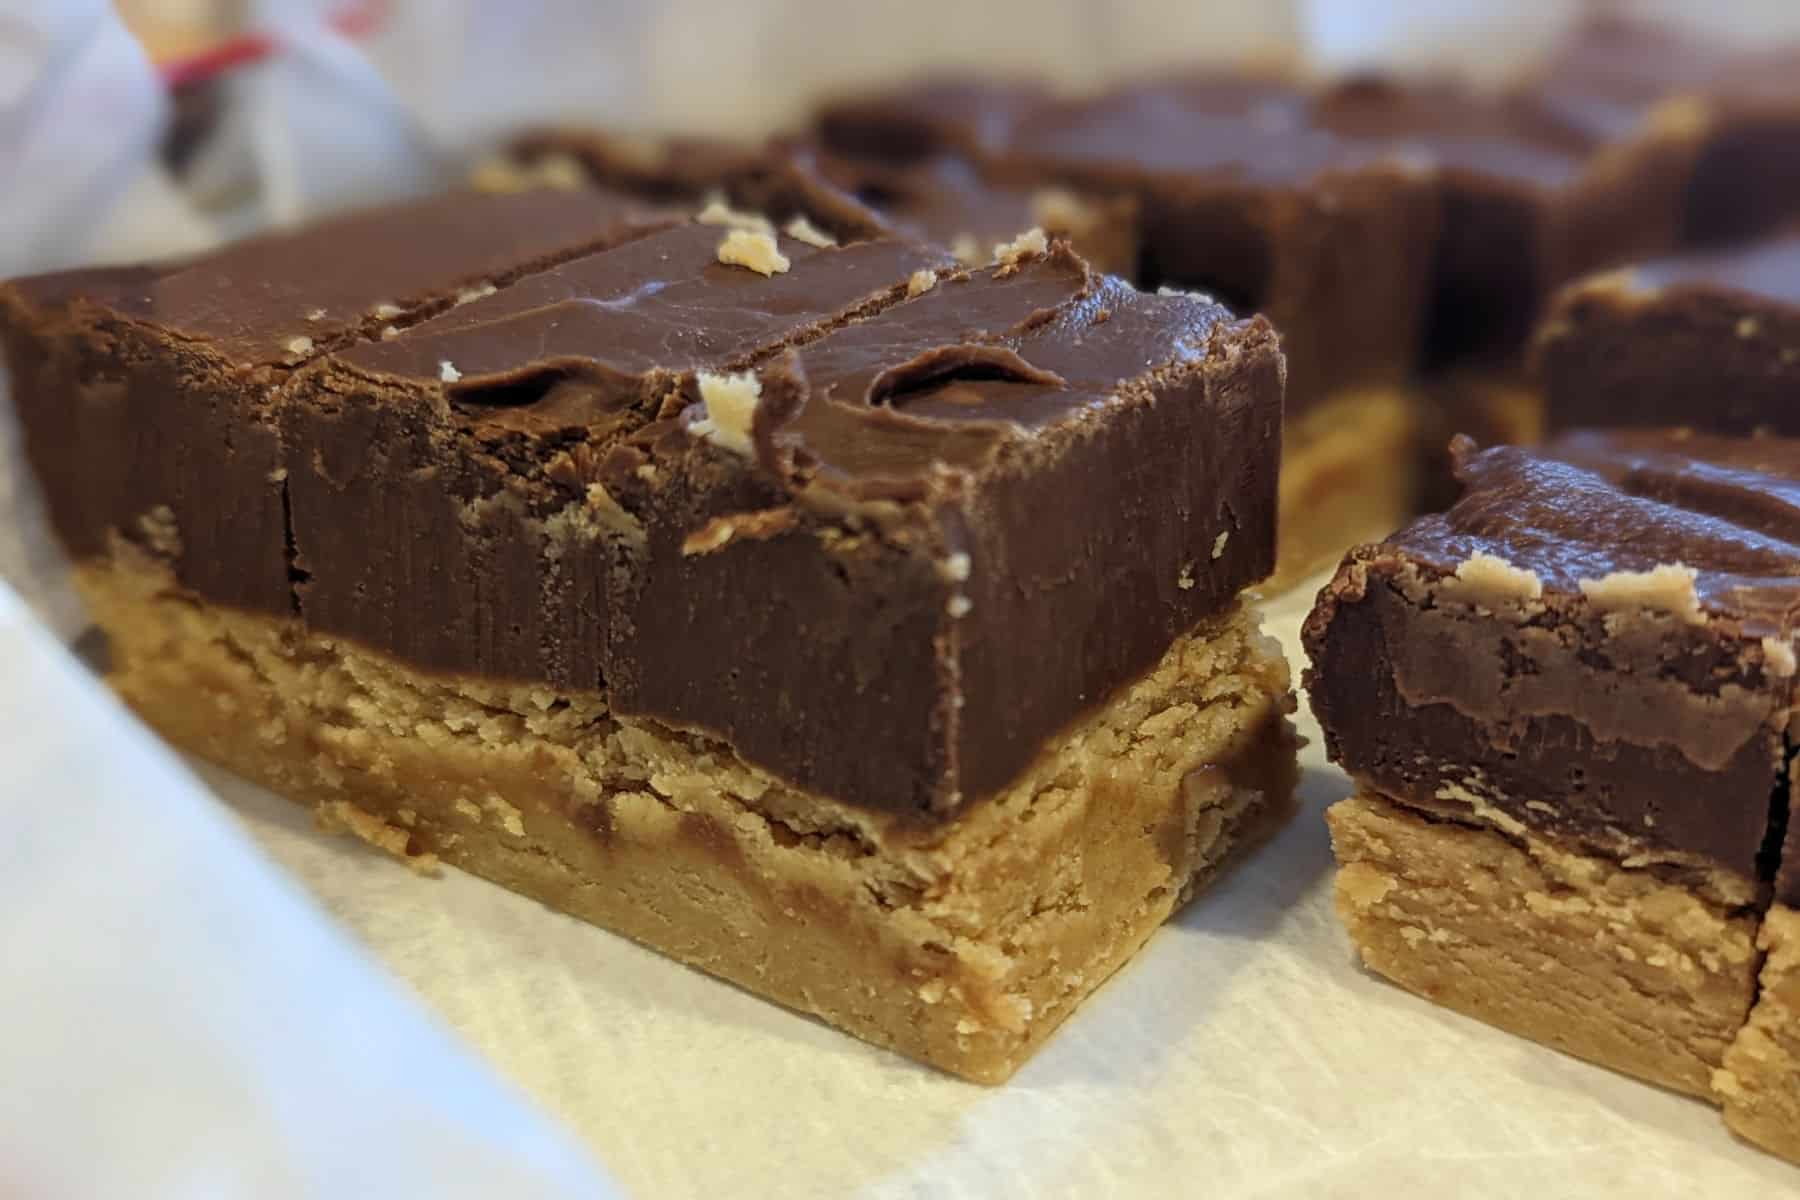
- For a layered treat, top this batch immediately with my Easy Homemade Chocolate Fudge. Not the quickest variation, but definitely delicious. Use a larger pan so layers stay thin and easy to bite.
Pro Tip
Don't undercook or overcook the fudge. Undercooking will make fudge have a peanut butter consistency; overcooking will make it stiffer.
Fudge-Making FAQ
You can't make this recipe with sweetened condensed milk, as it's much thicker than evaporated milk and would throw the entire recipe off. You're better off making a different recipe if sweetened condensed milk is all you can find.
Use traditional grocery-store peanut butter that has oil and sugar added. Brand doesn't matter, as long as it is a standard peanut butter (not low-fat or less-sugar) and the peanut butter doesn't separate. Do not use "natural" style peanut butters that must be stored in the refrigerator because they are not shelf stable. Single-ingredient peanut butters do not have the right texture and will not mix into the fudge properly.
Although there are visual cues you can follow to assess temperature when you make fudge, I don't generally recommend it because it's less accurate and you risk testing the candy too early (undercooked) or too late (overcooked). For this Peanut Butter Fudge recipe, I use a candy thermometer every time because it takes that guesswork out, and I know that the recipe will turn out properly. Always use a candy thermometer unless the recipe specifically does not use one, like my Easy Homemade Chocolate Fudge recipe.
Peanut butter fudge is shelf-stable for a few weeks; I sometimes make it a month in advance. Store in an airtight container, or wrap firmly in parchment paper followed by a layer of plastic wrap. Cut sides dry out more quickly, so I often store it in large bars and cut what I want to eat as I go.
If fudge is too soft, it is usually undercooked. If fudge is grainy, it is likely overcooked (too hot) or overmixed (sugar crystals formed).
Use soft fudge as a mix-in for Hershey's Best Brownies or ice cream. Grainy fudge that still tastes good can be blended with an equal amount of peanuts or chocolate chips and added to brownies, so you get the flavor but not the gritty texture.
No. Candy-making can be finicky, and doubled batches of fudge will not turn out. This recipe already yields around 3.5 pounds of peanut butter fudge.
I haven't tested this recipe without corn syrup, but I believe that an equal amount of honey or agave would work. I can't recommend skipping the liquid syrup entirely, as it improves the consistency of the cooked fudge.
The easiest way is to use a bench scraper. Press it straight down for clean, even cuts - no sawing necessary. You can also slide the bench scraper underneath the fudge to lift and transfer pieces to wrappers. Some bench scrapers include built-in rulers, which makes it simple to measure even slices.
Other Great Food Gifts
I hope this becomes a recipe you'll return to. If you try it, a star rating below helps others find it - and I'd love to hear how yours turns out in the comments! 💕 Questions or trouble? Drop a note, and I'll do my best to help.
📖 Recipe
Grandma Wright's Peanut Butter Fudge
Equipment
- Sturdy bottomed, 4-quart pot
- 9x13 inch pan
- parchment paper (optional)
Ingredients
- 4 cups sugar (800 grams)
- 1 ½ cups evaporated milk (370 grams/1 can; NOT sweetened condensed milk)
- 3 tablespoons white corn syrup (60 grams)
- 2 cups peanut butter (512 grams/ one 18-ounce jar, scraped clean)
- 7 ounces marshmallow creme (200 grams, or 4 ½ cups of miniature marshmallows, which I weigh out)
- 1 teaspoon vanilla
Instructions
- Combine sugar, evaporated milk, and corn syrup in a heavy-bottomed, large pot. Heat over medium to medium-high heat. Stir to mix the liquid, and then stir occasionally, scraping the bottom, while you bring it to a boil. This usually takes me about 10 minutes.
- Meanwhile, prepare your other ingredients and your baking pan. Line a 9x13 inch pan (or other pan) with parchment paper, or butter it well. Measure out your marshmallows, if using them instead of marshmallow creme. Measure out your peanut butter if you want a head start of scraping it from the jar.
- Once the mixture boils, insert a candy thermometer (affiliate link) into the liquid. Be sure the bulb of the thermometer doesn't touch the bottom. Do not stir.
- Cook until the syrup reaches 234F (the soft ball stage of candy making). Remove the pot from heat.
- Add the peanut butter, marshmallows, and vanilla. (I usually add marshmallows first to give them a head start to dissolve.)
- Use a clean silicone spatula to stir constantly until everything is smooth and mixed well. The mixture thickens and stiffens up quickly once most of the marshmallows are dissolved.
- Pour the fudge into the prepared pan. Scrape it into the prepared pan. (I sometimes pour it when I have just 2-3 mini marshmallows remaining, and smooth them out in the pan.)
- Let the fudge set at room temperature for at least 2-4 hours. Cover with plastic wrap if leaving overnight before cutting.
- Lift the parchment from the pan to remove the fudge. Cut into bars if sharing as gifts, or into squares. Yields about 3.5 pounds of fudge.
- Wrap bricks of fudge in layers of parchment paper and plastic wrap if giving as gifts. Otherwise, store in an airtight container at room temperature for a few weeks.


Leona Konkel says
I almost always make 2 batches - one to give away, and one for us to enjoy all December. I hope you love it as much as our families do!