
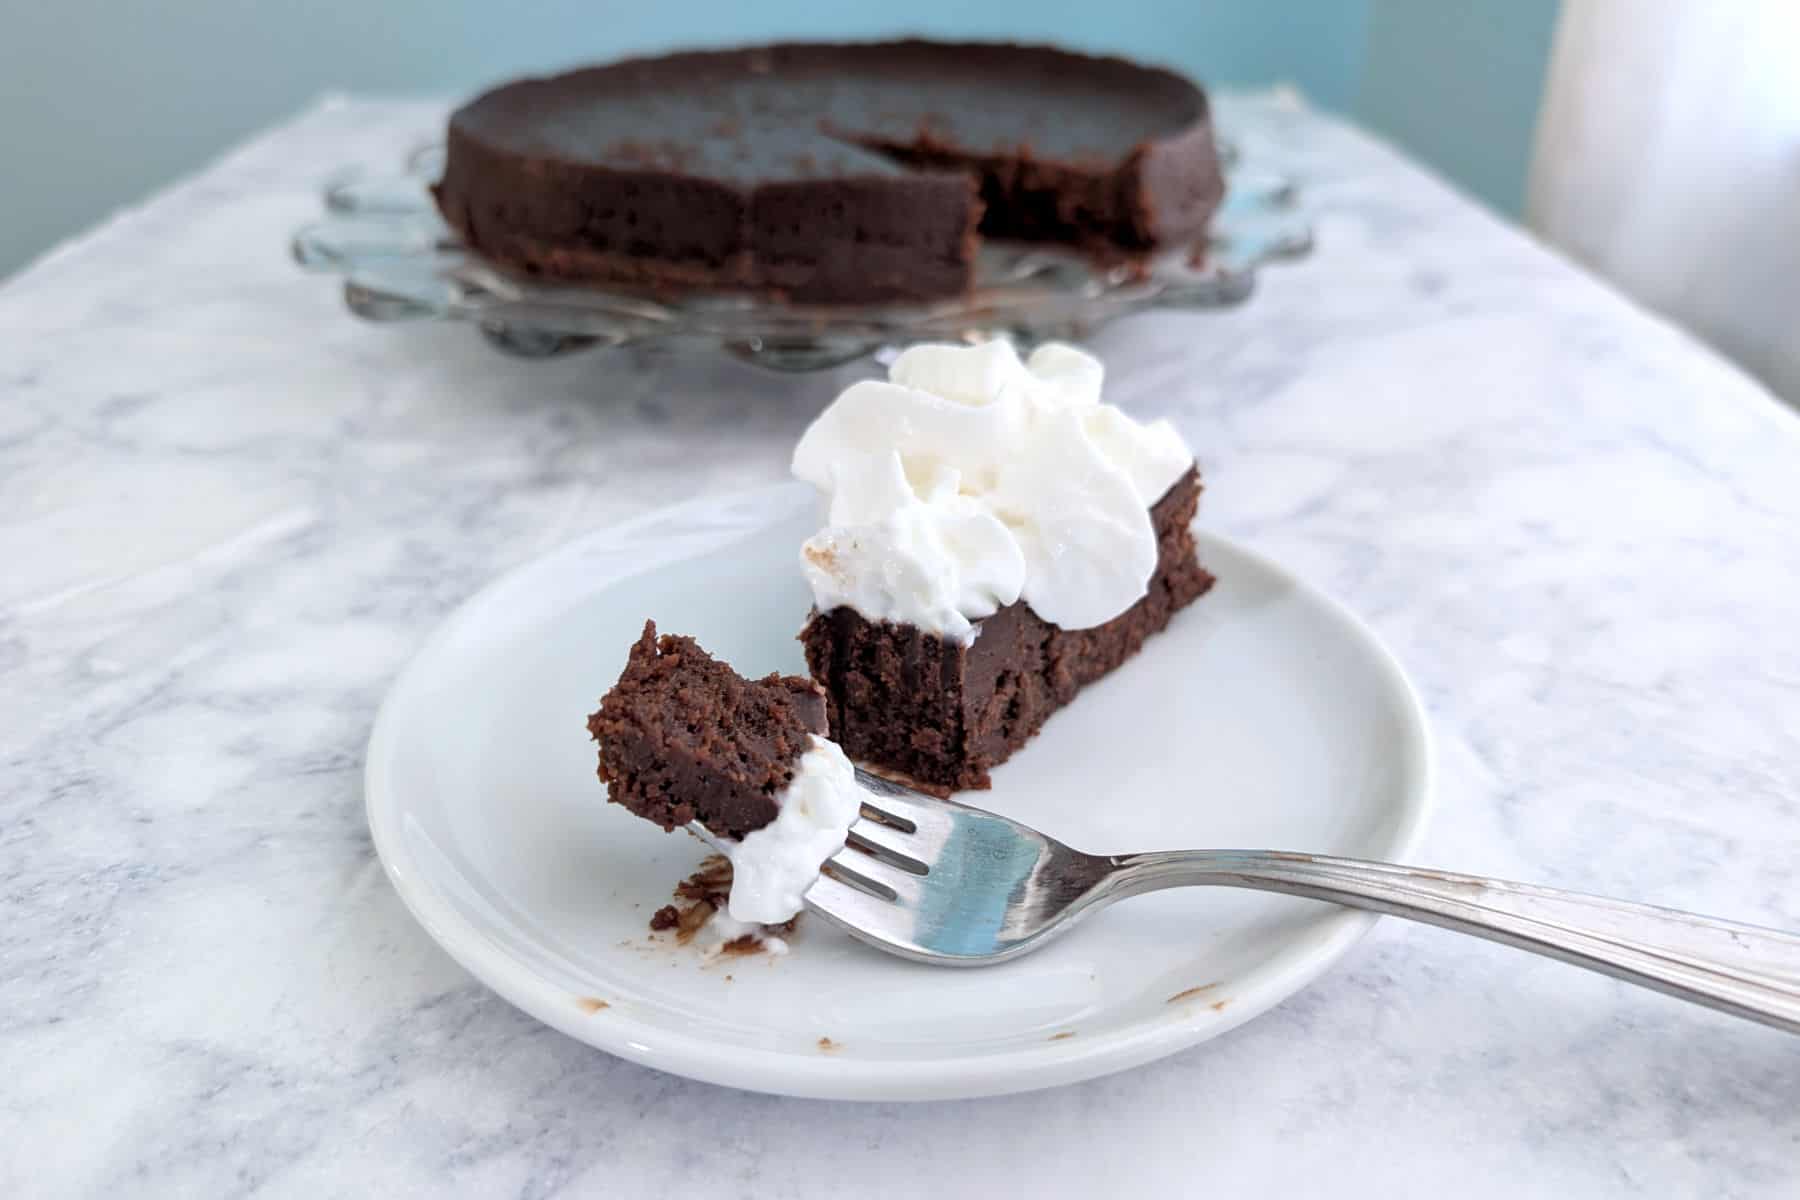
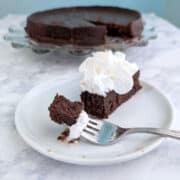
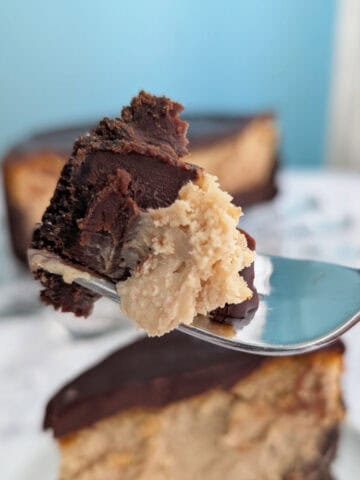
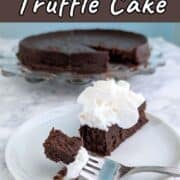
My Chocolate Truffle Cake is a rich, incredibly easy-to-make flourless chocolate cake. No separating eggs, no mixer. Just 4 ingredients that create a dense, delicious, gluten-free chocolate cake!
I first made this cake for friends at book club, who called it "Chocolate Truffle Cake." This rich, dense cake melts in your mouth, just as a truffle does.
Believe it or not, it's even good if you overbake it a little bit. It sounds almost too good to be true, but it's real!
Jump to:
Why I Love This Chocolate Truffle Cake
Here's what makes this Chocolate Truffle Cake so irresistible:
- Dense, silky, truffle-like texture
- Just 4 simple ingredients that deliver big chocolate flavor
- Easy to make - no mixer, no egg-separating required
- Naturally gluten-free and perfect to make ahead
SUMMARIZE AND SAVE THIS CONTENT ON:
Ingredients You'll Need
This recipe takes just 4 ingredients:

I use the cheapest butter, eggs, and sugar I can buy. Since chocolate is the main flavor, it shines, and you want to use good stuff if you can. I used a mixture of Nestle, store-brand, and Ghirardelli chocolate chips (affiliate link) this time because that's what I had in my house. Still delicious, although I would have preferred all Ghirardelli.
The recipe takes 6 eggs. This is a flourless, gluten-free chocolate cake, so eggs help provide the structure of the cake and aerates it a little so it's not as dense as a ganache. There's no substitute for them.
Recommended Equipment
Although it's a simple recipe with just 4 ingredients, you still need some equipment. But at least you don't need a mixer!
Use a wire whisk (affiliate link) to beat the eggs and batter. Nothing else will work properly.
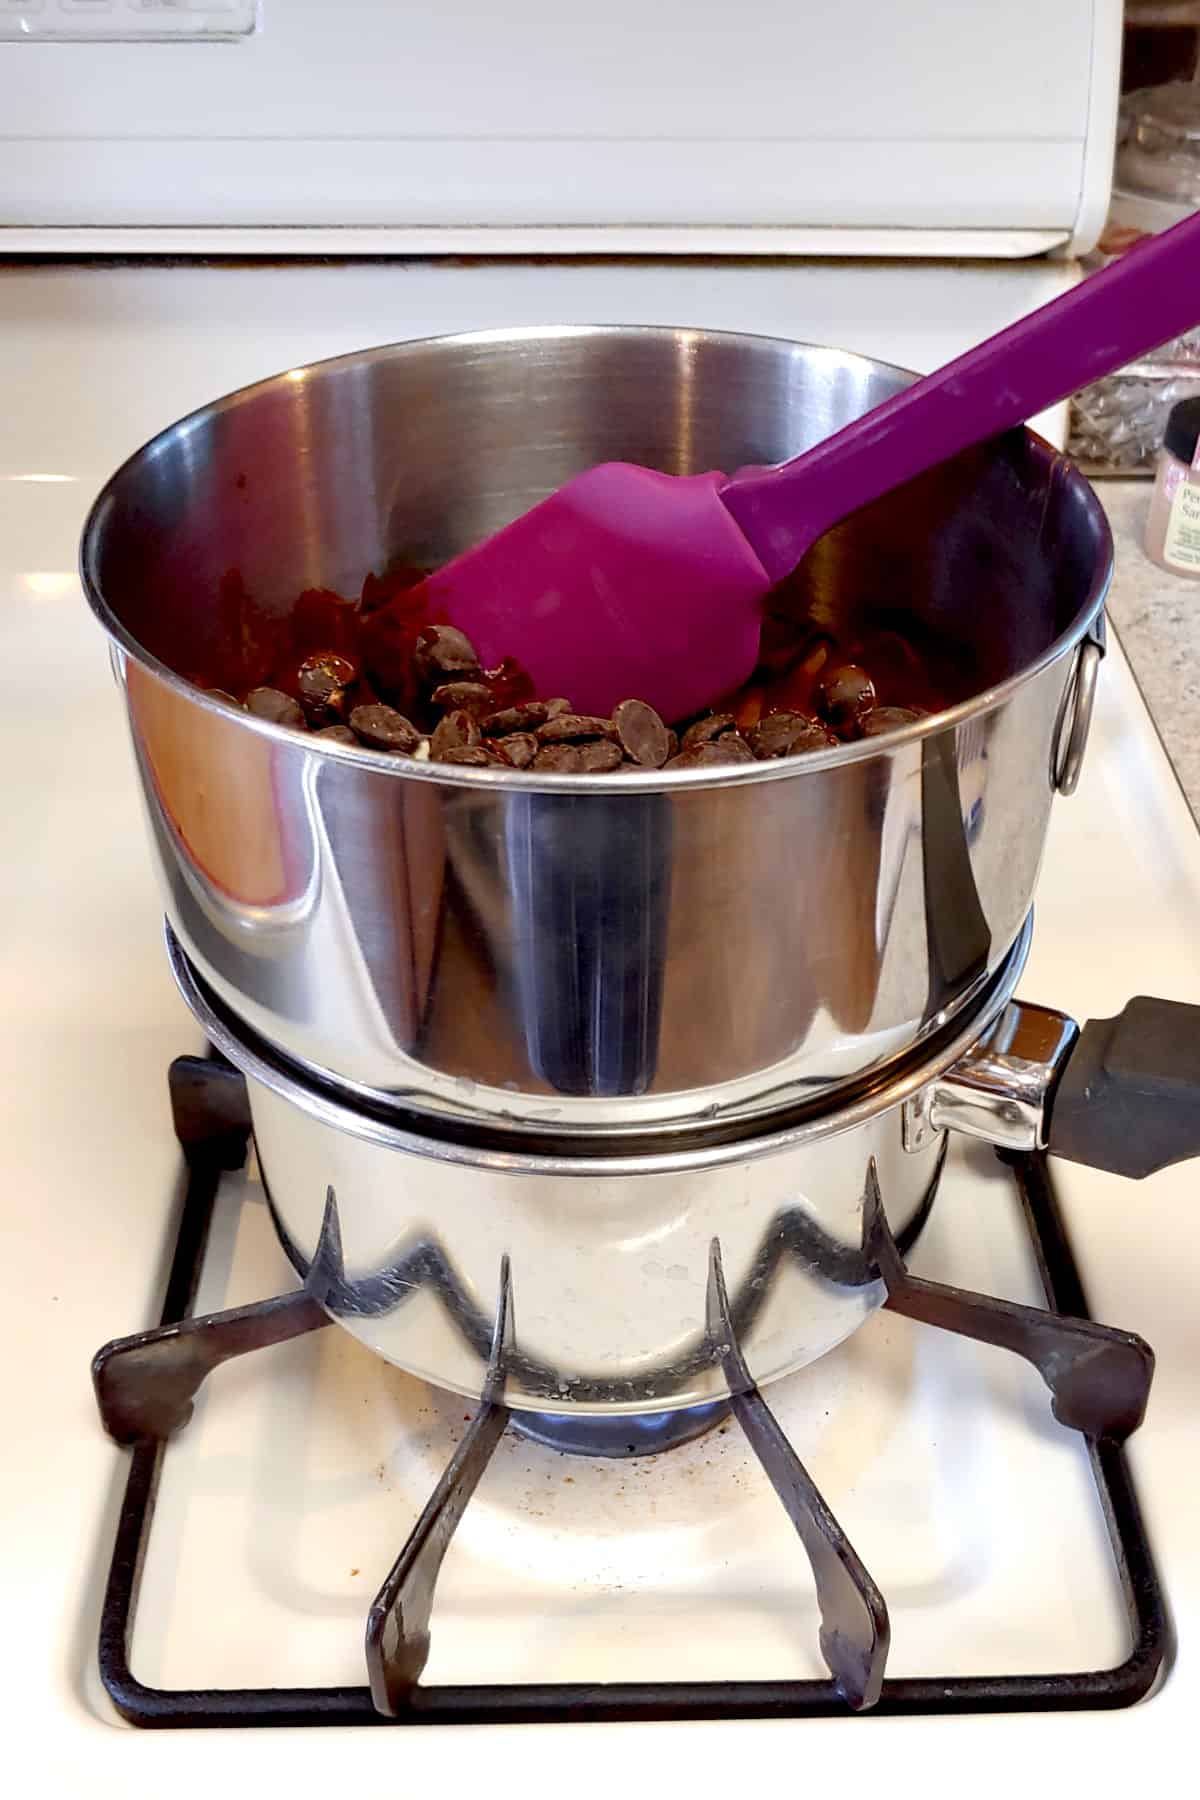
It's easier to melt this quantity of butter and chocolate with a double boiler, rather than in the microwave. Basically, you place a heat-proof bowl on top of a pot of simmering water, completely covering the pot. This traps the steam, which gently heats the bottom of the bowl and melts the chocolate and butter.
I recommend using a 9-inch Springform pan (affiliate link) with 3 inch sides; the bottom detaches and makes it very easy to remove the cake. That said, you can use a 9-inch cake pan with 2 inch sides if you line the bottom and the sides with parchment paper. The taller sides prevent water from getting into the cake.
You bake this cake in a water bath. For this, you need a larger pan at least 2 (and preferably 3) inches deep that will fit the Springform pan inside. You'll nestle the Springform inside, and pour water into the larger pan; this will insulate the sides of the cake to keep it from overbaking.
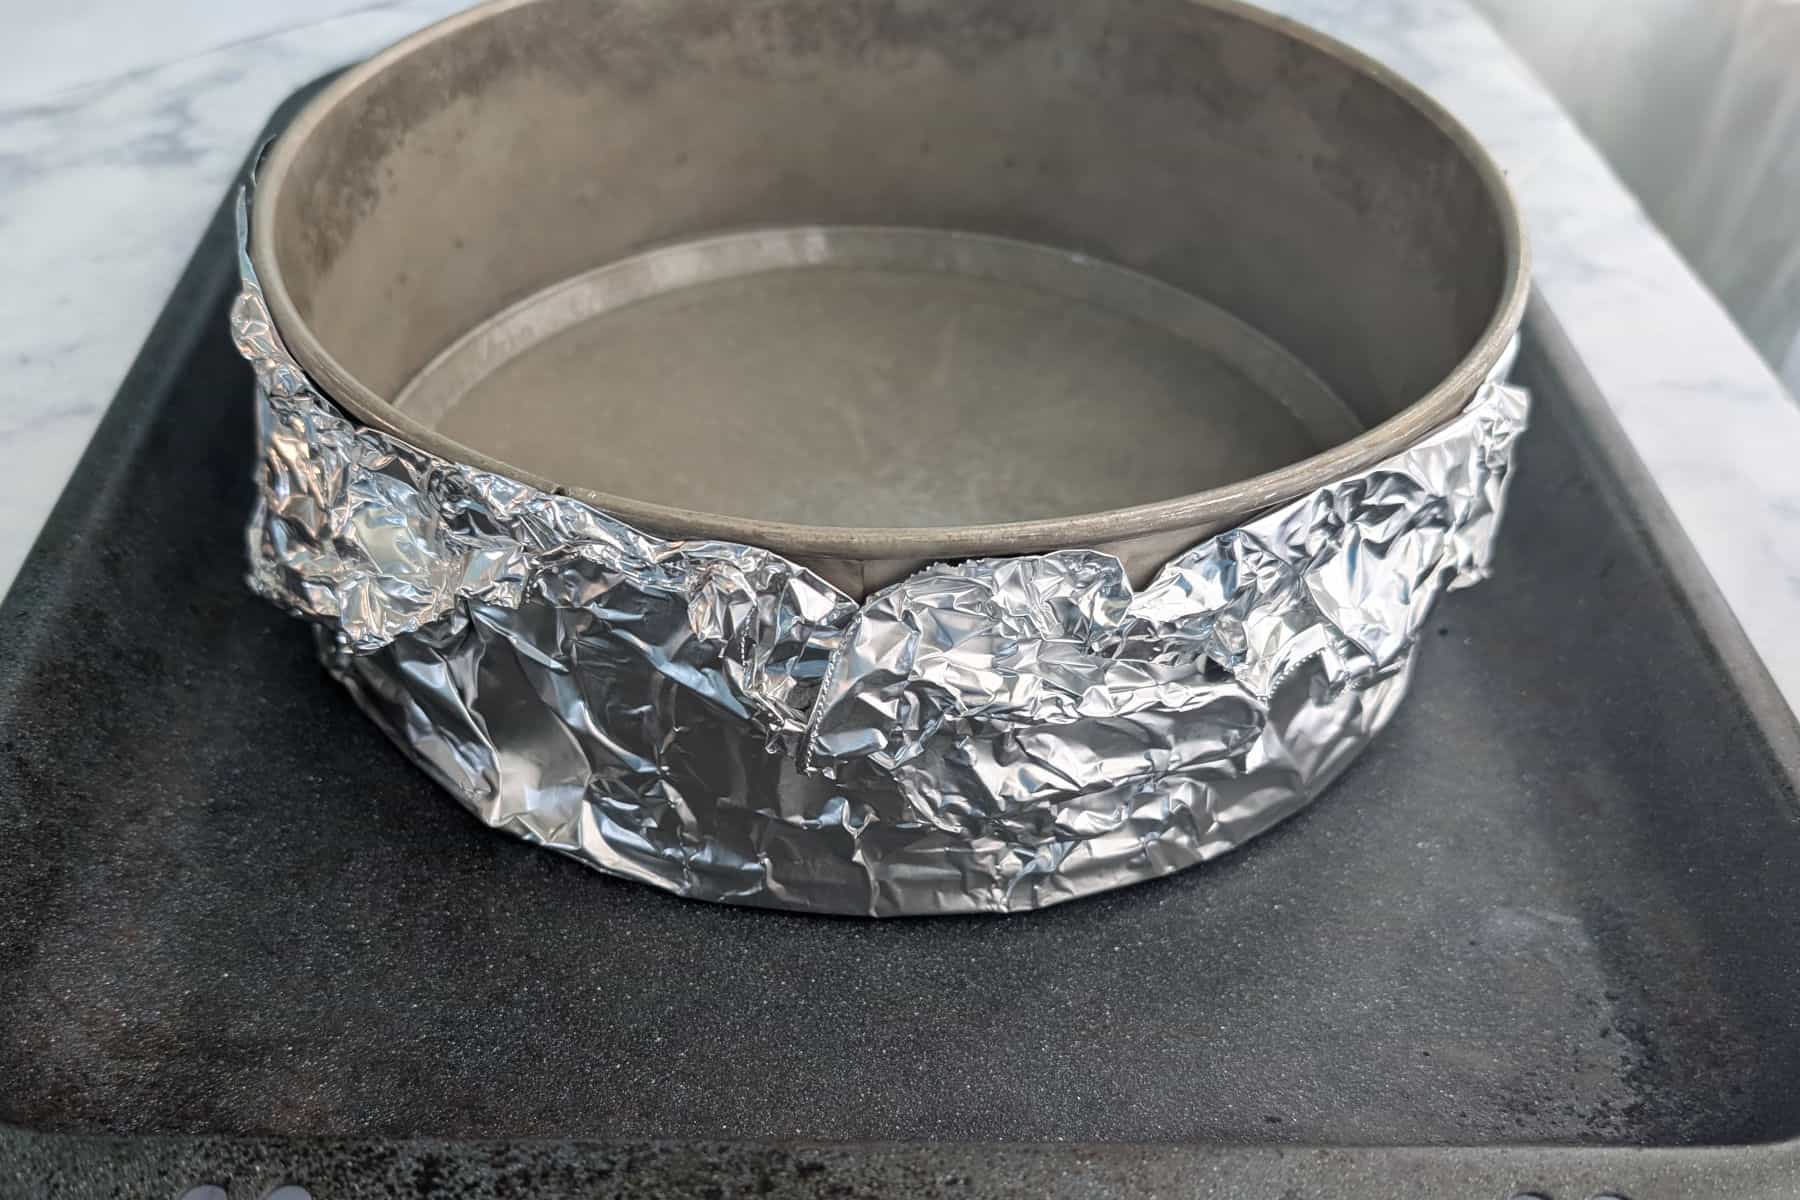
I recommend using extra-wide aluminum foil to cover the bottom and sides of the Springform pan to keep water from seeping into the bottom of the pan. You want the foil to be high enough to keep water from leaking into the cracks between the side and bottom of your Springform pan. There's a chance that regular sized foil won't cover high enough to protect the cake from seepage.
Extra-wide foil isn't necessary if you use a regular cake pan. However, you still need aluminum foil to create a lid on top to keep the cake from cooking too quickly.
How to Make Chocolate Truffle Cake - Step-by-Step
This recipe is adapted from the Chocolate Orbit Cake from a David Lebovitz's Ready for Dessert (affiliate link). When he developed this recipe, he called it "Chocolate Idiot Cake," because it was idiot-proof. And he's right. It was still delicious the time I messed it up by not actually following the instructions. Any cake that is still good when overbaked is a winner.
Grease the sides and bottom of the pan, or line with parchment. If you're using a Springform pan, wrap the bottom in a layer of foil to keep water from seeping inside. Place it in the larger pan for your water bath. You can see mine in the pictures above in the Equipment section.
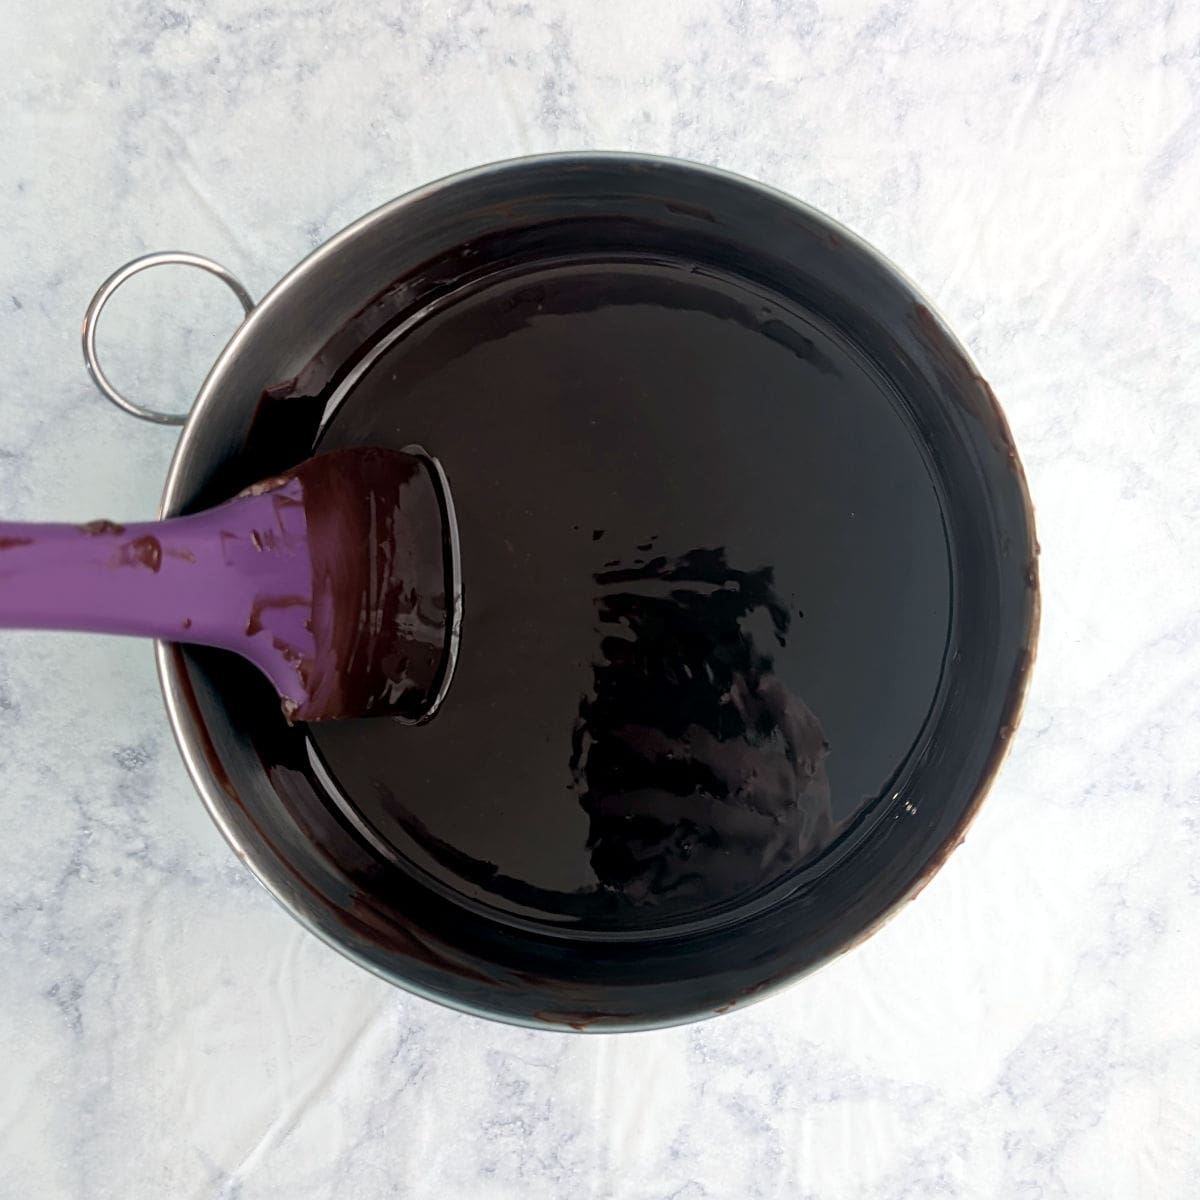
- Melt your chocolate and butter together over medium-to-medium-high heat, stirring constantly, until smooth.
If you use a double boiler, you can use the hot water as part of your water bath.
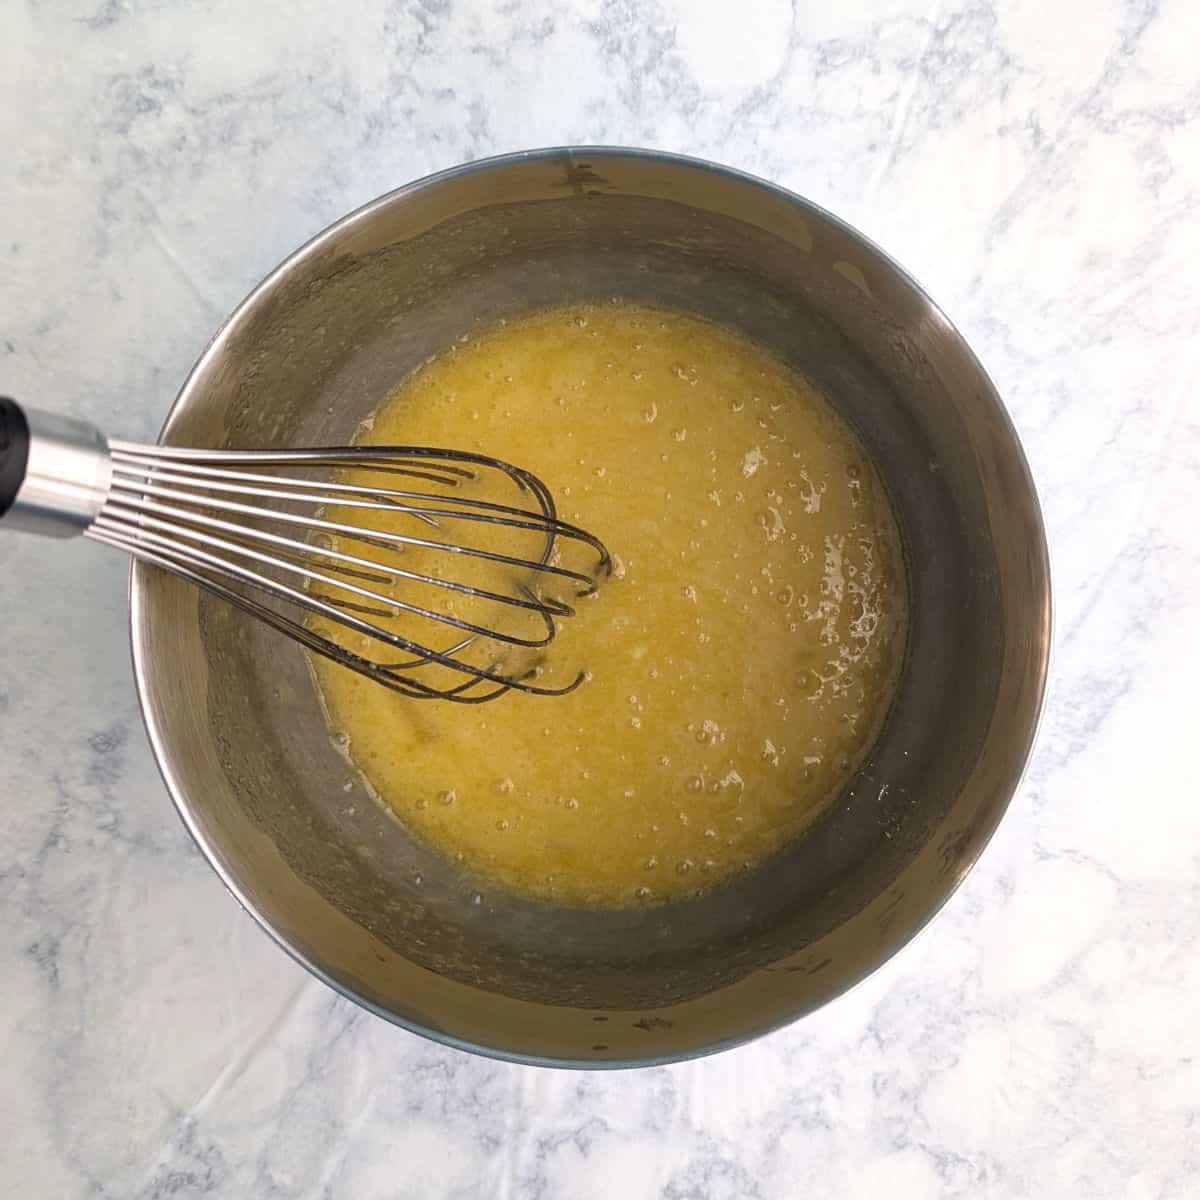
- In a large mixing bowl, whisk together the eggs and sugar. You're not beating air into the mixture; you just don't want clumps of egg.
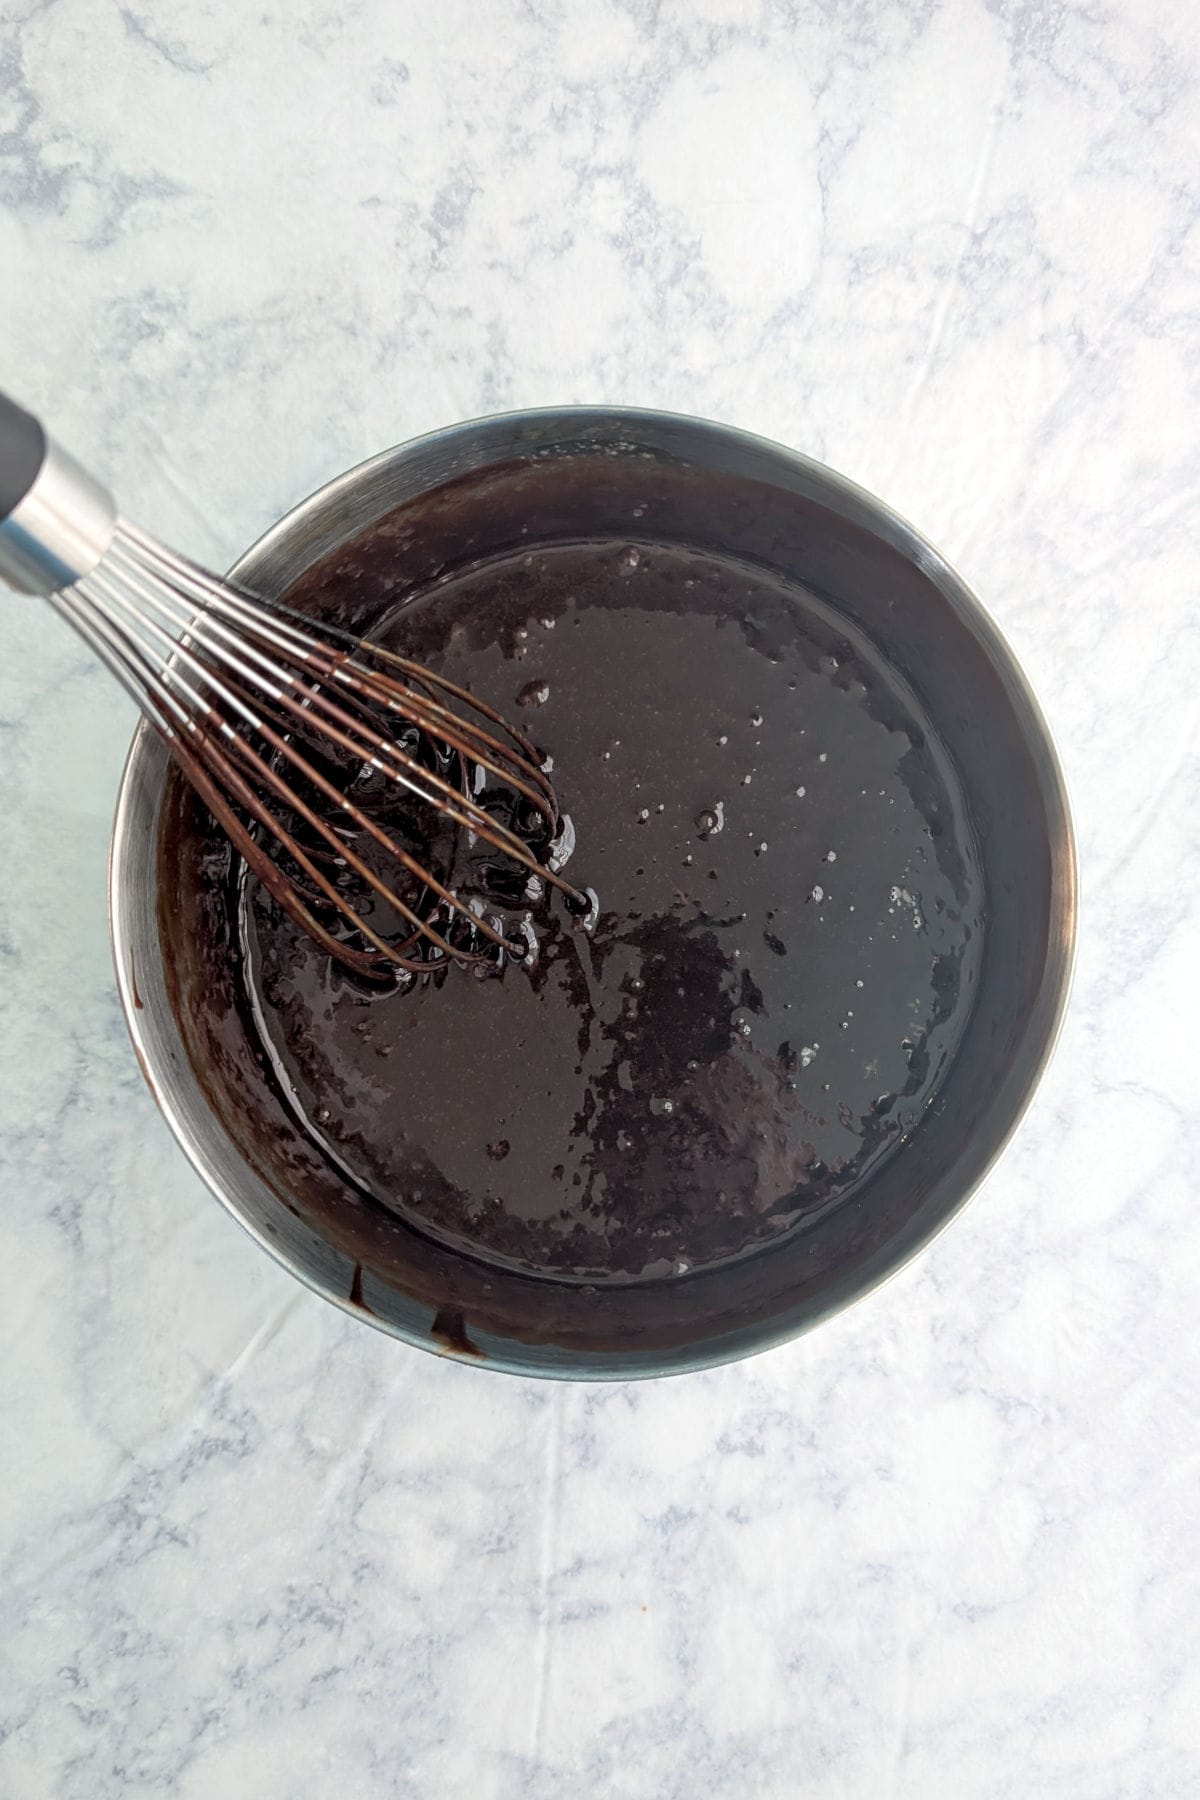
- Whisking constantly, slowly drizzle the melted chocolate mixture into the egg mixture. Going slowly keeps the eggs from scrambling. Mix until just combined. Don't worry if the chocolate seems to separate; it will mix in. You may feel the batter thicken as you mix.
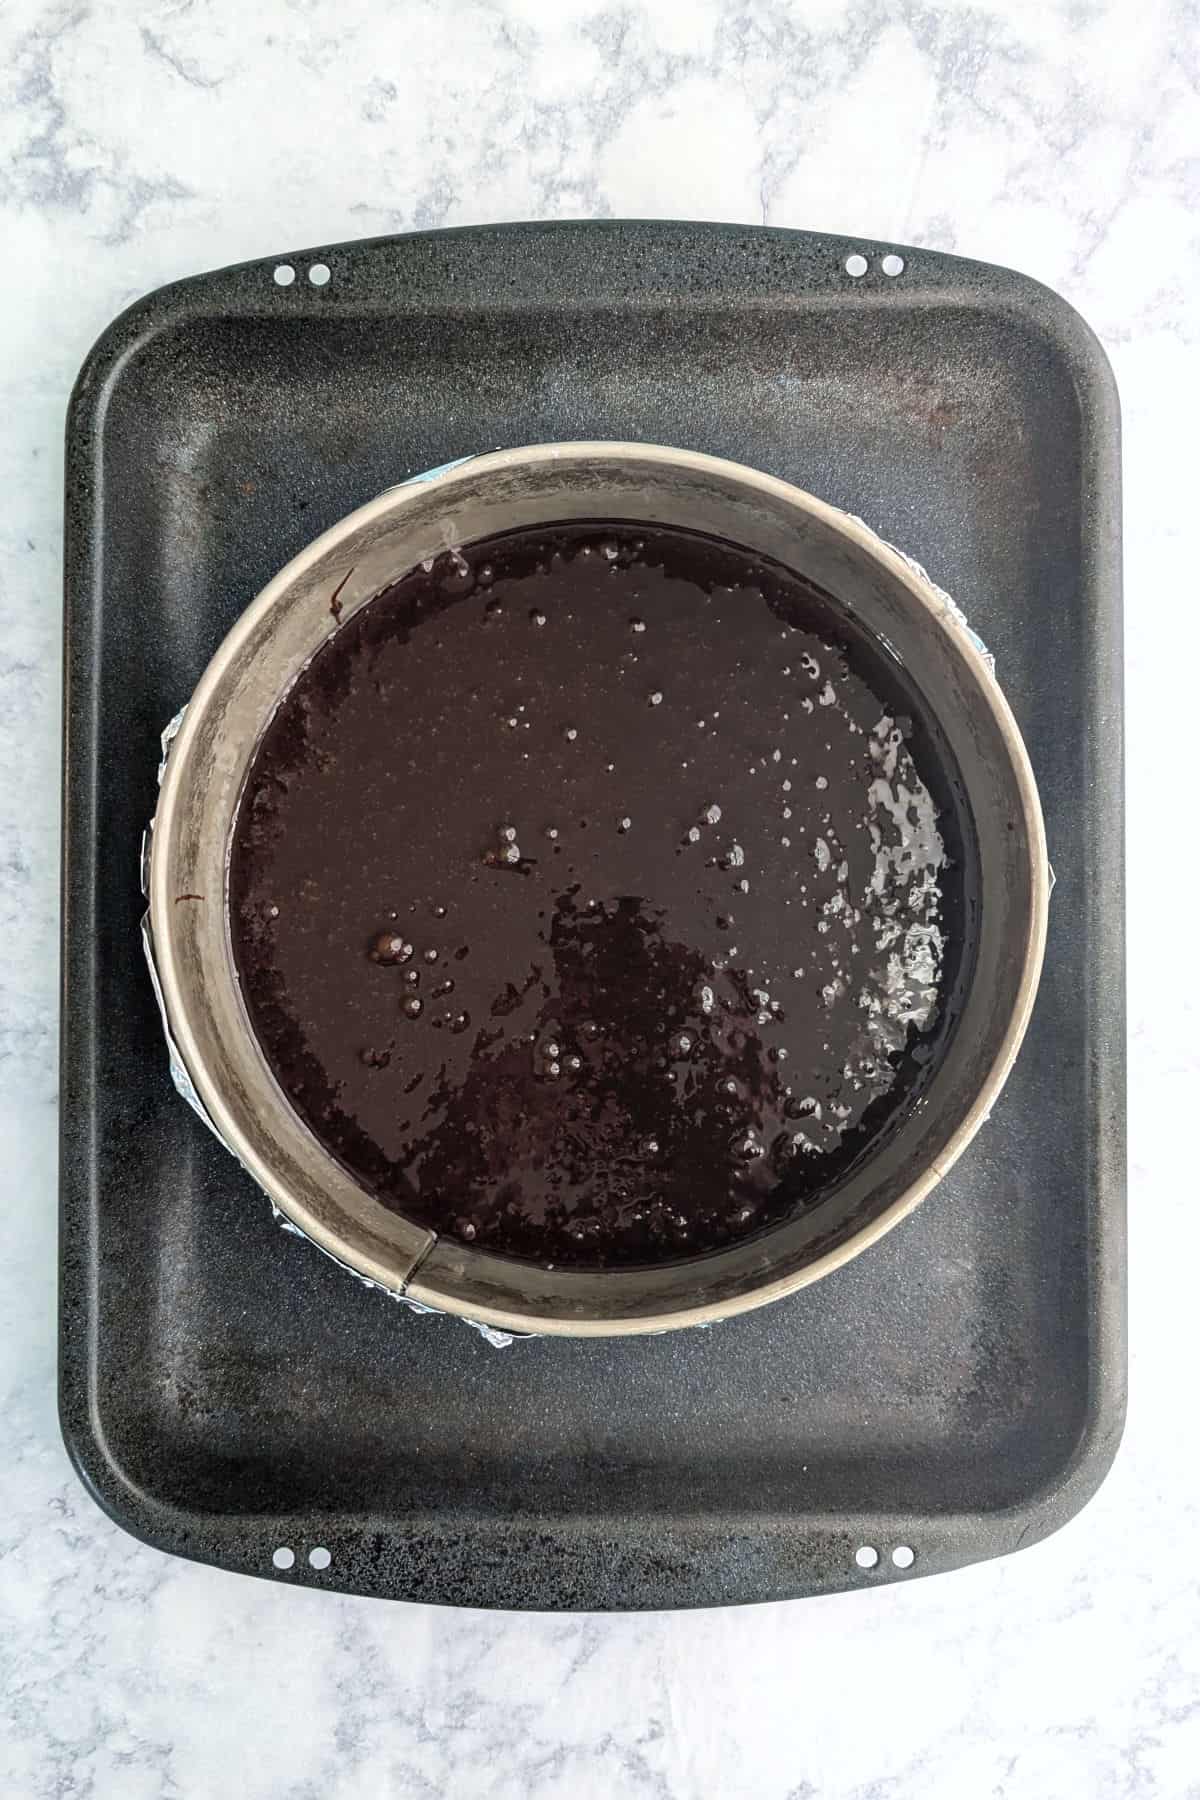
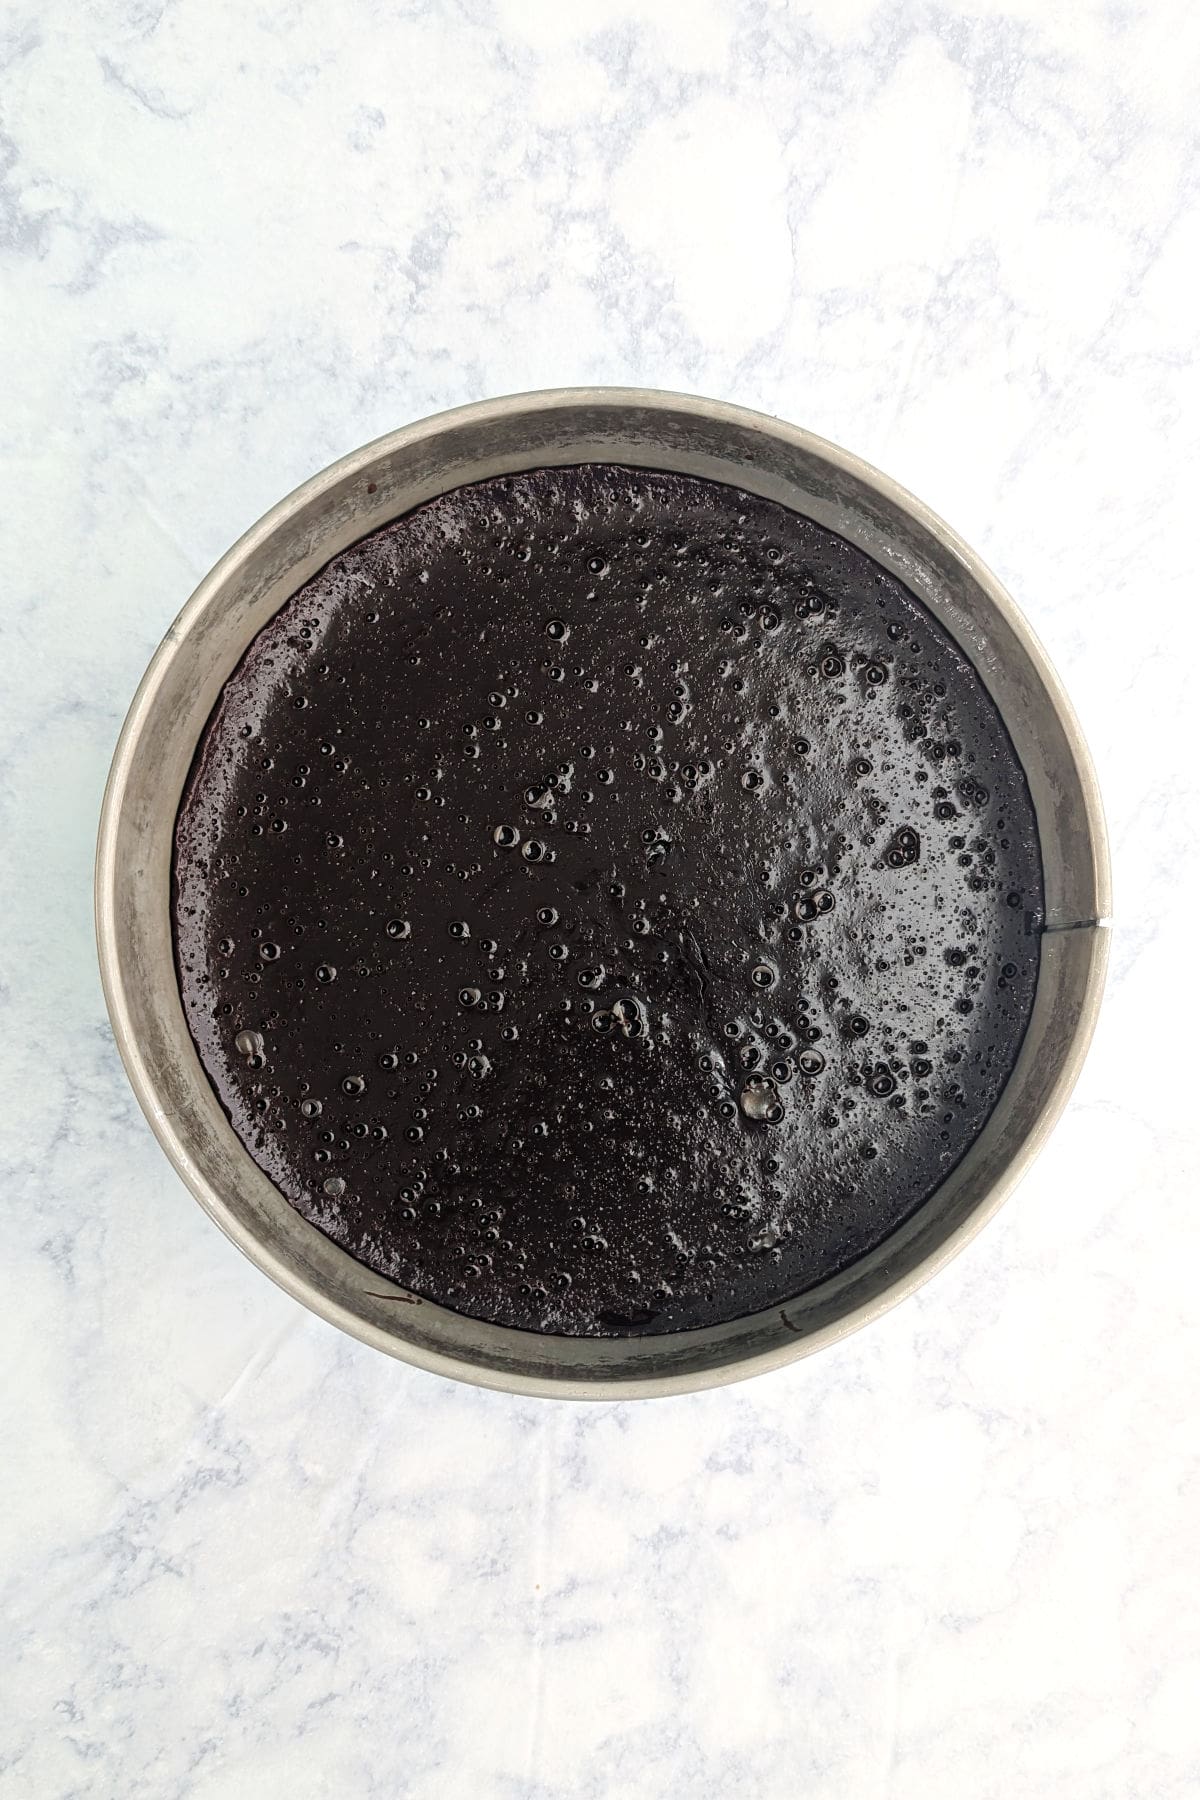
- Pour the batter into your greased pan.
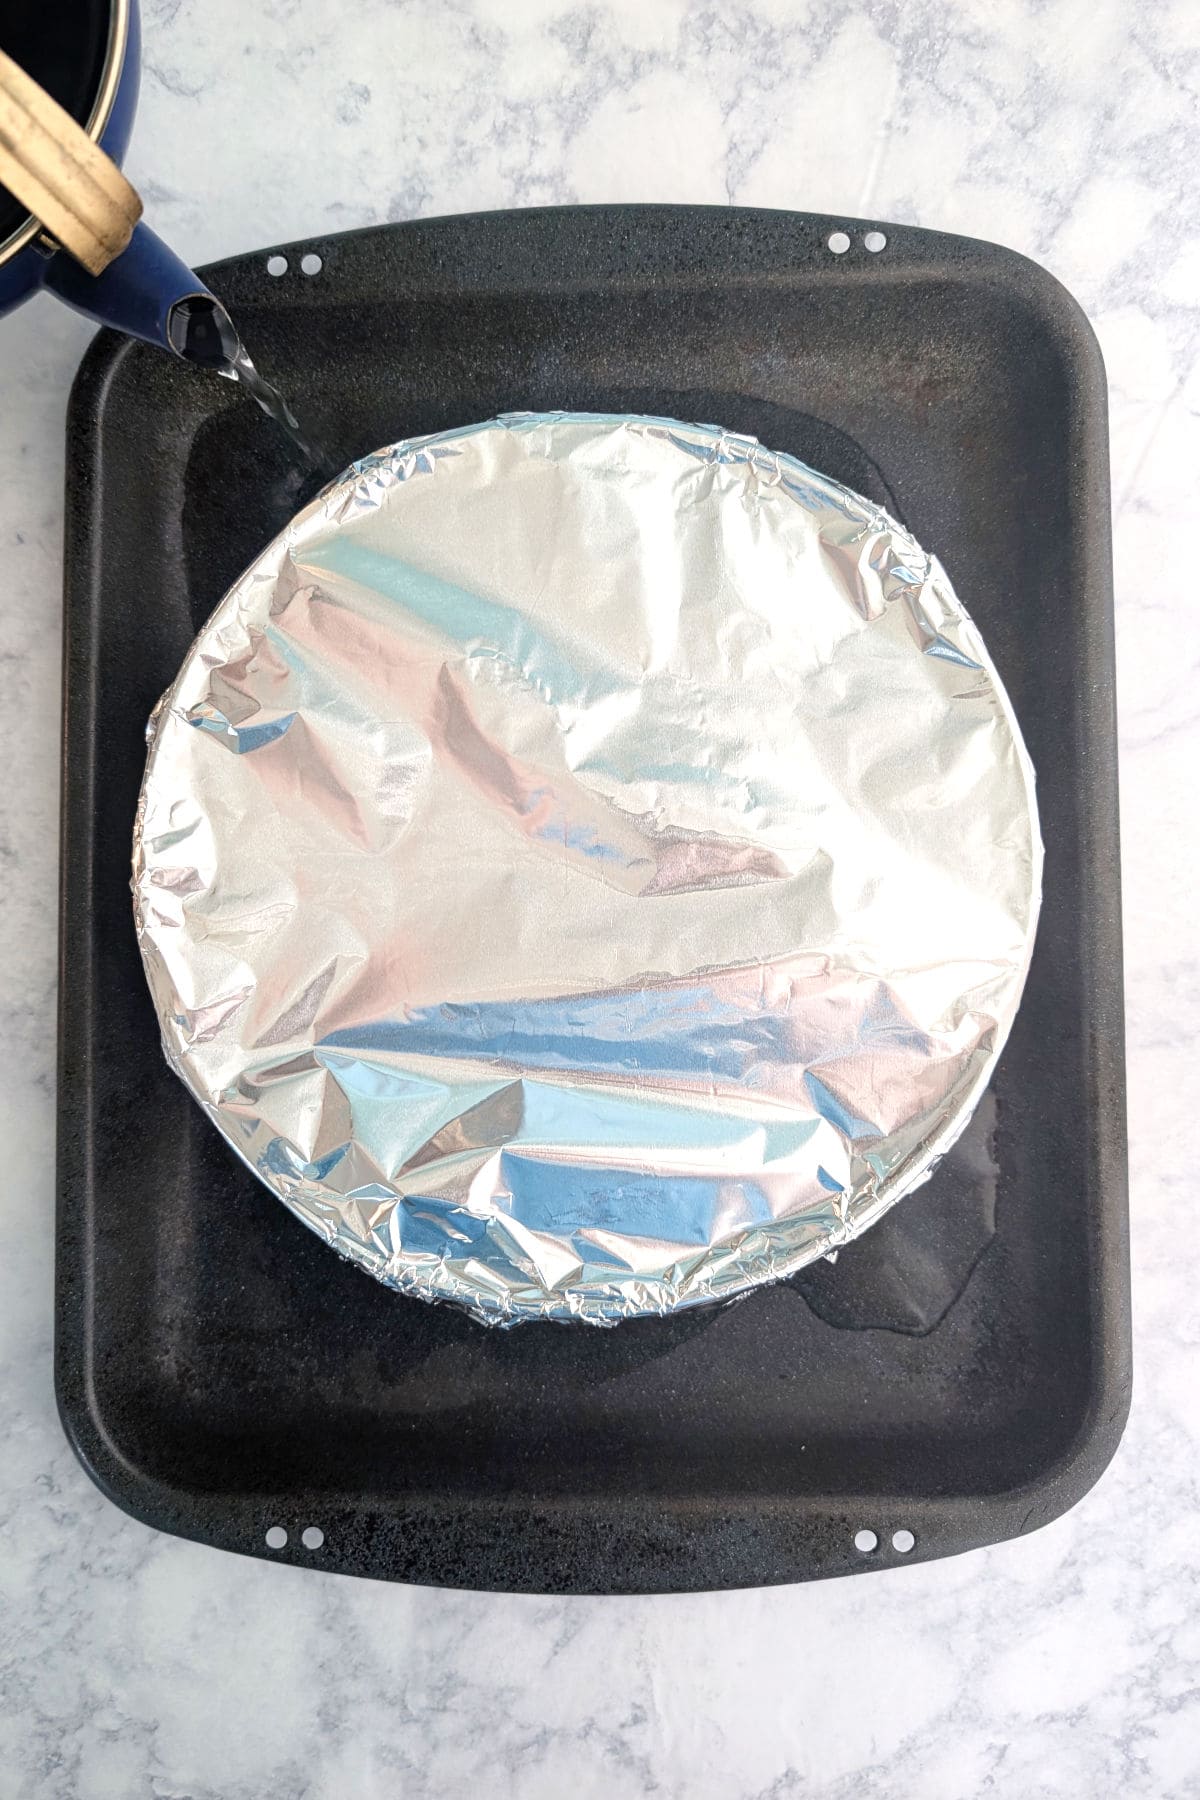
- Cover the top tightly with a sheet of aluminum foil. The top foil helps insulate the cake, keeping it from baking too quickly. Then, pour warm or hot water into the larger pan until the water comes halfway up the sides of the cake pan (which will also be how high your cake batter is).
- Bake for 75 minutes. Check early if your oven runs hot or if your water bath isn't quite high enough. Cake will look set but still be soft. If you gently touch the cake, your finger will be clean or have only slight goo.
Remove the cake pan from the water bath and foil. Cool completely.
Hint: the foil lid and the water bath keep the cake from baking too quickly. Do not skip this! If your water bath isn't quite high enough, the edges may overbake. This isn't a dealbreaker, as slight overbaking just gives it an imperfect texture; it happened in mine in the pictures above. I recommend checking early if you're concerned.
Serving and Storing
Remove the cake from the pan, and chill before serving. Store leftovers in the refrigerator as well. If well covered, you can enjoy slices a week later, if you haven't devoured it already.
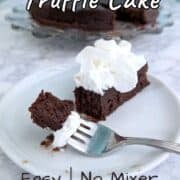
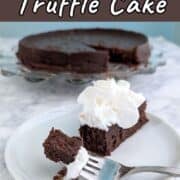
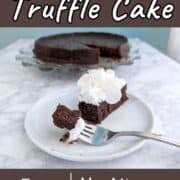
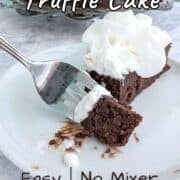
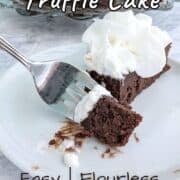
The cake doesn't need much adornment, but we add a little whipped cream to contrast with the rich dark chocolate. A raspberry or orange drizzle would be lovely. Don't add anything too sweet, crunchy, or hard. I wouldn't want anything to interfere with the melt-in-your-mouth experience of this delicious chocolate cake.
My Top Tip for Success
Don't overbake this cake! Be sure your water bath goes far enough up the pan, and that your foil lid is tight. If it does overbake slightly, though, don't worry; the cake that I overbaked was still delicious.
Recipe FAQ
A double boiler heats food like chocolate gently, preventing it from burning or seizing by keeping it away from direct heating element or flame. It's especially helpful if you have trouble finessing the temperature on your burners. If chocolate overheats, both the flavor and texture suffer and cannot be fixed.
I also don't have a dedicated double boiler. Instead, I have a heat-safe metal bowl that completely covers the top of a saucepan. That coverage is important because it keeps the steam from escaping and scalding you. Place an inch of water in the saucepan, bring it to a boil to create steam, and melt your chocolate in the bowl on top. I turn the heat down sometimes if I feel like it's going too quickly.
You can also use a glass bowl instead of a metal one, but go cautiously with heating it. I prefer metal because if I'm clumsy and drop it, the bowl won't break!
A water bath is essential for this flourless Chocolate Truffle Cake. The water bath (and the foil lid covering the pan) insulates the cake, slowing down how fast it bakes. Eggs need to cook slowly; if you don't use the water bath, the edges will overbake before the center is done.
The time I didn't add enough water, the cake edges overbaked slightly. It was still delicious with lots of whipped cream, but the texture wasn't perfect.
You can prevent this flourless chocolate cake from overbaking by using a water bath and tightly covering the pan with foil. If you're concerned still, check the cake early for doneness; definitely do this if your oven bakes hot.
If it's just the edges that are overbaked, trim them off.
If you forget the foil lid (as I did once), you can remove the top, overbaked layer. The bottom part will still be the right texture. It won't be a cake you'll want to present, but it will still be delicious.
You can cut the parts that have a good texture into chunks and layer them in a cup with whipped cream, like a trifle.
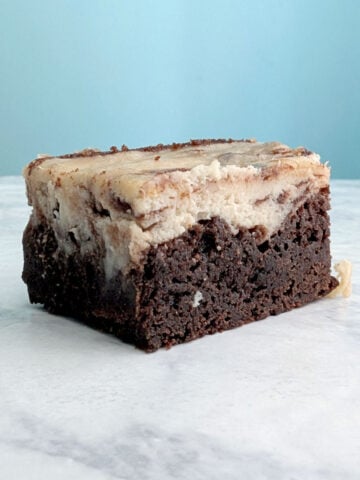
You can always freeze leftover cake. You can use it on the bottom of a sundae, or as add-ins in my Brownie Cheesecake.
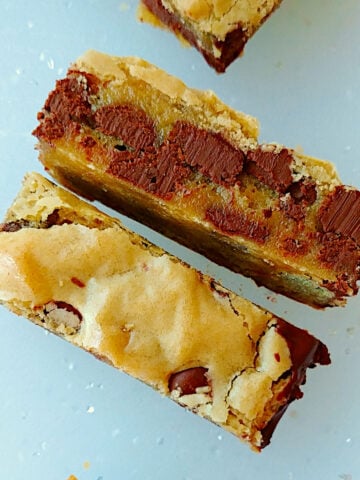
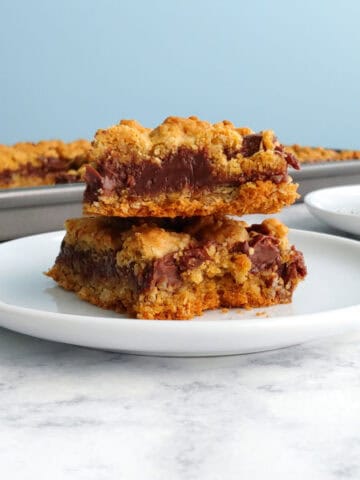
More Rich Chocolate
If you want more rich chocolate, I recommend trying these!

I hope this becomes a recipe you'll return to. If you try it, a star rating below helps others find it - and I'd love to hear how yours turns out in the comments! 💕 Questions or trouble? Drop a note, and I'll do my best to help.
📖 Recipe
Chocolate Truffle Cake
Equipment
- wire whisk (affiliate link)
- double boiler
- 9-inch springform pan (affiliate link)
- large pan for water bath
- aluminum foil (preferably extra-wide)
Ingredients
- 16 tablespoons butter (227 grams/8 ounce)
- 12 ounces dark chocolate (340 grams/2 cups of chocolate chips)
- 6 eggs (large)
- 1 cup sugar (200 grams/7 ounces)
Instructions
- Preheat your oven to 350F. Grease the side and bottom of a 9-inch Springform pan (affiliate link), or line the bottom and sides of a 9-inch cake pan with parchment paper.
- Wrap a layer of foil around the bottom of the pan and halfway up the sides, to ensure water won't seep into the bottom. Set the prepared pan inside of the larger baking pan. Set aside.
- Place a small amount of water in a small or medium saucepan, and heat water to a simmer over medium-to-medium high heat. Place a heat-safe bowl on the saucepan, covering the top completely, to create a double boiler.
- Add the butter and the chocolate to the bowl. Stir the chocolate mixture occasionally until everything is melted and smooth. Remove from heat.
- In a larger bowl, whisk together eggs and sugar. Whisk constantly while you slowly drizzle in the warm chocolate, to keep the eggs from cooking and the chocolate from seizing. Mix until just combined. I usually feel the batter thicken once it's combined.
- Pour the batter into the greased pan. Cover the top of the pan snugly with a sheet of foil.
- Pour water into the larger pan until the water comes halfway up the sides of the cake pan. (I usually use the water from my double boiler, then add some hot tap water as needed). Place the stacked pans in the oven.
- Bake at 350F for about 75 minutes. When the cake is done, the top will appear set (slightly dry, not wet). If you touch the cake softly with your finger, it will come away clean or with just a tiny bit of chocolate goo. Cake will be very soft.
- Remove the cake from the water bath and the foil. Cool completely, then refrigerate before serving.
- Cut into thin slices. Leftovers kept refrigerated in an airtight container will still be tasty up to a week later.
Notes
Nutrition
[Originally published May 5, 2020. Reorganized and rewritten August 26, 2025.]


Leona Konkel says
I love this flourless chocolate cake recipe. I love that I don't have to separate eggs and whip egg whites. I hope you also enjoy the recipe. Let me know how it goes!