
In fall 2020, after making at least six batches of chocolate fudge, I finally landed on this Easy Homemade Chocolate Fudge recipe. It consistently turns out creamy, chocolatey, and deeply satisfying.
Why I love it: no candy thermometer, no exhausting arm workout, and no risk of breaking your mixer. The fudge keeps beautifully for weeks (if you don't eat it all first) and ships well. It's rich and smooth, with just the right amount of resistance when you bite into it.
Basically, it's perfect.
Jump to:
Why I Love It
This is the only Chocolate Fudge recipe I make. You'll love it too, because:
✅Every batch comes out reliably creamy and delicious.
🌡️No candy thermometer? No problem! You don't need one.
💪Mixing it isn't an arm workout, and you'll know when it's ready to pour.
🍫You can use leftover Halloween candy, and it still tastes amazing.
🎁It keeps beautifully for weeks - great for gifting or mailing.
Why I Skip Old-Fashioned Fudge
Making old-fashioned fudge can be temperamental. Stir while the syrup boils, and your fudge turns grainy. Undercook it and it won't set. Overcook it, and it will be hard. Even the weather can mess it up.
You're supposed to beat traditional fudge by hand, which is a serious workout. Beat it too long and it'll become stiff, not creamy. Beat it too little, and it won't stick together.
I know from experience. I made traditional fudge a few times when I was a teenager. I broke a few wooden spoons beating the syrup, and the last time I tried it, the fudge didn't set properly. I love fudge but not the frustration, so I haven't tried traditional, old-fashioned fudge again - even after 20+ years.
Where This Recipe Comes From
In a brief spurt in 2020, I tried going through old recipe booklets I'd stashed away. I gave up quickly but did find a comb-bound cookbook of chocolate recipes compiled by a 6th grade class who had read Charlie and the Chocolate Factory.
I've never read the book, and I only ever saw the Gene Wilder movie (Willy Wonka and the Chocolate Factory); I don't have an attachment to it. The cookbook was bundled together with a bunch of others that my parents bought at a yard sale and gave to me.
My favorite recipes in it were ones that children received from their grandparents, like one for "Sheath Cake" instead of "Sheet Cake," or recipes calling for oleo (an old word for margarine). I even found inspiration for my from-scratch Earthquake Cake in this book. The cookbook reminds me of my great grandma's recipe cards, with cramped handwriting, misspellings, and instructions written down as they heard or spoke them. My heart softens, and I want to hug the recipes.
There were 2 fudge recipes in this cookbook; both worked, but this was the one that never failed.
Ingredients
You'll use 7 ingredients to make this chocolate fudge - 8 if you include nuts.

Evaporated milk is canned milk with some water cooked out, which makes it a useful shortcut ingredient for candy-making. You'll need an entire 12-ounce can, just as you do for Peanut Butter Fudge. Evaporated milk is not the same as sweetened condensed milk, which contains sugar and will not work in this recipe.
We include miniature marshmallows, another shortcut ingredient. They melt into the fudge as you stir; the gelatin in the marshmallows helps stabilize the fudge, giving it a toothsome texture. Regular sized marshmallows work, but need to be cut into small pieces so they melt properly.
You'll use both milk chocolate and semisweet chocolate. The fudge isn't as delicious if you use only one.
Choosing Chocolate
I don't like chopping chocolate, so I use chocolate chips. It always works, although milk chocolate chips of most brands melt more slowly than semisweet and take more effort to mix in.
Since most bags of chocolate chips are between 10-12 ounces, you'll need more than 2 packages. I typically use one bag of milk chocolate and one bag of semisweet, plus an extra 4 ounces (~⅔ cup). Sometimes I open a third bag; other times I use snacking chocolate I might not eat otherwise - like leftover Halloween chocolate bars!
This lower-quality milk chocolate works in the fudge in small quantities; most of your chocolate should be of a quality you enjoy eating out of hand. I've made batches with all generic or store-brand chocolate with great success, so brand matters less than taste. I prefer using bags specifically labeled dark chocolate, or chocolate that list the cocoa percentage. Nestle dark chocolate chips (53% cocoa) work well, but I especially like using 60% cacao Ghirardelli chocolate chips (affiliate link) when I find them at a good price.
Equipment
Use a sturdy-bottomed, 3-quart pot to make this. Pots made with thin metal often have hot spots, which heat irregularly and can cause scorching. Watch the 3-quart pot to ensure it doesn't boil over; use a 4-quart pot if you're concerned.
You'll need 2 silicone spatulas. The first you'll use on the mixture before it boils, and you'll want a second clean one to mix in the chocolate and marshmallows. Reusing the first spatula, which has uncooked sugar on it, can adversely affect the texture.
I pour my fudge into a 9x13-inch pan. You can go bigger, or a little smaller. Rather than butter the pan, I prefer to line it with parchment paper. This allows you to pull the fudge neatly from the pan so that you can cut it into squares or bricks on a flat surface.
Using a bench scraper to cut is optional, but I recommend it because it cuts more neatly than a knife. The bench scraper also helps lift and transfer the fudge from the parchment.
How to Make Easy Homemade Chocolate Fudge
Although I often skip it when cooking, I always do mise en place for candy-making; you can't interrupt making fudge once it starts.
Start by buttering or lining your 9x13-inch pan with parchment paper. (Binder clips hold the parchment in place wonderfully!) Measure out the chocolate and marshmallows.
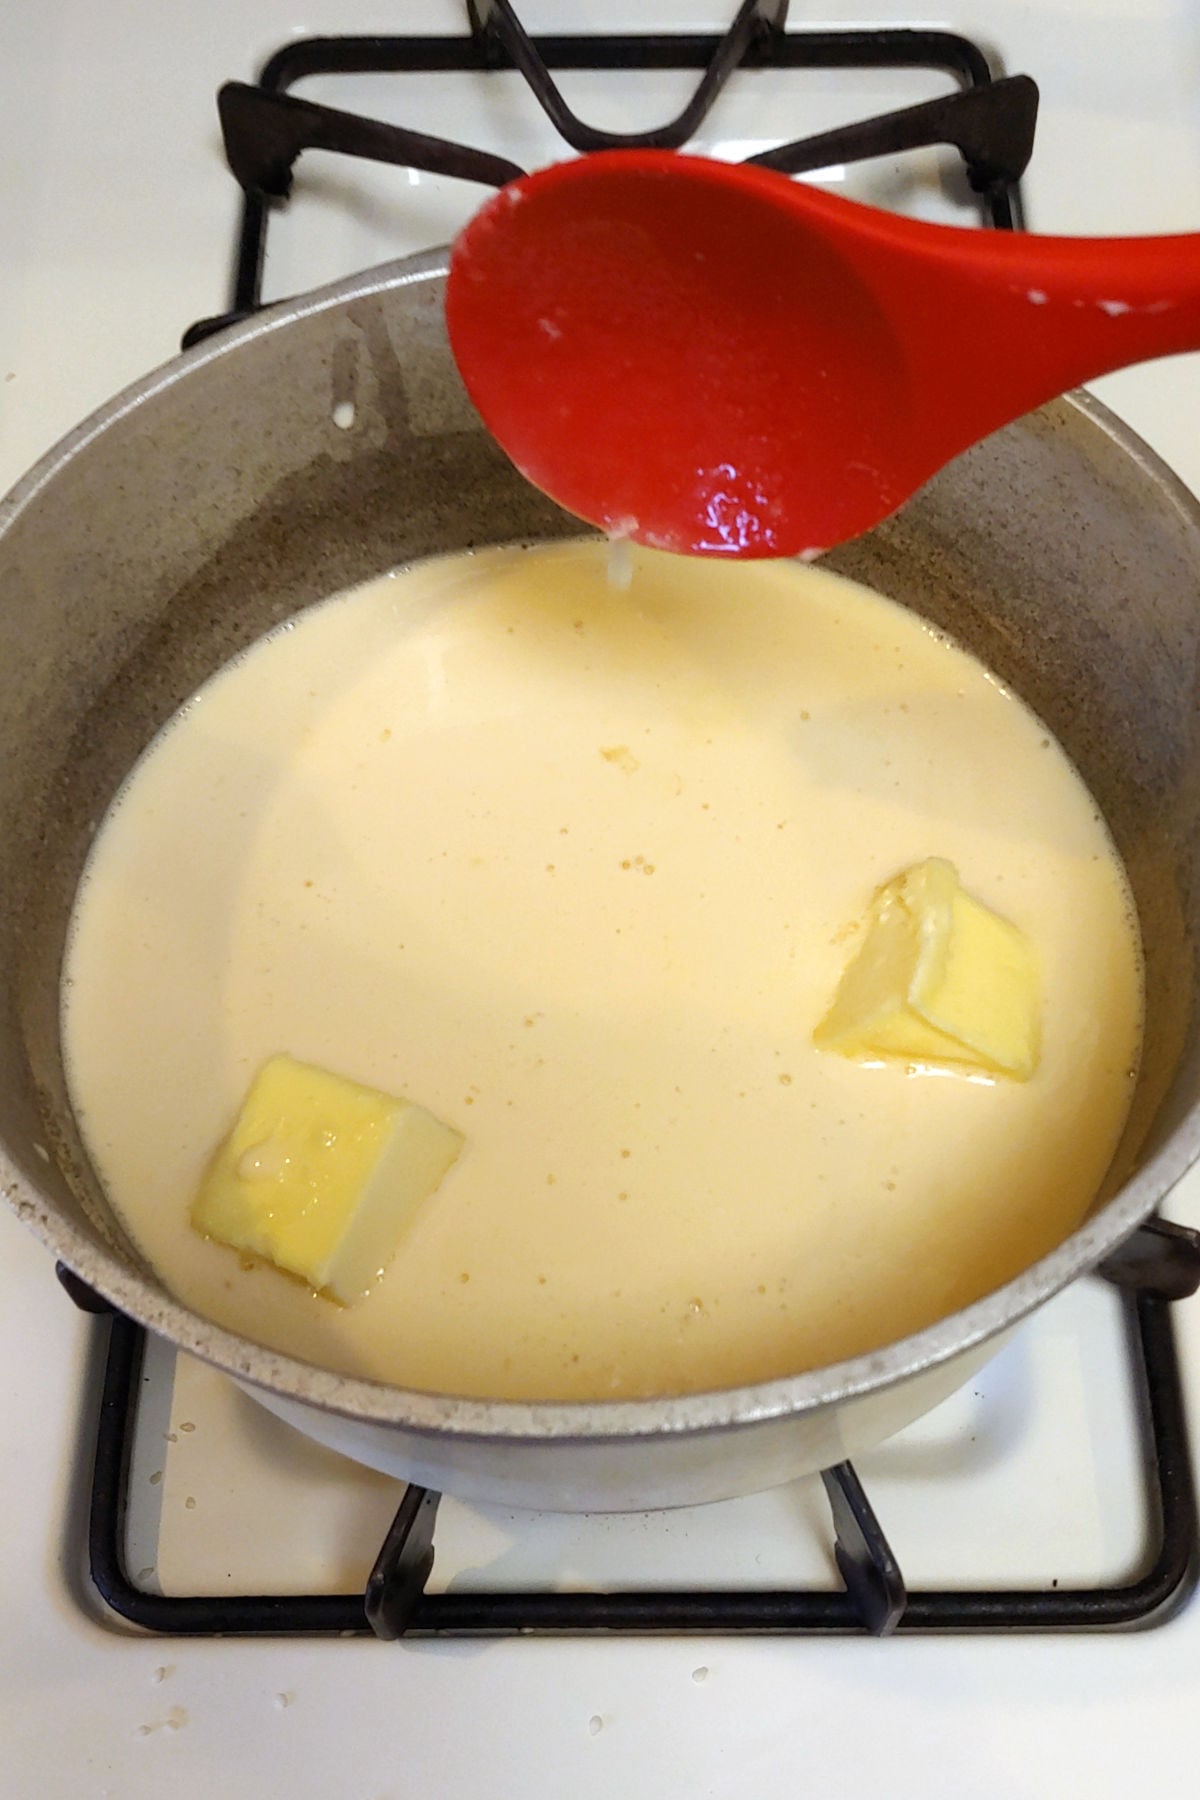
- Combine sugar, evaporated milk, and butter in a sturdy, 3-quart pot. Over medium-high heat, stir everything together while the butter melts and the sugar dissolves; stirring also keeps the bottom from scorching.
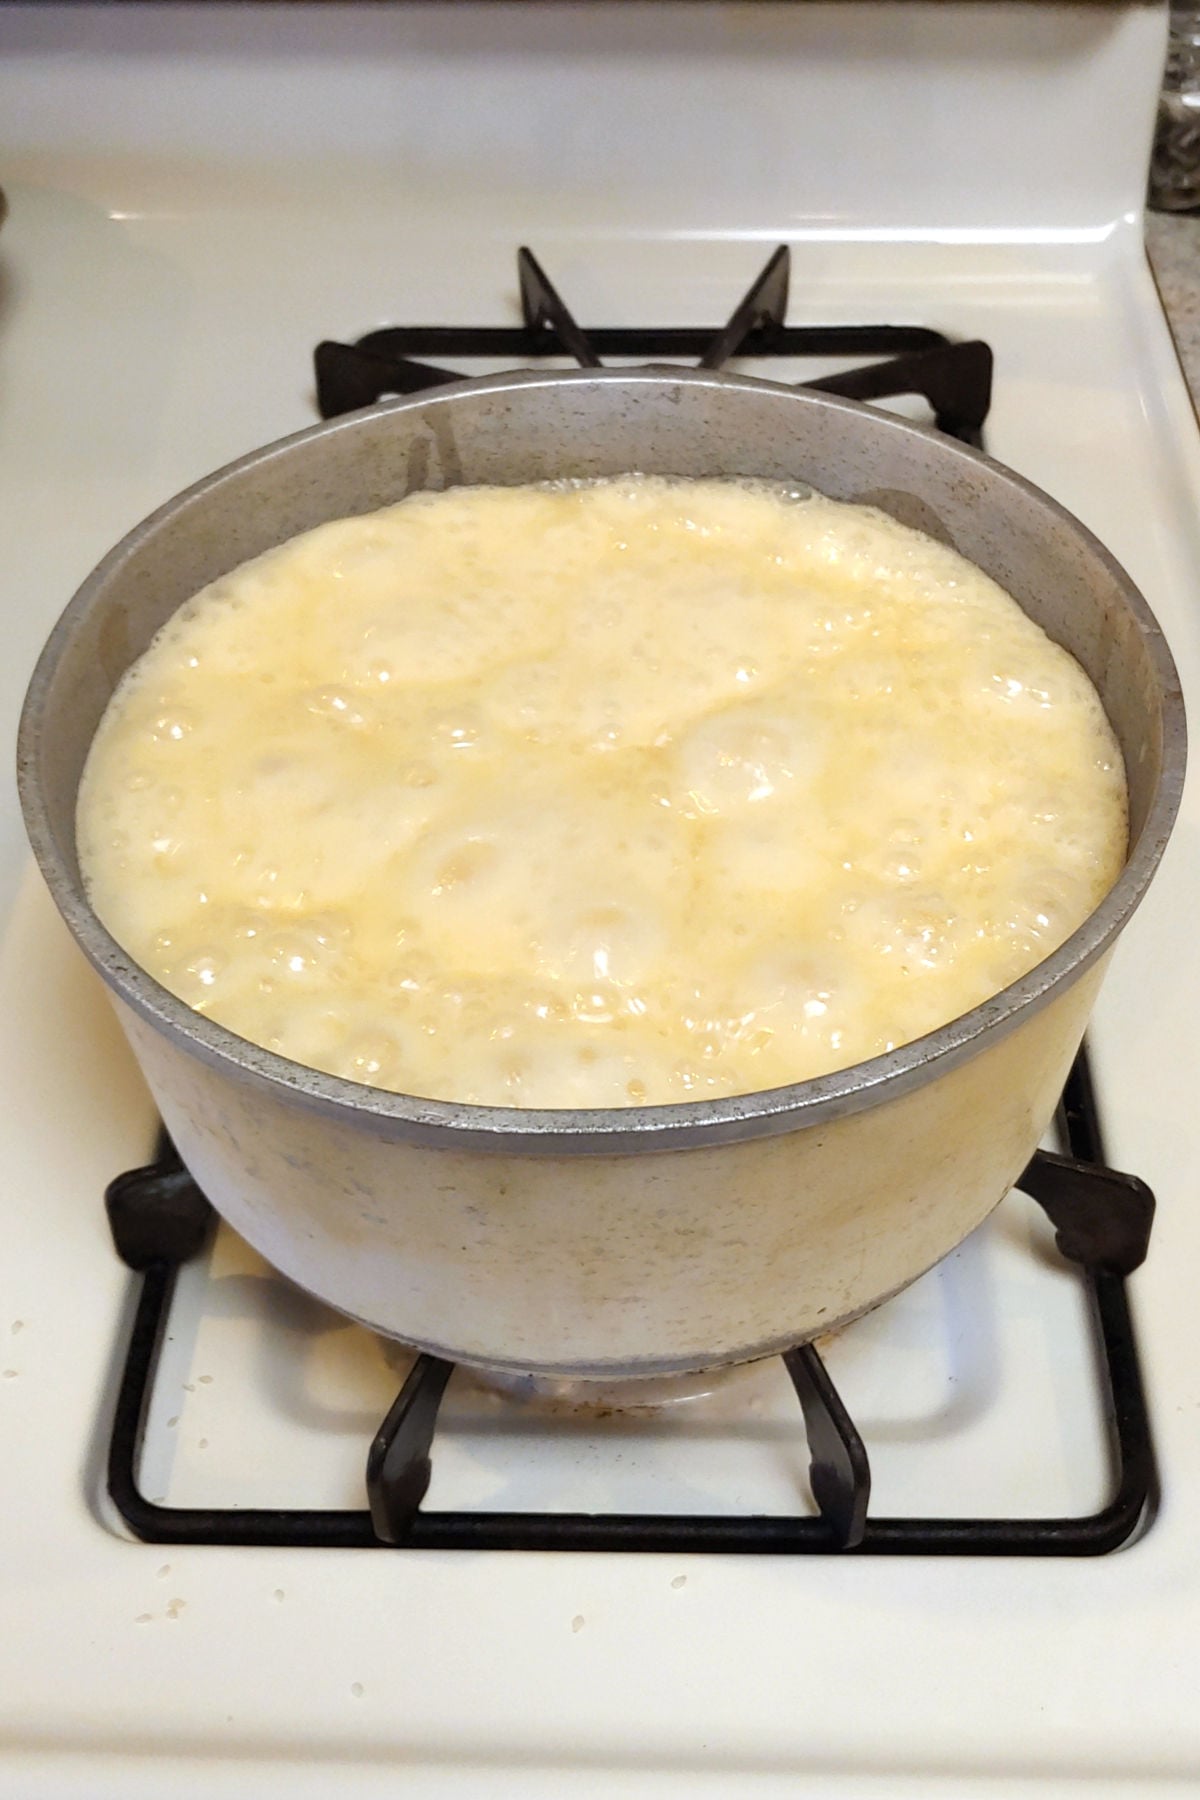
- Continue to stir the sugar syrup while you bring it to a full, rolling boil. This is when medium or large bubbles cover the entire surface; it sometimes spreads from one side to the other like a wave or rising tide.
Stop stirring and start a timer for 5 minutes. The syrup will expand and double in size while it boils. Reduce the heat slightly if necessary to keep the pot from overflowing.
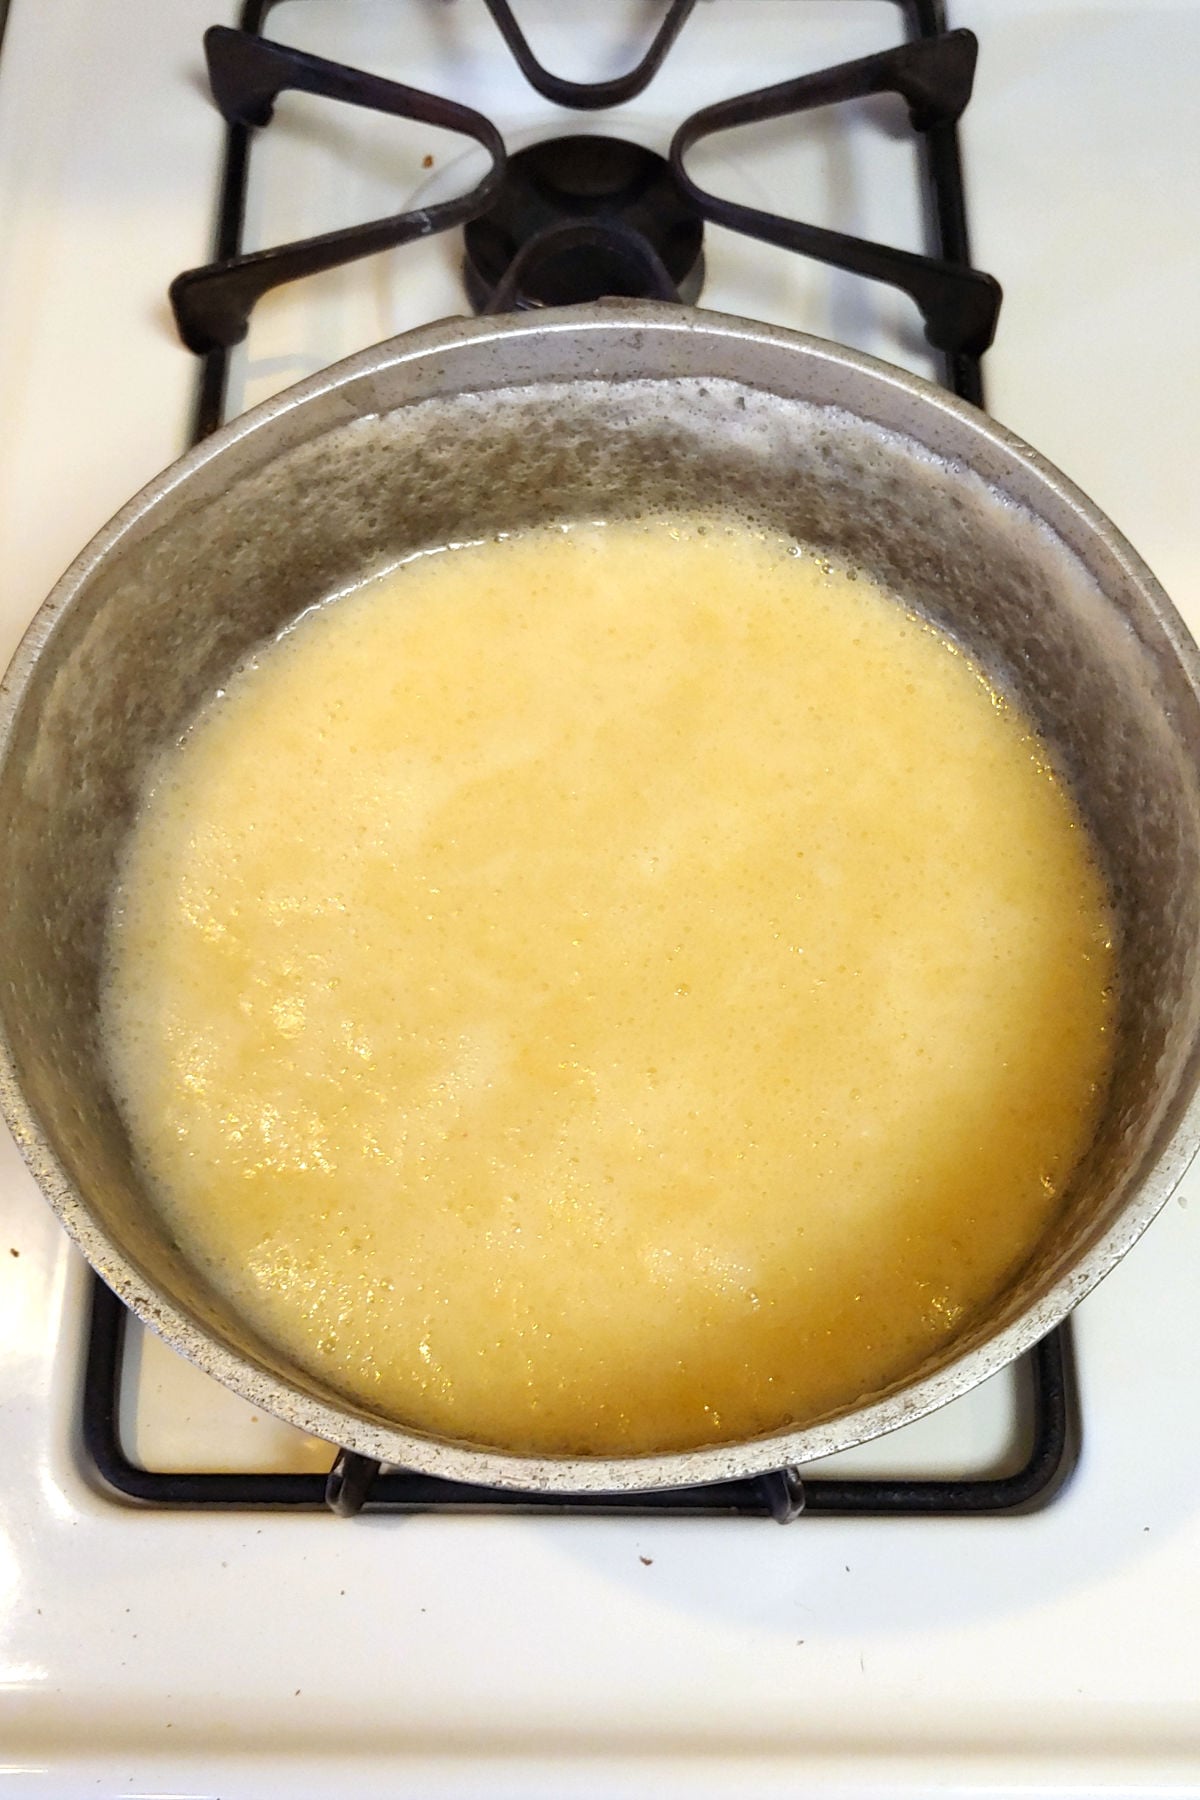
- When the 5 minute timer is up, immediately remove your pot from the heat. The syrup will begin to deflate.
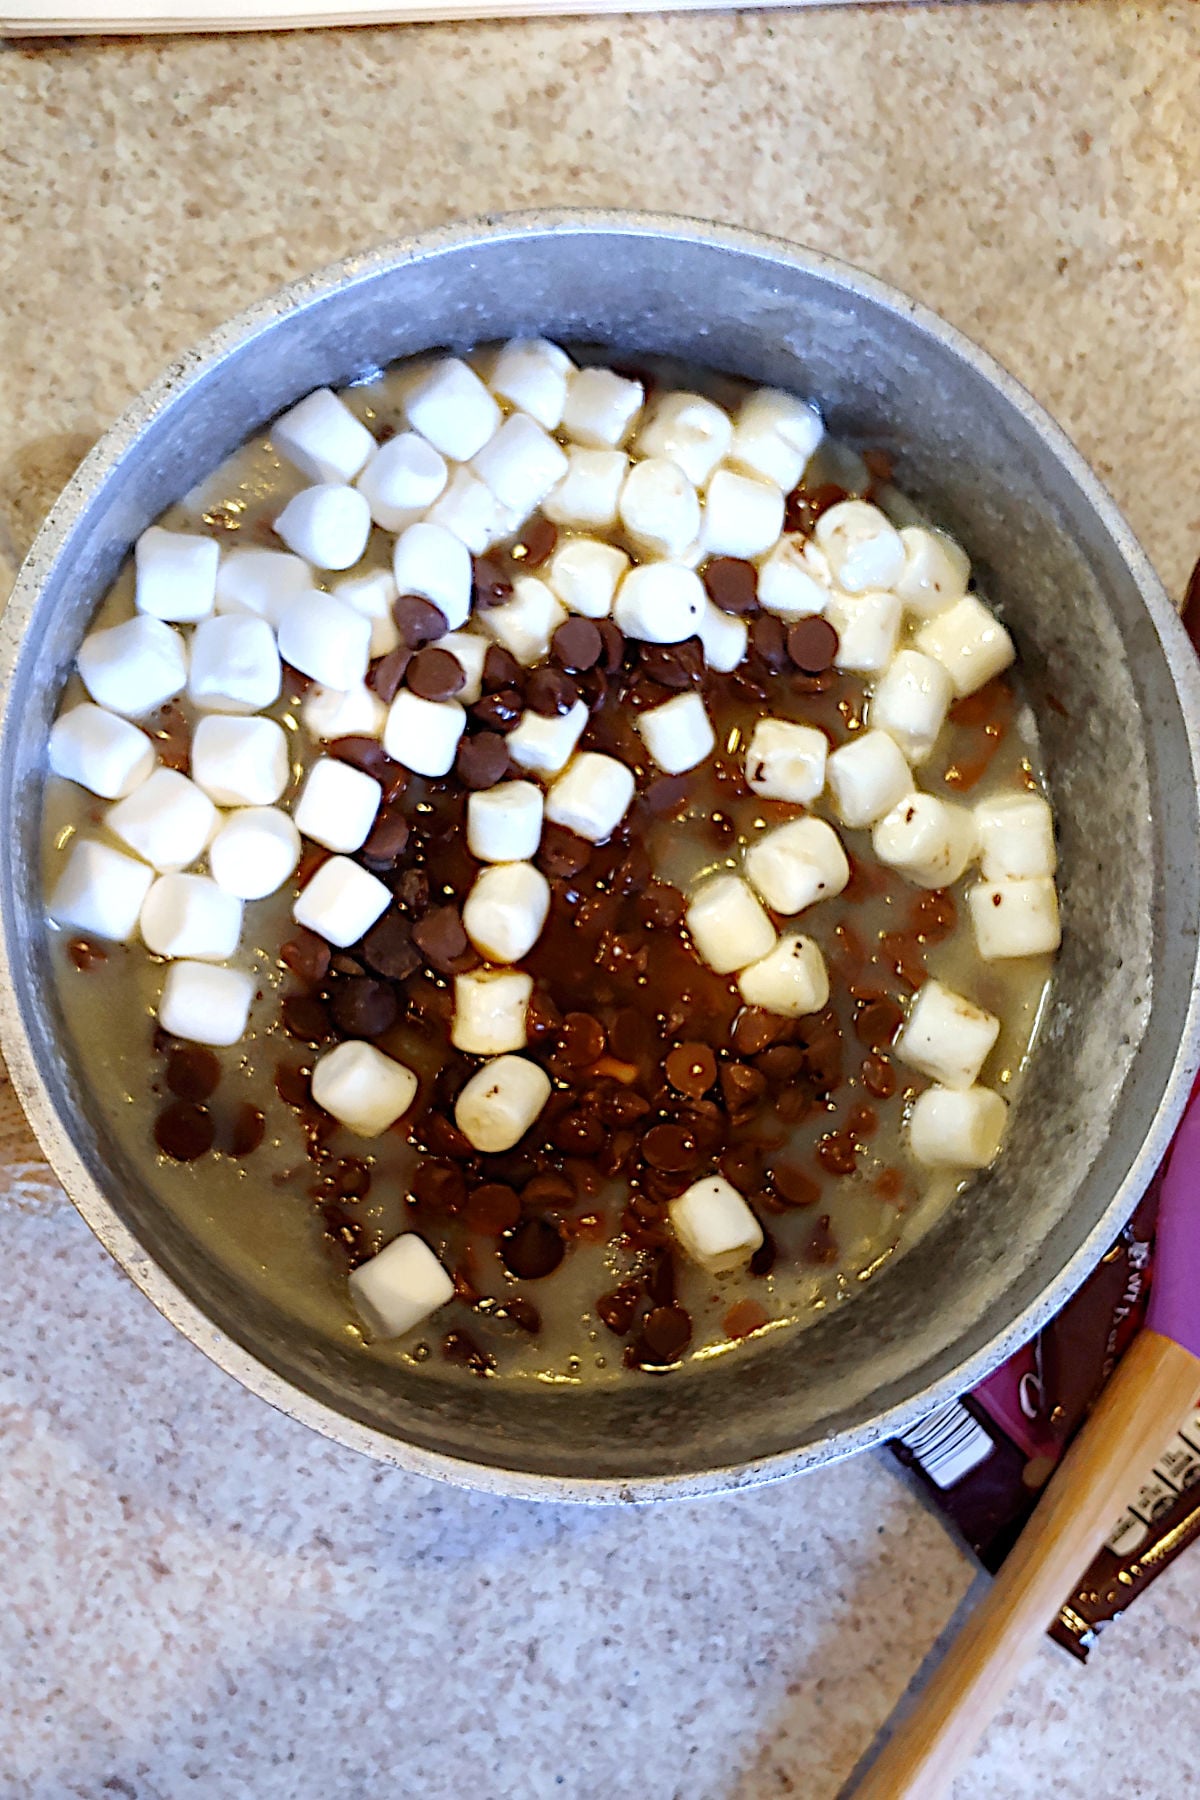
- Immediately add all the chocolate, marshmallows, nuts (if you're using), and a little vanilla. Use a clean silicone spatula to submerge the ingredients, which should start to melt immediately.
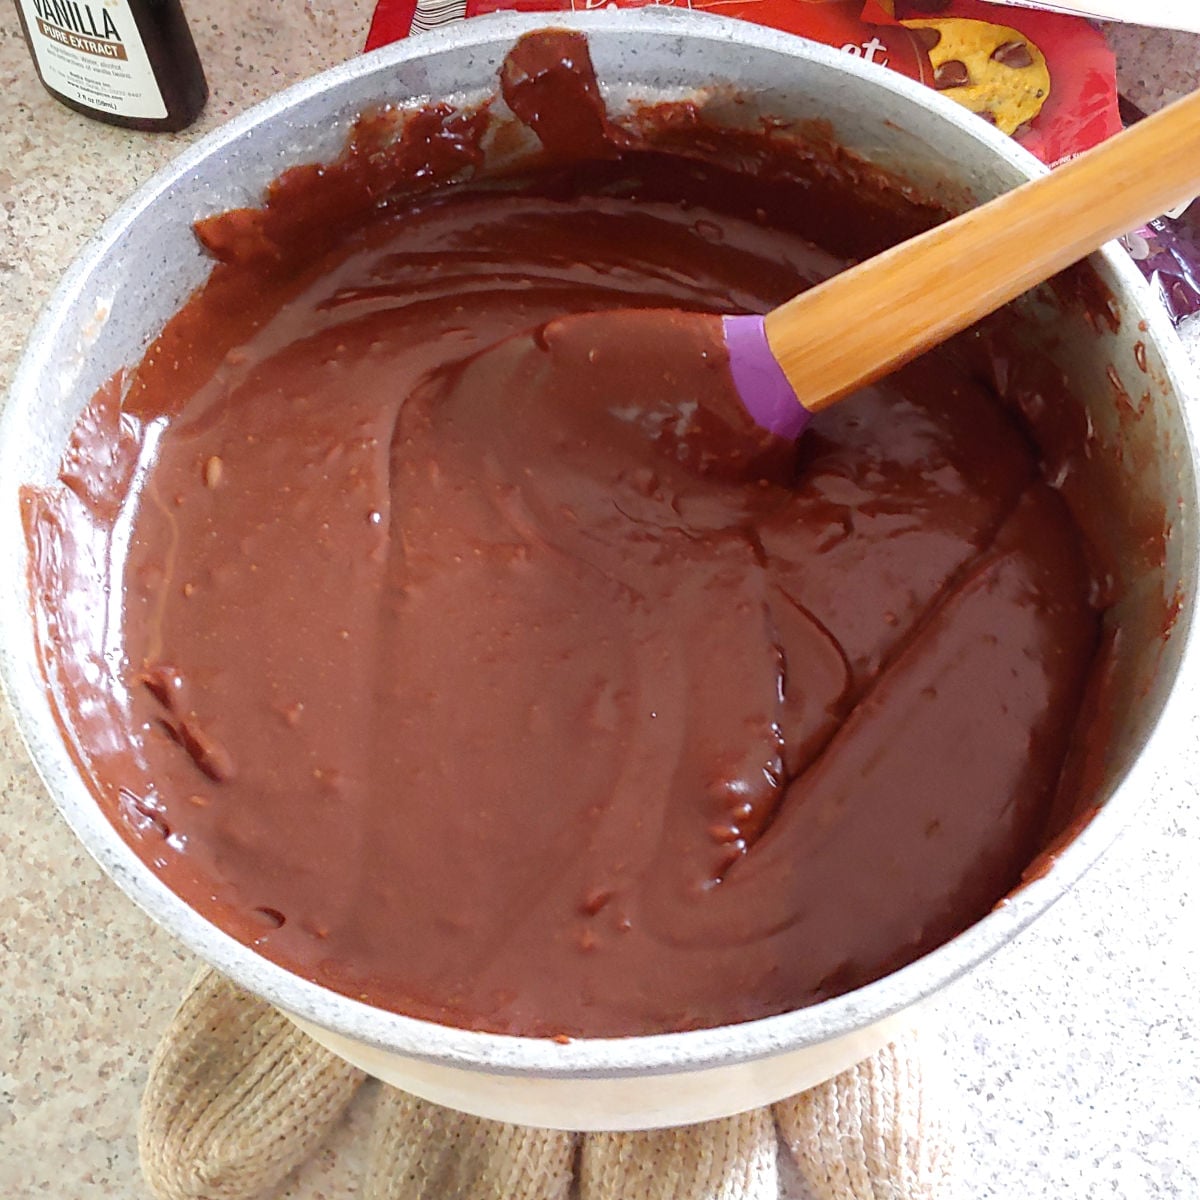
- Mix, being sure to scrape the bottom, until everything melts together. The fudge in the photo above needs slightly more stirring. This process can take 5 minutes.
If there are small lumps of chocolate, smooth them out between the spatula and side of the pan. Seeing if your fudge is smooth can be difficult if you add nuts.
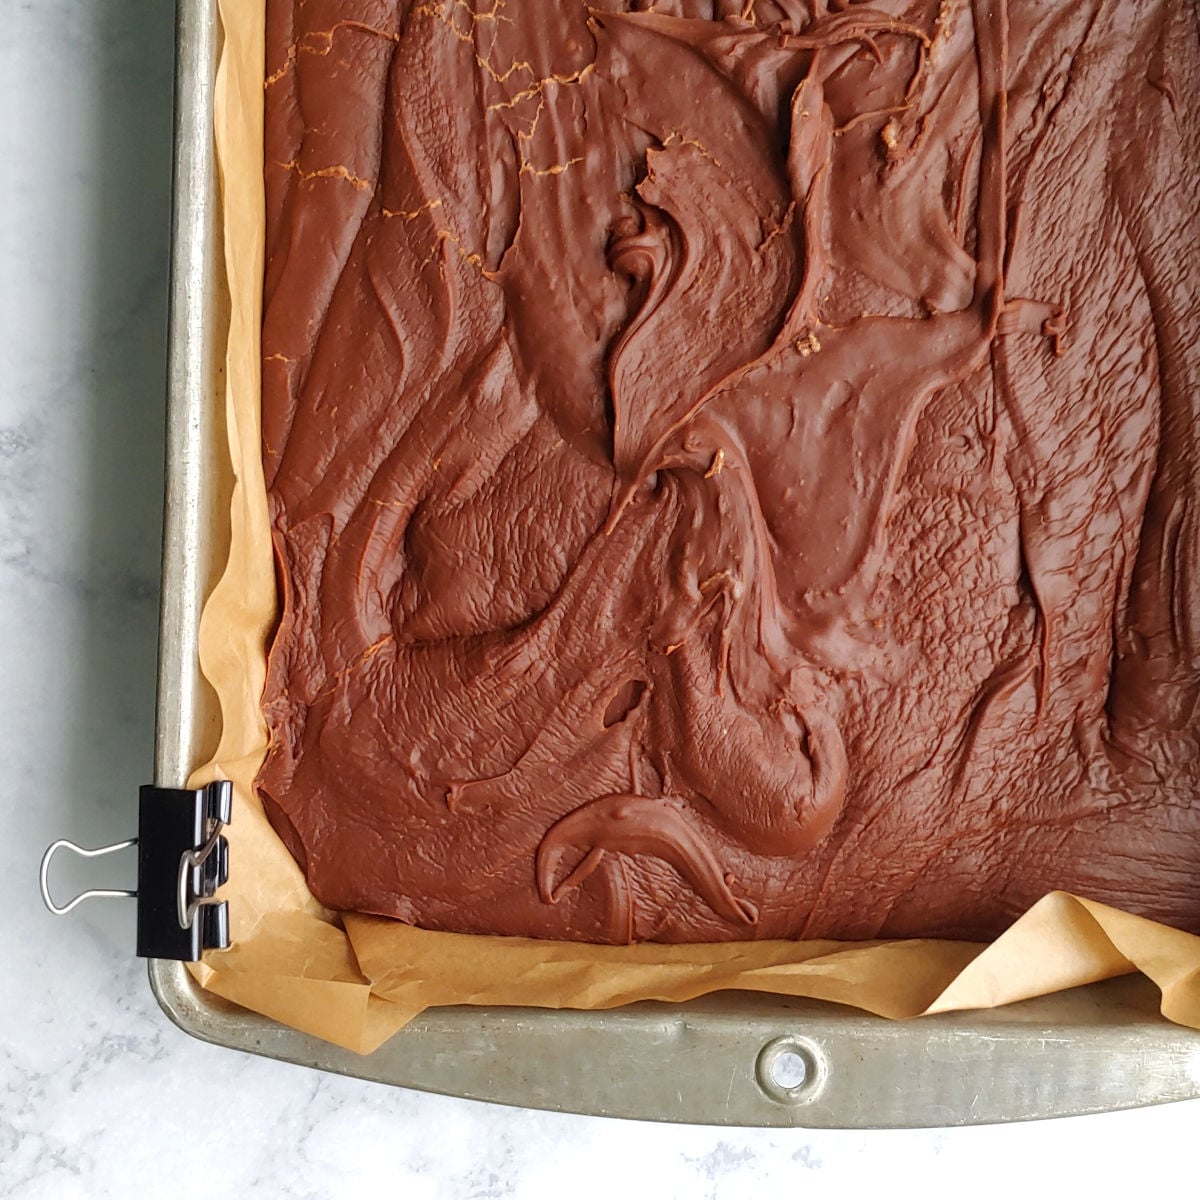
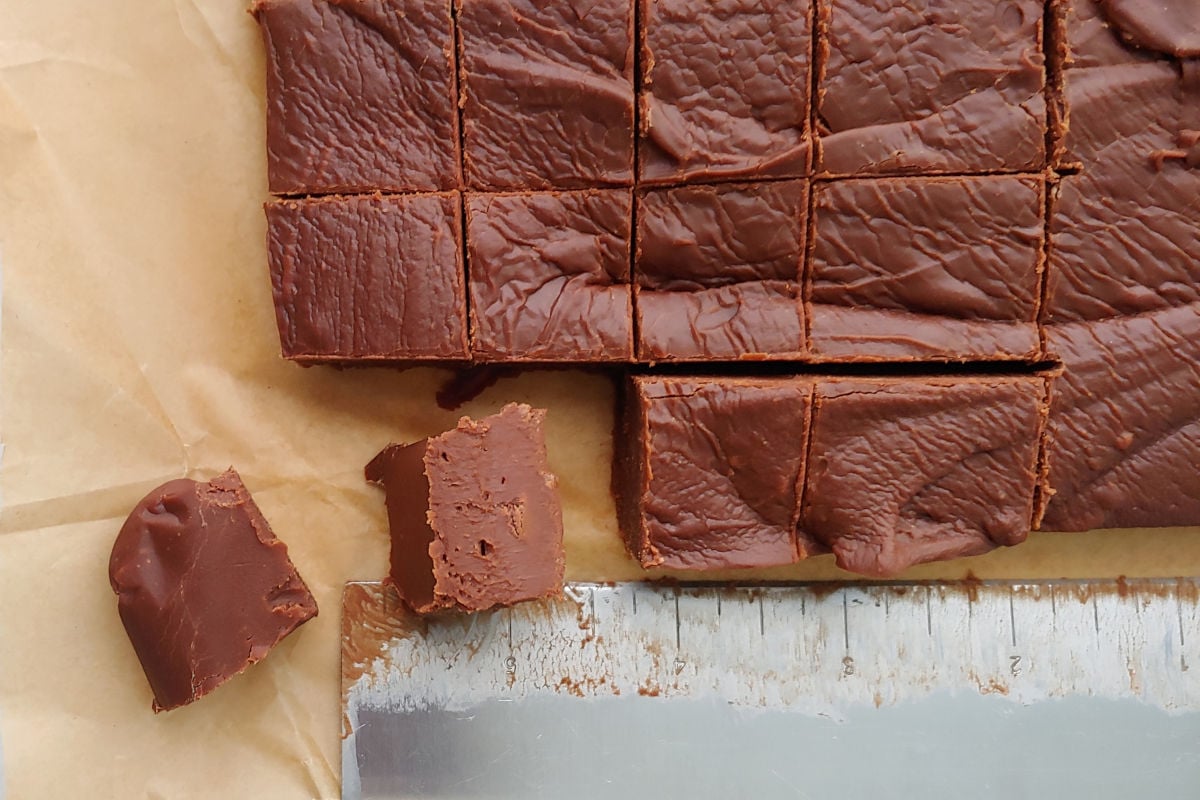
- Immediately pour into the parchment-lined pan, and smooth out slightly. Fudge in this photo has already cooled and set.
Cool at least 2 hours, although fudge cuts best if left to firm up for 4 hours or overnight. Honestly, I usually can't wait and basically dig a spoon in for a bite after an hour.
Hint: Fudge on the spatula will sometimes start to crinkle if you take a break from stirring. This is how you know it's almost done!
Storage at Home
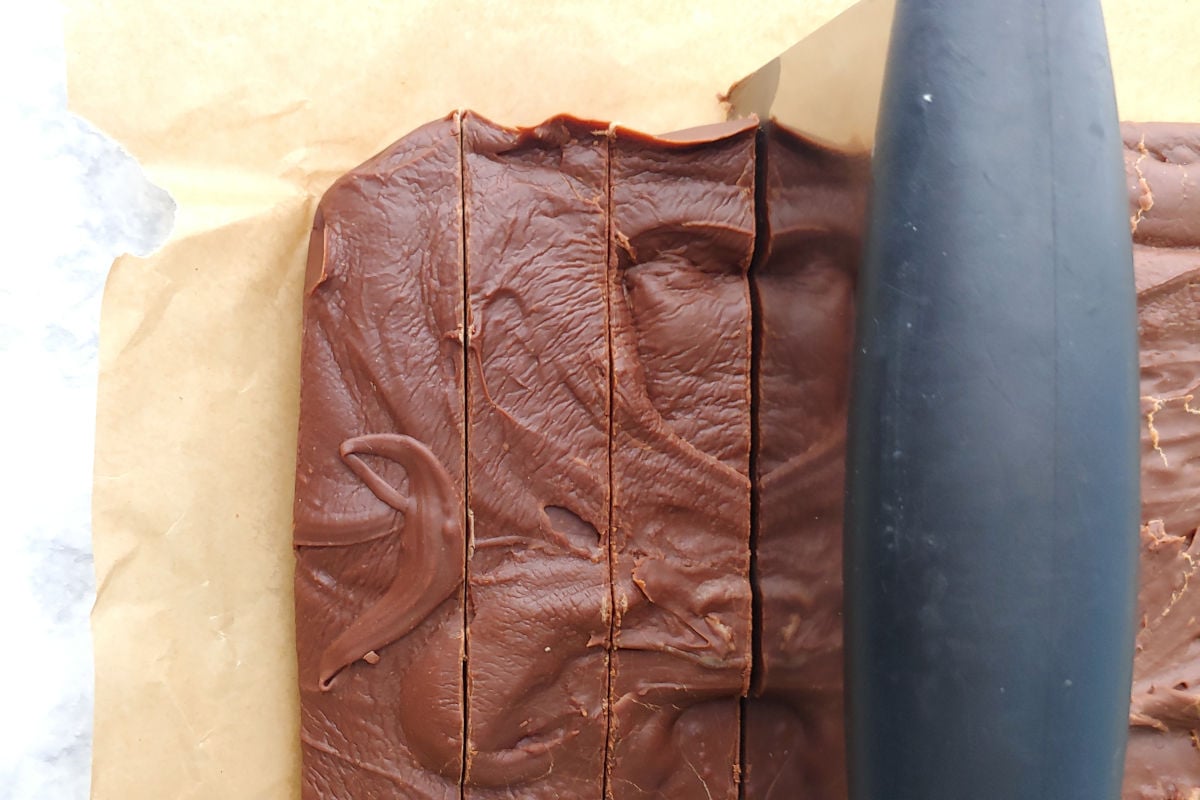
After the fudge has set, use the parchment paper to lift the fudge right out of the pan; it's easiest to cut that way. I prefer to use my bench scraper (affiliate link) to cut nice, even lines.
Store fudge in an airtight container at room temperature. You can store it alongside other types of fudge, but don't store it with other candies; fudge will trade moisture with other candy, affecting texture.
At home, I cut usually fudge into small, bite-sized pieces and store them in festive metal tins, separated by waxed or parchment paper between layers. Small squares start to dry out at the edges after 1-2 weeks if you dig in often, so sometimes I store bricks of fudge and slice as we go.
Storage for Gifting and Shipping
Fudge keeps beautifully in cool, dry conditions, which makes it excellent for mailing or gifting. For gifting, I cut the fudge into bars, wrap them in parchment paper, then seal with a layer of plastic wrap to keep air out.
When shipping, protect the bars of fudge in a sturdy box or metal tin so they don't get squished out of shape. One of my food gift boxes was delayed by a full month, but my friends said the fudge was still delicious when it arrived. Just note: fudge will not ship so well in warm weather.
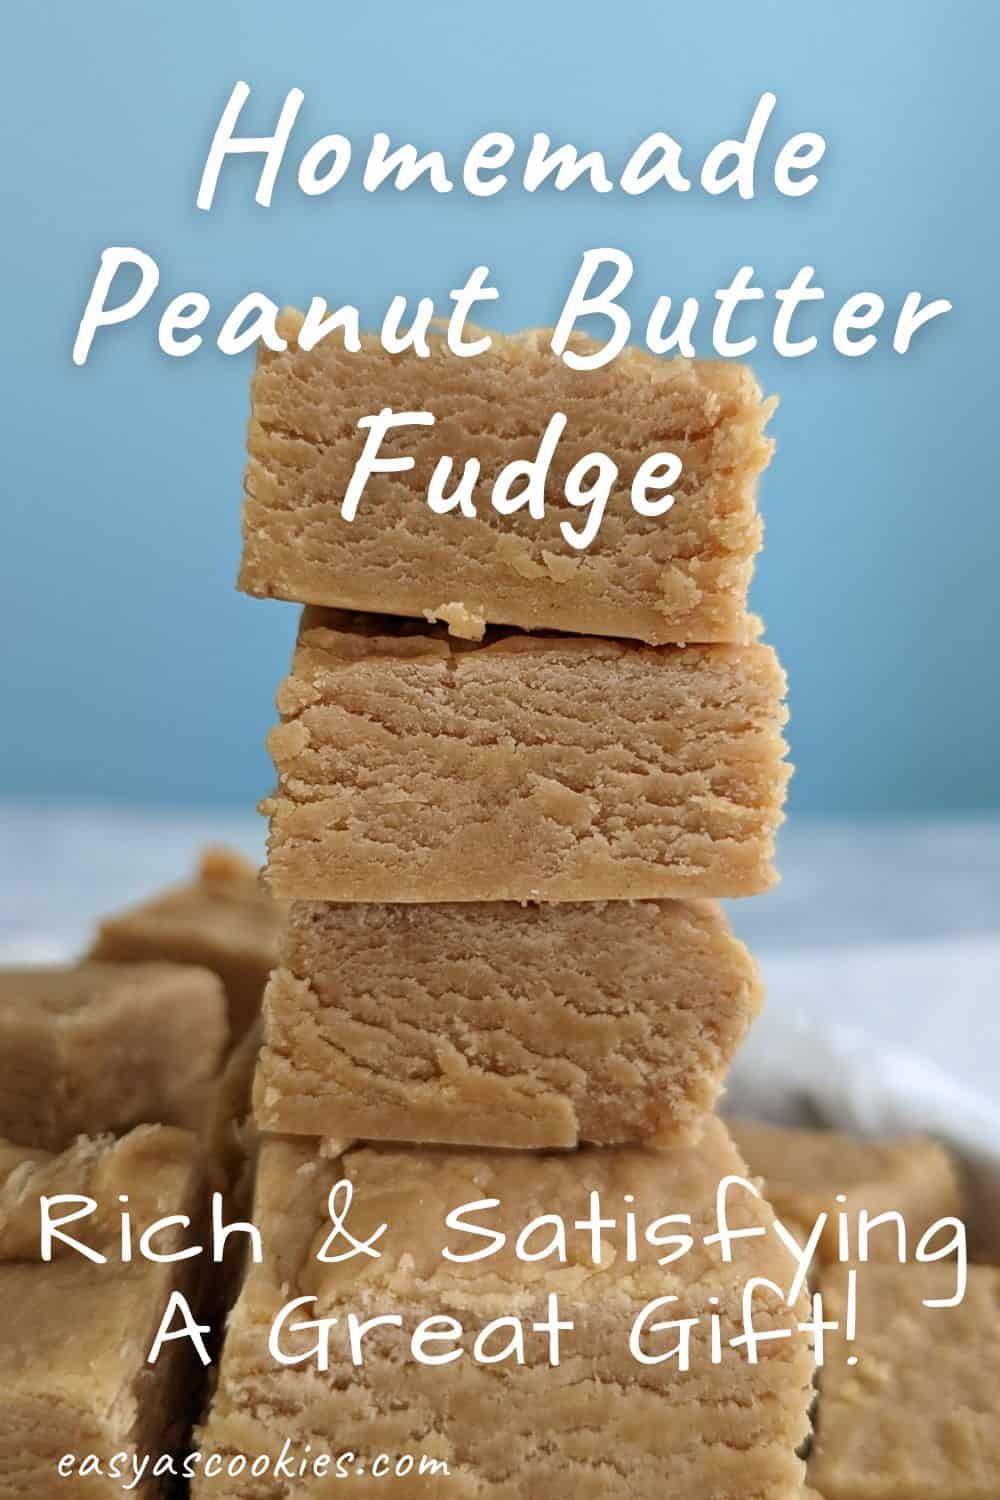
If you're gifting multiple kinds of fudge, like my Peanut Butter Fudge, be sure you label each bar when you wrap it.
Variations
Want to change it up? Try one of these easy variations.
- Stir in 1 cup of chopped walnuts when you add the chocolate and marshmallows.
- Mix in 1 additional cup of miniature marshmallows immediately before pouring the fudge into the pan. They won't melt, so you'll have bites of marshmallow throughout the candy!
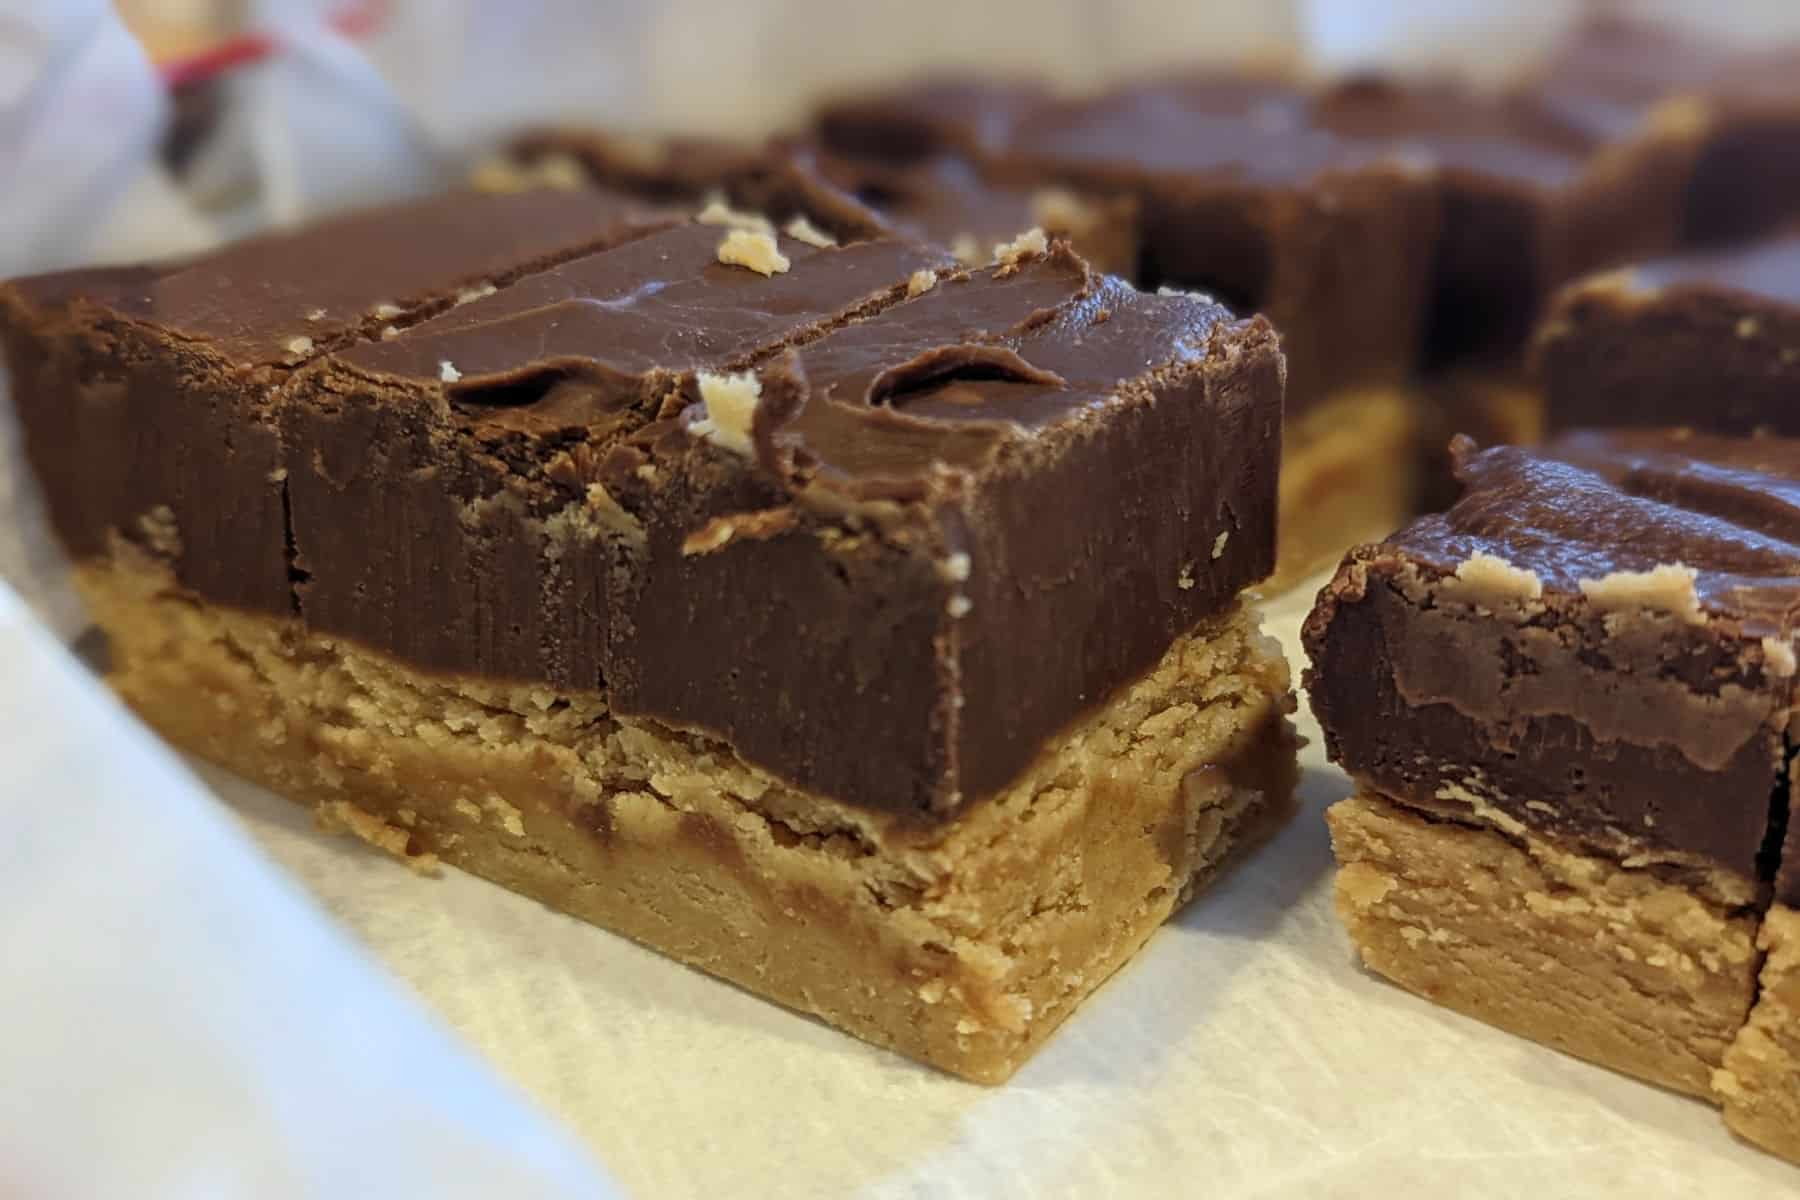
- For a layered treat, spread chocolate fudge over a batch of Grandma Wright's Peanut Butter Fudge. Not the quickest variation, but definitely delicious. Use a larger pan so layers stay thin and easy to bite.
Tips for Success
This is a reliable chocolate fudge recipe, but you'll still have the most success by following these tips:
- Gather all your ingredients before you start cooking.
- Chop chocolate bars, even leftover Halloween candy, into small pieces so they melt evenly.
- Bring the syrup to a full, rolling boil, and don't stir while it boils.
- Set a timer to measure the boiling time; precision matters, so don't estimate it.
- Use a clean silicone spatula to stir the chocolate and marshmallows into the sugar syrup.
Fudge-Making FAQ
No! This recipe specifically does not require a candy thermometer.
Traditional chocolate fudge can be hard to stir, but not this recipe! Marshmallows and chocolate added to the syrup after it boils make the fudge easier to mix than traditional chocolate fudge recipes, and also provide visual cues so you know when it's done. Once it's all melted and smooth, it's ready to pour.
Store fudge in an airtight container at room temperature in a cool, dry place. Properly stored, homemade chocolate fudge stays good for up to 4 weeks, although small squares can dry at the edges after 1-2 weeks if you dig in to the container often. At home, I store it in airtight metal tins lined with waxed or parchment paper, with paper between layers. I keep bricks of fudge for longer storage and slice it as we go.
For gifting, I cut fudge into 1-inch bricks around 4-5 inches long. I wrap each brick in a layer of parchment paper, taping the ends to seal, and then wrap it in plastic wrap for an airtight seal. For shipping, place the wrapped bricks inside a box or metal tin so they won't get squished or misshapen. Be sure to label the fudge if giving out more than one variety.
While you can technically make fudge using only one kind of chocolate, it's most flavorful if you use a mix of milk and dark chocolates.
Other Favorite DIY Food Gifts
Here's some of my other favorite foods to make and give as gifts during the holiday season.
I hope this becomes a recipe you'll return to. If you try it, a star rating below helps others find it - and I'd love to hear how yours turns out in the comments! 💕 Questions or trouble? Drop a note, and I'll do my best to help.
📖 Recipe

Easy Homemade Chocolate Fudge
Equipment
- sturdy 3-quart pot
- 2 silicone spatulas
- 9x13 inch pan
- parchment paper
Ingredients
- 3 cups sugar (600 grams)
- 1 can evaporated milk (12 ounces/354 grams)
- 4 tablespoons butter (56 grams)
- 16 ounces milk chocolate (2 ⅔ cups, chopped) (454 grams)
- 12 ounces semisweet chocolate (2 cups, chopped) (340 grams)
- 64 miniature marshmallows (or 16 regular marshmallows; 45 grams)
- 1 teaspoon vanilla (5 grams)
- 1 cup nuts (optional)
Instructions
- Butter or line a 9x13-inch pan (affiliate link) with parchment paper. Set pan aside.
- Combine sugar, evaporated milk, and butter in a heavy 3-quart pot. Heat over medium-high heat. Stir to help the butter melt and the sugar dissolve, and scrape the bottom so that the milk doesn't scorch.
- Prepare your other ingredients if you haven't already. Chop chocolate into small pieces. Cut regular-sized marshmallows into quarters. Gather nuts and vanilla.
- Bring sugar-milk mixture to a full rolling boil. The entire surface will be bubbles. Set aside your stirring spoon and start a timer for 5 minutes.
- Boil for 5 minutes, with no stirring. The liquid will double in volume and may come close to the top of the pan. If the mixture looks like it will boil over, edge down the heat slightly, just enough to keep it from making a mess.
- After 5 minutes are up, remove the pot from the heat. Immediately add the chocolate, marshmallows, vanilla, and nuts (if using).
- Using a clean silicone spatula, mix until the chocolate and marshmallows are completely melted. Without nuts, the mixture will be relatively smooth; if you have lumps of chocolate, smooth them out between the spatula and the side of the pot. Fudge on the spoon will start to crackle if you take a break from stirring. This whole process takes me about 4-5 minutes.
- Pour into your prepared pan, trying to get it into all the corners in one go. Smooth it slightly.
- Let cool for at least 2 hours before removing the fudge from the pan. However, the fudge is cut more neatly if it sets for 4.
- Store fudge in an airtight container at room temperature. Avoid heat and humidity. If packing to ship, cut fudge into slices and wrap in a layer of parchment paper, followed by a layer of plastic wrap.
- Eat cut fudge within 1-2 weeks. Wrapped fudge will keep about a month.
Notes
Nutrition
[Originally published February 14, 2021. Restructured, revised, and expanded December 2, 2025.]

Leona Konkel says
I make 2 or 3 batches of this fudge each December, and I still love it as much as I did the first time I made it. If you try it, let me know if you have any questions. I'd love to hear how it turns out!