Fall-like weather has made an appearance here in South Jersey. I love fall. Autumn is a great time to do some baking.
In the spring, I finally began to make bread again. I didn't make bread as often as I'd hoped to do, but I baked more than I have in the past two years since I had Amelia. My goal in part was to work my way through some of the random flours and grains that I have in my pantry. I feel like I haven't used up many of those ingredients, but my list of ingredients in the pantry has indeed dwindled, and I can see in my pantry without moving things. So that's a plus.
[This post contains affiliate links. I may make a commission for purchases made through links on this post.]
Yeasted Banana Sandwich Bread is still my go-to bread to make when I don't feel like trying something new and want to make bread spur-of-the-moment (read: the same afternoon - it's yeasted bread, after all). But I've been making this Multigrain Sandwich Bread recipe a lot. It's from Peter Reinhart's Whole Grain Breads (affiliate link) cookbook, which I received a few Christmases ago.
It's tough to cook with a baby or young toddler. But now that Amelia likes helping me cook, I've been trying to work through a few of the recipes. Making bread with her is fun, although it challenges my patience. I let her scoop most ingredients, and I have a system to catch most of what she spills. (She scoops into a measuring cup inside a wide bowl - this has saved my sanity.) It takes me about twice as long to make anything, between letting her measure, letting her stir, and cleaning up all the stuff that falls on the counter and the floor. But she's so excited about helping that I usually cook with her instead of trying to avoid the mess.
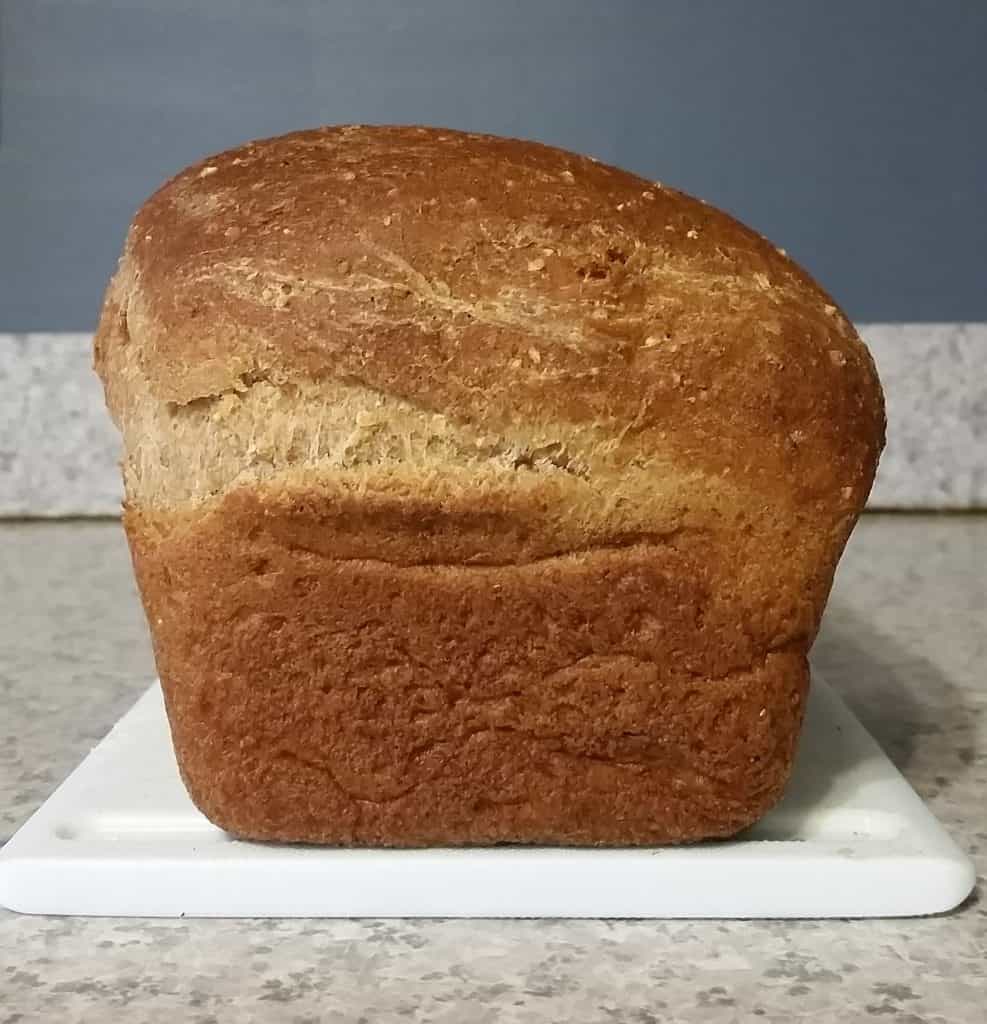
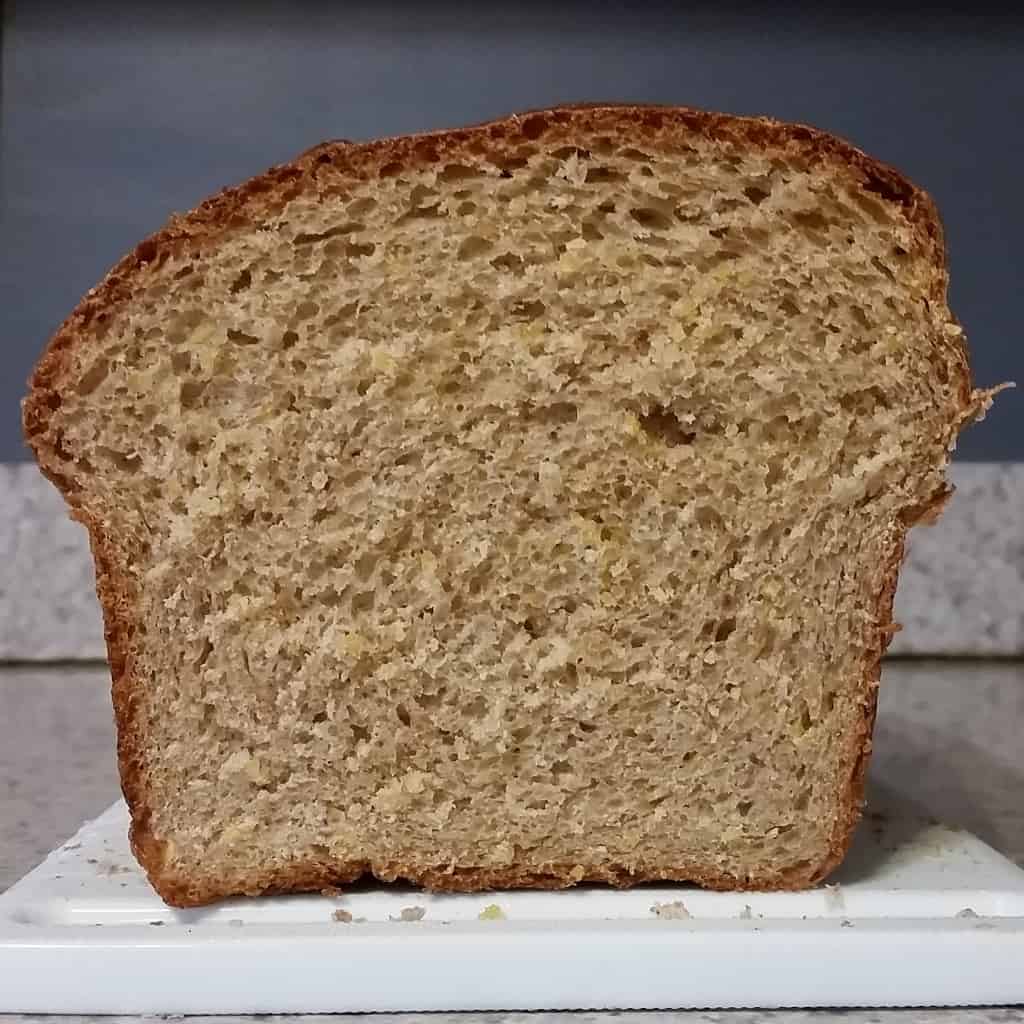
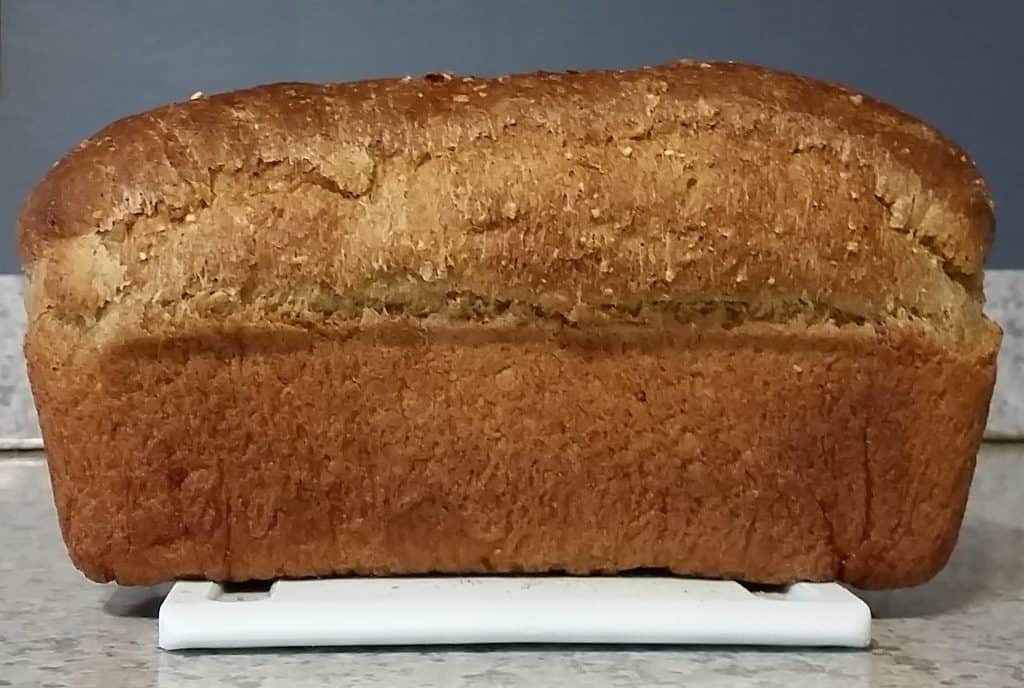
Back to bread - I've made a few other things from the book, but this Multigrain Sandwich Bread is the one that I've been making over and over to get a feel for how to make whole grain bread. Sandwich bread is what we will eat the most in our house at the moment, because Amelia will often eat toast for lunch, or we can make sandwiches for a picnic lunch when we're out. Also, I like the texture of multigrain bread over whole wheat bread. I prefer this multigrain sandwich bread over the Multigrain Bread Extraordinare that I made in 2014 for my year of bread baking, because this recipe has a 1:1 ratio of whole grains to bread flour (as opposed to a ratio of about 1:4). This recipe makes a bread that's wholesome but not heavy, and it doesn't taste too healthy. It's soft and not too dense, with chewy bits of whole grain. The bread is not very crumbly when you slice it, and makes for nicely toasted but not crisp toast. It's perfect for slathering with peanut butter or almond butter, or cookie butter if you prefer.
Making this bread (like most breads from any of Peter Reinhart's books) takes two days. Day one is usually easy. You mix together two different doughs - a multigrain dough with salt that sits on the counter (salt acts as a preservative), and a regular dough with yeast that ferments in the fridge overnight. These two steps take me no more than 15 minutes, max. The next day is when the bulk of the action and work is. On day two, you combine the two doughs, knead the dough, let it rise, shape it, and bake it.
I weighed all of my dry ingredients (and some wet ones) here, rather than use measuring scoops. Measurements by volume are taken from the book, and if you follow them, your results may vary. You can use any mix of whole grains in this recipe, but if you use harder or larger grains (like brown rice or steel-cut oats), you'll want to cook them first. If you substitute other grains, be sure to add the same weight of grains, rather than a volumetric measure.
Making bread is work and takes a while, but I love it. But the results are fantastic.
📖 Recipe
- 2 oz whole wheat or bread flour (7 tablespoons)
- 2 oz cornmeal, coarse grind (7 tablespoons)
- 2 oz rolled oats (½ cup)
- 1.5 oz cooked brown rice or other cooked grain (I sometimes substitute the same weight of rolled oats instead) (5 tablespoons)
- .25 oz wheat bran (7g or 2 tablespoons)
- .25 oz ground flaxseeds (7g or 2 ¼ teaspoon) (optional, but I usually use it)
- ½ teaspoon salt
- 6 oz milk, buttermilk, yogurt, or nondairy milk (¾ cup + 2 tablespoons)
- 8 oz bread flour (1 ¾ cups)
- ¼ teaspoon yeast
- 5 oz water (½ cup + 2 tablespoons)
- 1 oz whole wheat flour (3 ½ tablespoons)
- ⅝ teaspoon salt
- 2 ¼ teaspoons yeast
- 1.5 oz honey (2 ¼ tablespoons)
- .5 oz vegetable oil or melted butter (14g or 1 tablespoon)
-
Soak your whole grains. Mix together 2 oz whole wheat flour, cornmeal, oats, cooked grains, wheat bran, flaxseeds, ½ teaspoon salt, and milk. Stir for 1 minute until everything is well mixed.
-
Cover with plastic wrap and leave at room temperature for 12-24 hours. (I was skeptical but the salt acts as a preservative.) Place in the fridge if using after 24 hours; use within 3 days and remove from fridge 2 hours before mixing the final dough.
-
Next, make your biga or prefermented dough. Mix together bread flour, ¼ teaspoon yeast, and 5oz water. Use wet hands to knead the dough for 2 minutes. (A small bowl of water nearby is helpful, although I usually just rinse my hands often.) Dough will be very tacky. Let dough rest for 5 minutes to let the gluten rest, then knead for 1 more minute. Dough will be smoother but still tacky. (Think, tacky like a post-it note.)
-
Place dough in bowl, cover with plastic wrap, and refrigerate for 8 hours and up to 3 days. Remove from the fridge 2 hours before making final dough.
-
The next day, combine the whole grain soaker, the biga that you refrigerated, and all remaining ingredients. It helps, especially if mixing by hand, if you cut the soaker and the biga into smaller pieces before mixing the dough.
-
If mixing by hand, mix vigorously with a mixing spoon, or knead with wet hands, for 2 minutes, until all the ingredients are evenly mixed into the dough. Add more water or flour as needed until the dough is soft and slightly sticky.
-
If using a stand mixer, mix on low speed using the dough hook for 1 minute. Increase speed to medium-low for 2-3 minutes. Add more water or flour as needed until the dough is soft and slightly sticky.
-
Turn dough out onto a floured surface and dust with flour. Knead by hand for 3-4 minutes, adding only as much flour as needed, until dough feels soft and tacky but not sticky. (Think again, like a post-it note. Dough will stick to you and not want to let go, but won't leave much residue behind.) Let dough rest for 5 minutes. This will make it easier to knead again.
-
Knead for 1 more minute. Dough should pass the windowpane test (although mine barely does, usually) and will be soft and very tacky. Place dough in a ball in an oiled bowl and spray with additional oil. Cover loosely with plastic wrap and let rise at room temperature for 45-60 minutes, until 1 ½ times the original size.
-
Transfer dough onto a lightly floured surface. Pat into a 5x8 inch rectangle, then start at the short end and roll up the length of the dough. Pinch the seam of the dough into the loaf. Place in a greased 8.5x4.5 inch loaf pan and press down on the dough to level it. Spray the top of the loaf with oil, then cover loosely with plastic wrap. Let rise at room temperature for 45-60 minutes, until it is 1 ½ times the original size. The top of the loaf will crest about 2 inches above the top of the pan.
-
About 30-35 minutes into this final rise, preheat the oven to 425F. Once oven is heated, place loaf pan in the oven, then reduce temperature to 350F. Bake for 20 minutes, rotate the loaf, and bake for another 20-30 minutes. Loaf will be a rich brown, sound hollow when tapped on bottom, and will be at least 195F if you want to take its temperature.
-
Remove from the loaf pan and cool on a cooling rack for at least 1 hour before cutting.


Leave a Reply