
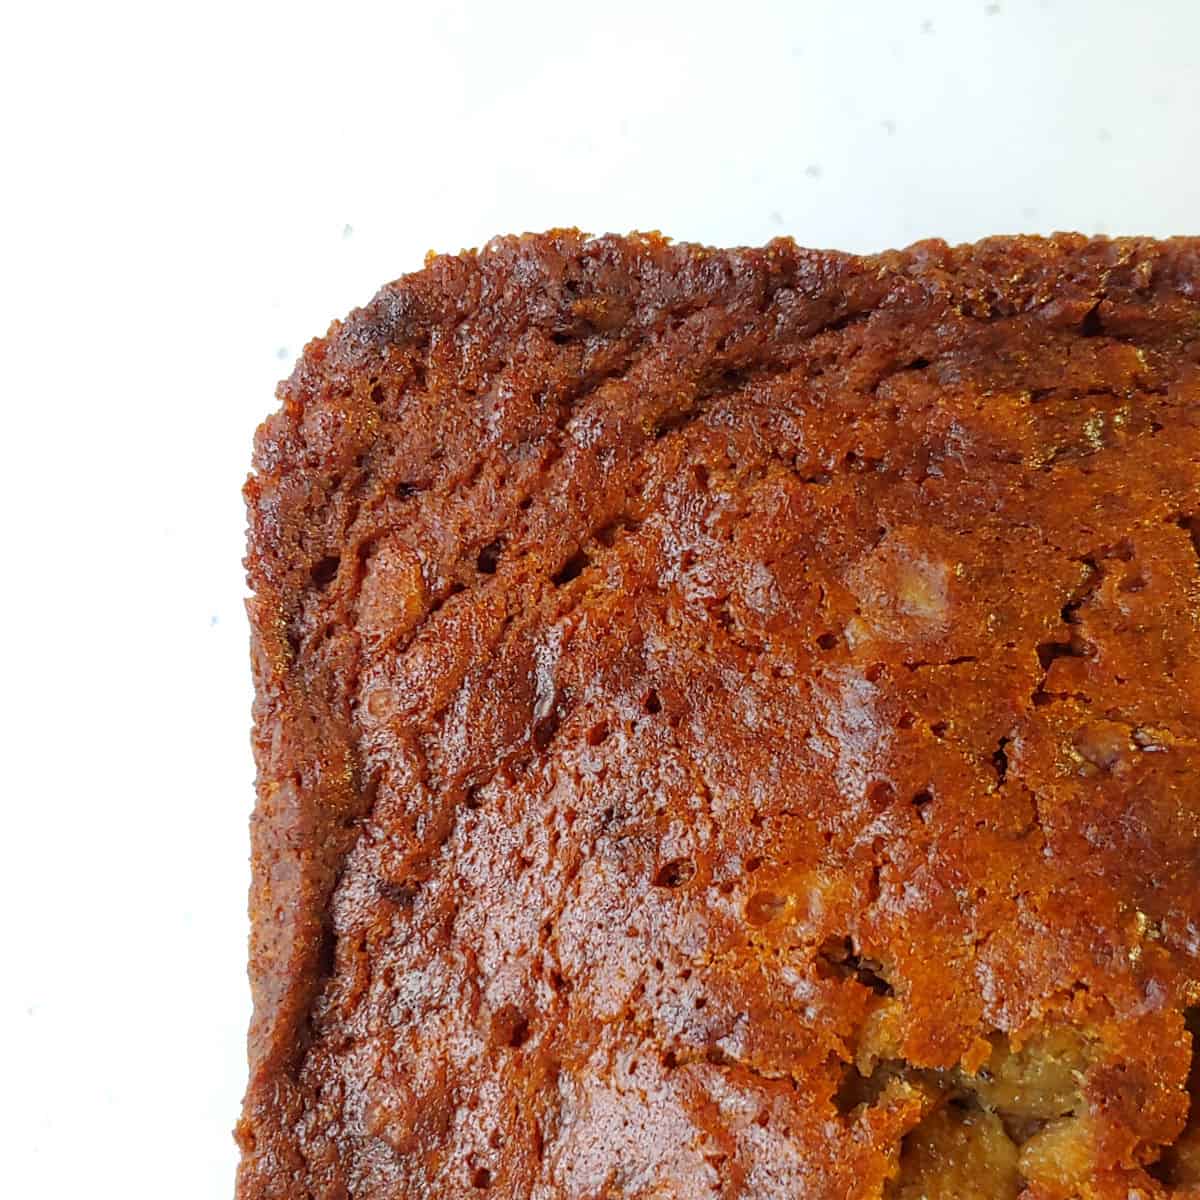
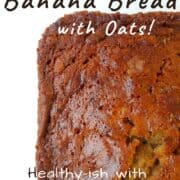
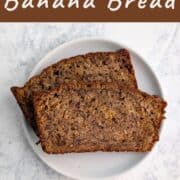
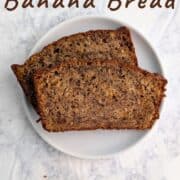
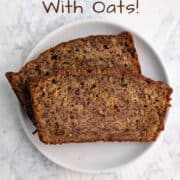
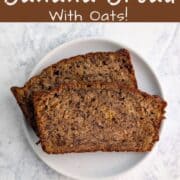
When overripe bananas stare at me from the counter, I reach for this recipe for Classic Banana Bread with Oats. It comes together in just one bowl - no mixer required - and uses whole wheat and oats to make the loaf 60% whole grain. The crust gets a delicious crunch in the oven, while the inside is soft, tender, and stays moist for days.
Banana Bread with Oats at a Glance
- ⏱ Prep Time: 20 minutes
- 🔥 Cook Time: 75 minutes
- ⏳ Total Time: 95 minutes (plus cooling)
- 👪 Serves: 24
- 🍽️ Calories: 140
- 🌾 Main Ingredients: Bananas, sugar, vegetable oil, all-purpose flour, whole wheat flour, oats, yogurt, walnuts
- 👌 Why You'll Love It: One bowl, no mixer, 60% whole grain - a banana bread that's simple to make and even better to eat.
SUMMARIZE & SAVE THIS RECIPE ON
Banana bread isn't my personal go-to snack, but I love how much it makes. Kids love it at playdates, and it's great around the house as a hearty snack - much like my Chocolate Peanut Butter Bites or Aquafaba Granola, other wholesome oat-based snacks worth keeping on hand.
I made a classic banana bread recipe healthier by replacing the butter with oil and swapping out some of the all-purpose flour for whole wheat and rolled oats. I also traded buttermilk for yogurt, which adds the moisture and tenderness - and I'm more likely to have it on hand. The result is a loaf that's wholesome enough for breakfast and good enough to eat plain - and if you love a simple, no-mixer breakfast, my Everyday Pancakes follow the same one-bowl philosophy.
Jump to:
Why You'll Love This Recipe
- 🥣 One-bowl, no-mixer - making for the simplest banana bread possible
- 🌾 60% whole grain from whole wheat flour and rolled oats, with no compromise on flavor
- ✨ Oil and yogurt keep every slice tender and moist for days
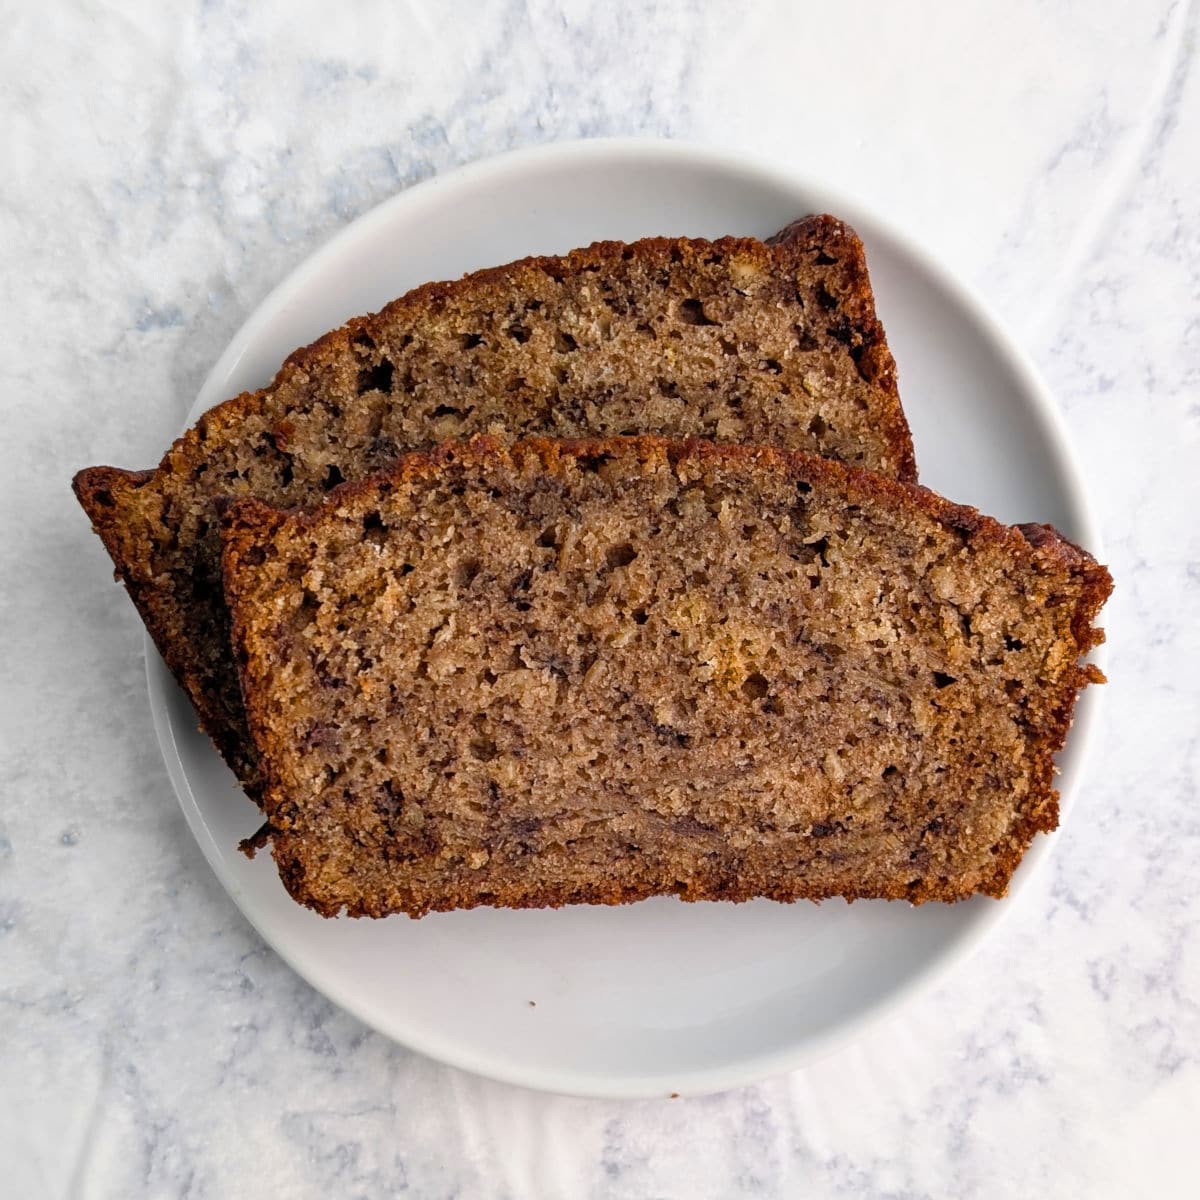
- 🍌 A soft, tender crumb with just the right sweetness
Key Ingredients
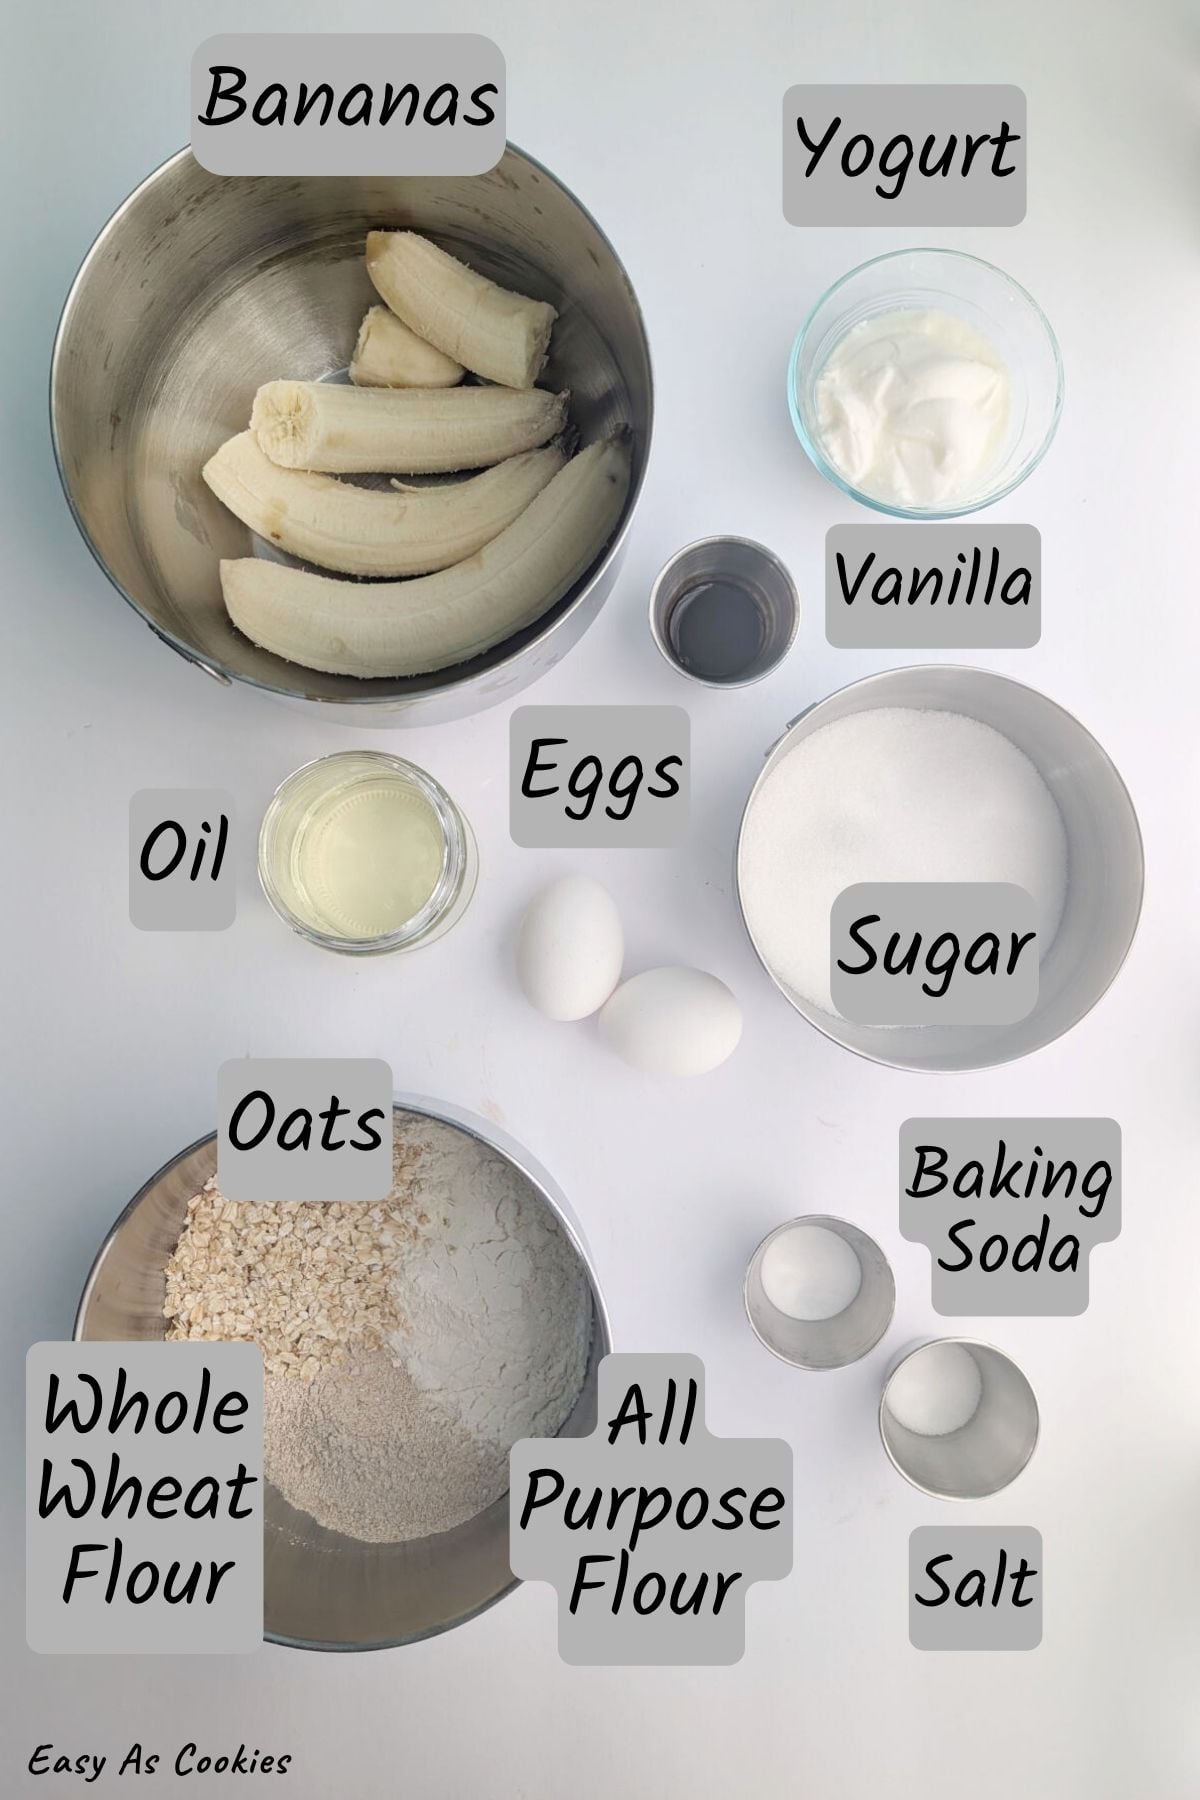
Bananas: Use overripe bananas, which are starchier and hold moisture better than ripe bananas; they're also easier to mash. Use 3 or 4 bananas (more than one pound), depending on size. You can also use overripe bananas in my Yeasted Banana Sandwich Bread, our favorite for peanut butter and jelly.
Vegetable oil: Easier to mix in than butter and makes for a moister loaf.
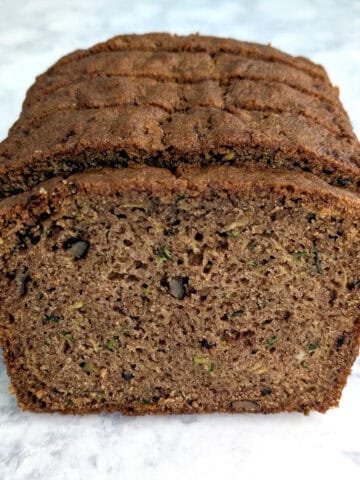
Whole wheat flour: Swapping this in for some all-purpose flour adds whole grains, without making the bread stodgy. I also use this in my Whole Wheat Zucchini Bread.
Rolled oats: Swapping these whole grains in for some flour adds more texture. I use old-fashioned rolled oats but quick cooking also work; instant oats will make bread gummy, and steel-cut oats won't cook properly - although I do love them in my Creamy Steel Cut Oats.
Yogurt: Adds tenderness and moisture. You can swap it for soured milk, which is dairy milk plus 1 ½ teaspoons of vinegar or lemon juice - or make soured milk with soy milk for a dairy-free option.
Walnuts: Optional. I don't always add nuts to breads, but I like them here. They're a tasty and healthy addition to the bread. If you're a fan of walnuts, you'll enjoy trying my Freeform Honey Walnut Pie.
How to Make Classic Banana Bread with Oats
Lower the oven rack to the bottom position; this dense loaf bakes best close to the heating element. Then, grease the bottom only of your loaf pan.

One: Mash the bananas with a potato masher. You want them more creamy than lumpy, but I usually have some lumps.
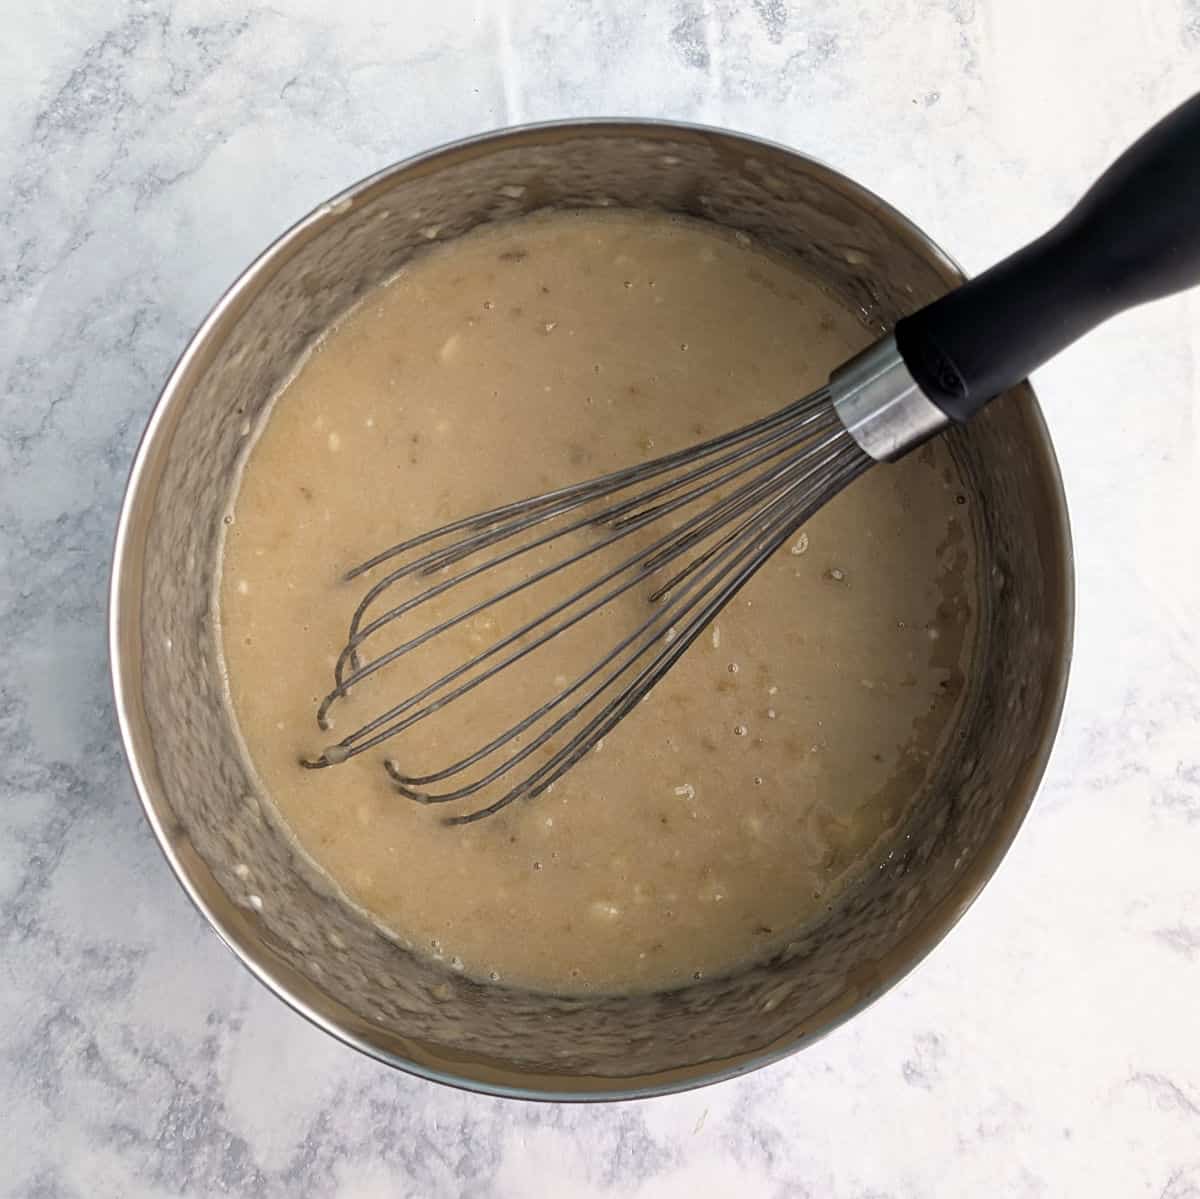
Two: Use a wire whisk to mix in all the wet ingredients.

Three: Use a rubber spatula to mix in the dry ingredients, stirring until just combined. Smooth out any lumps you find, but don't overmix. Stir in walnuts, if using. (Not shown in photo.)
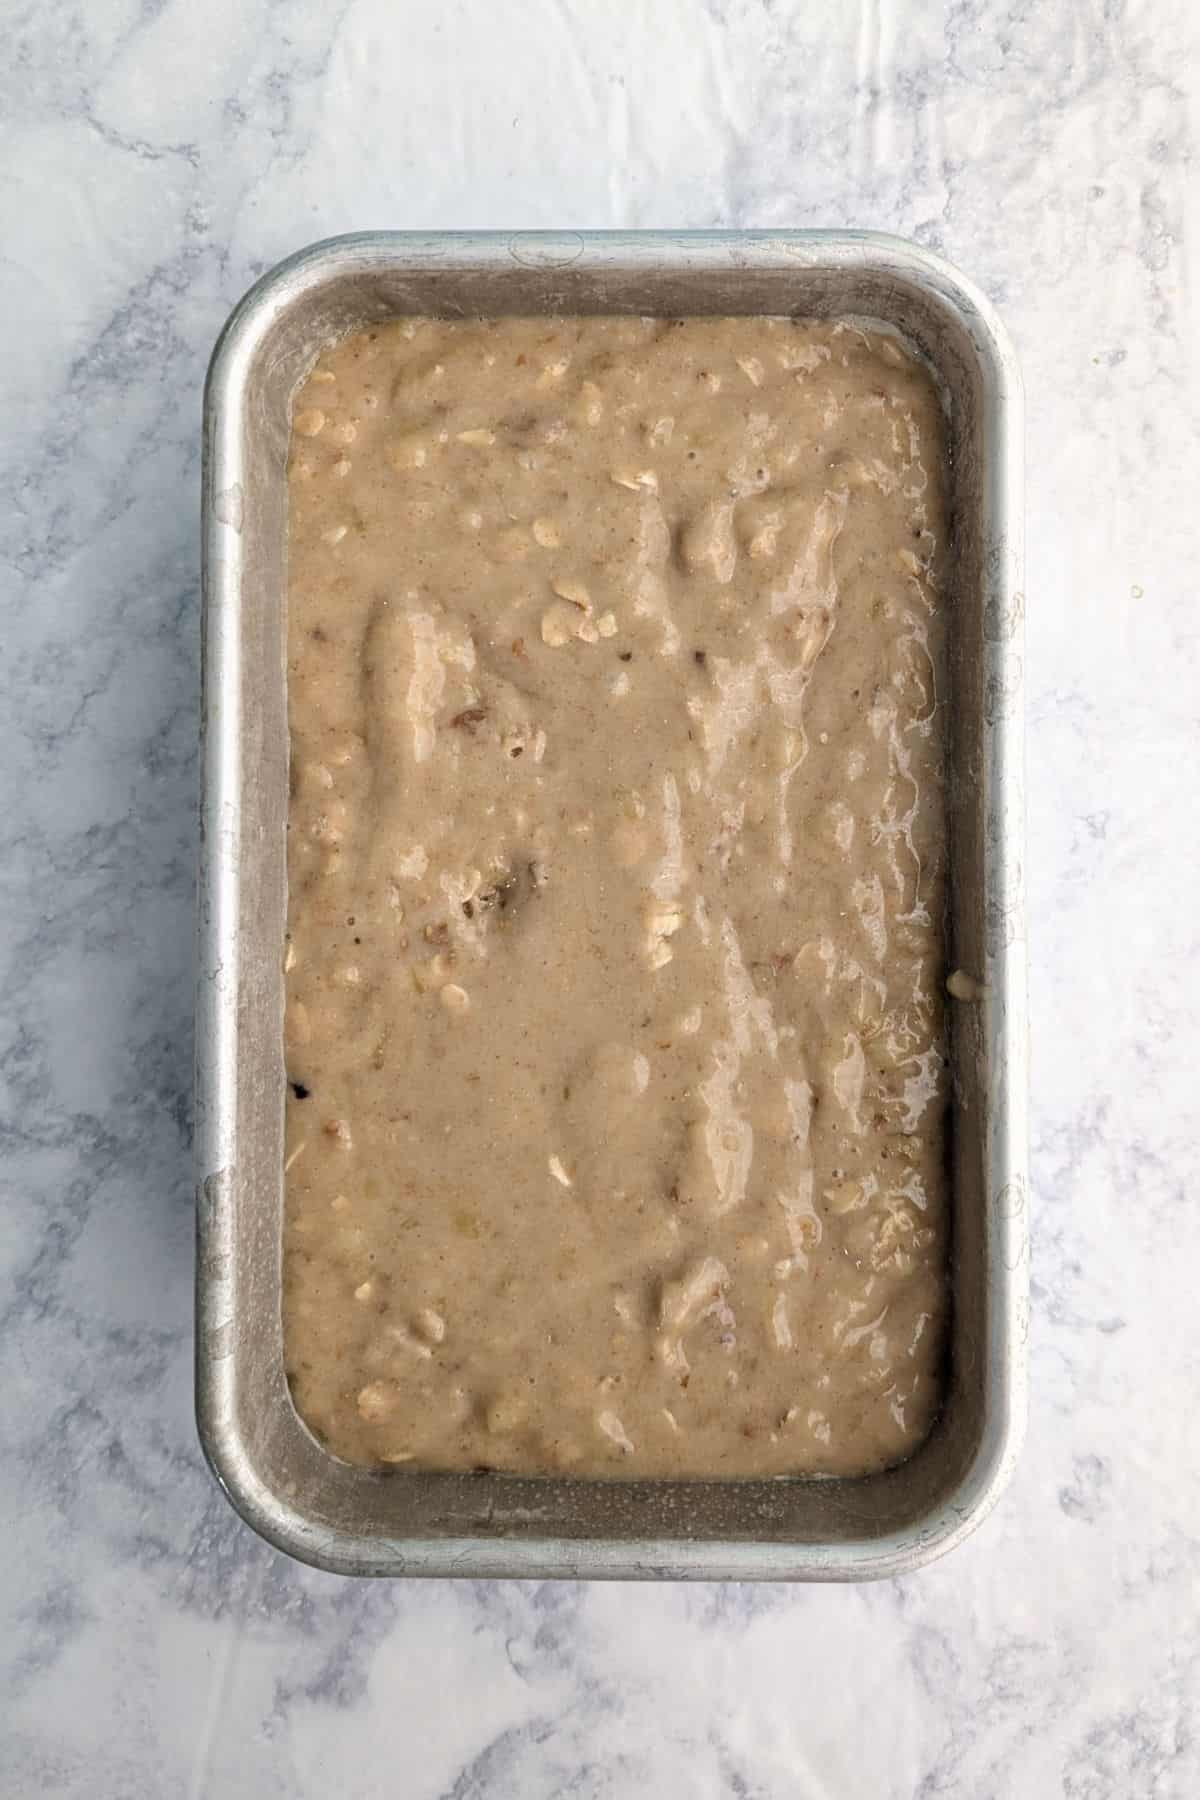
Four: Scrape the batter into the bottom-greased pan.
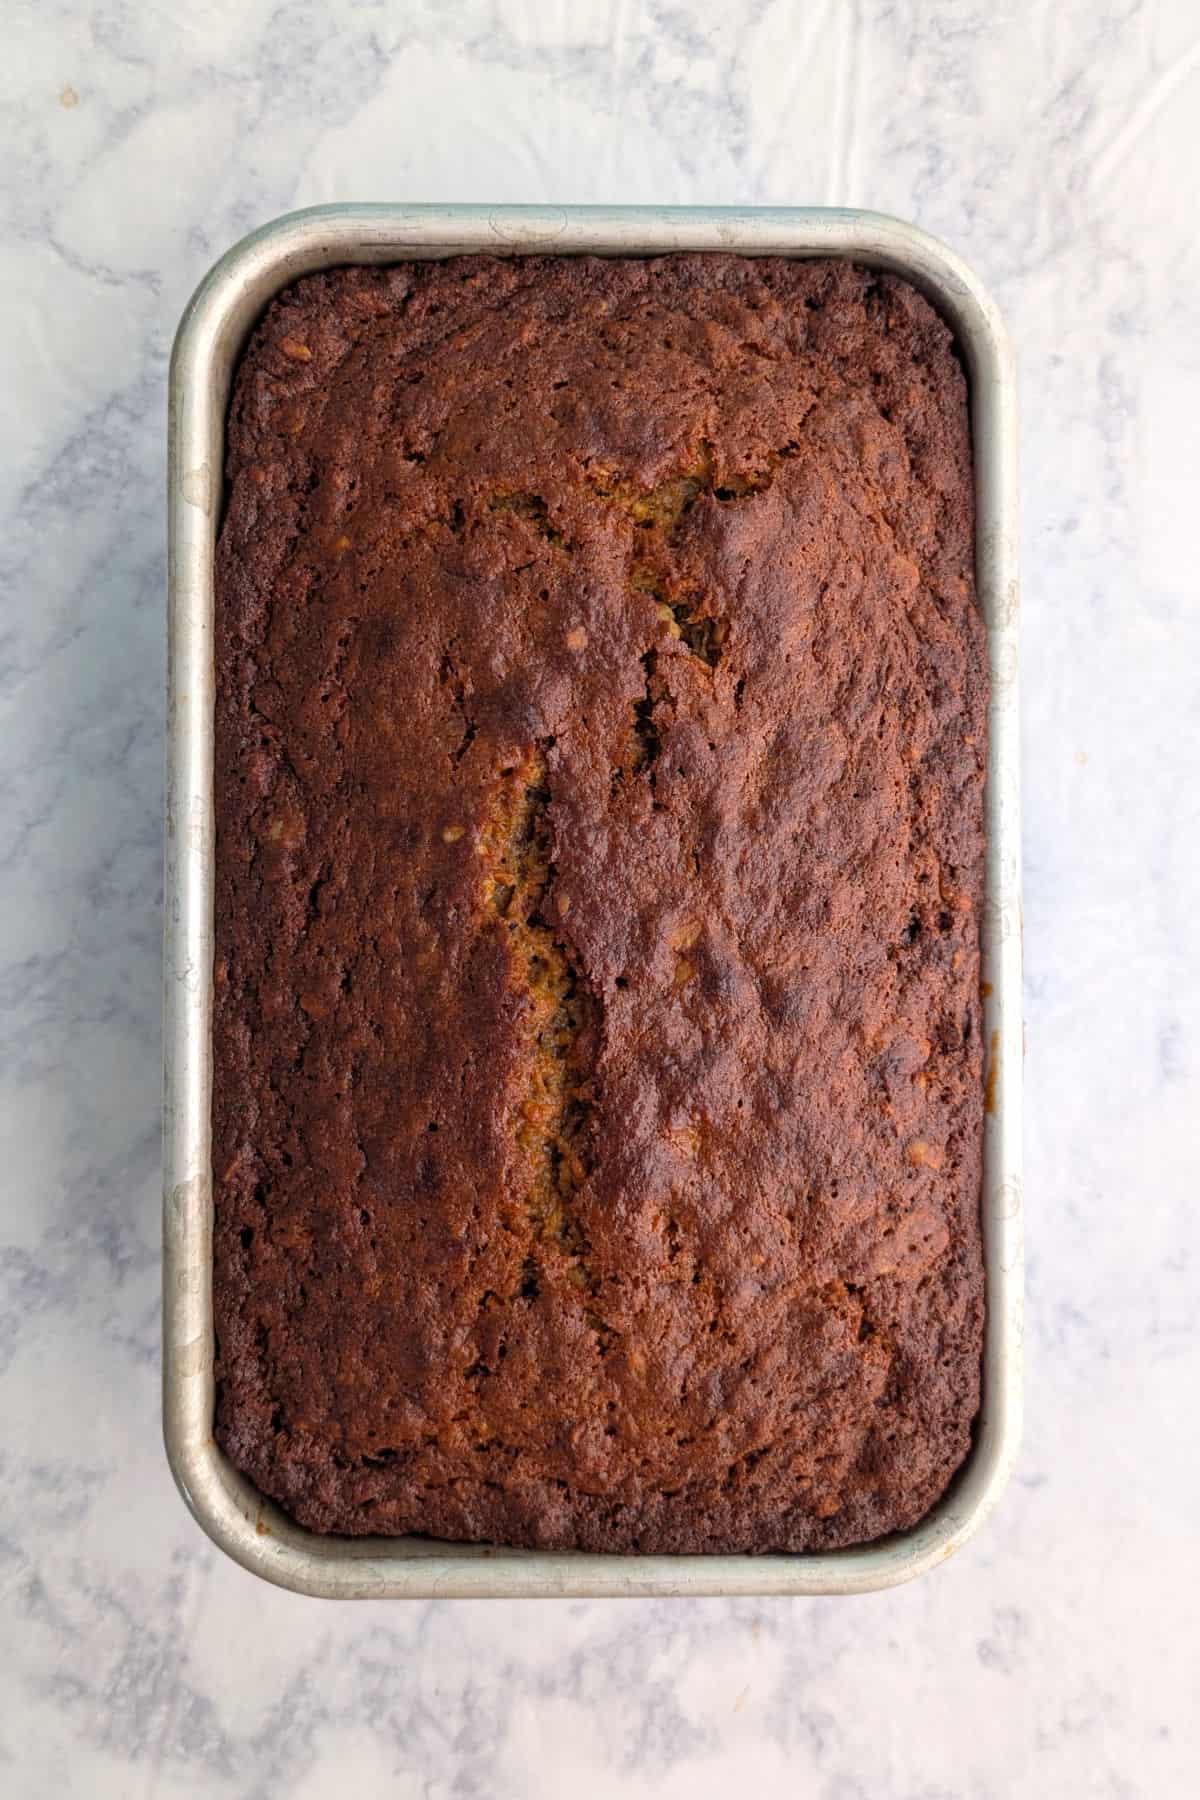
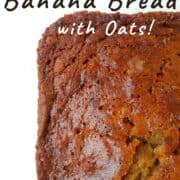
Five: Bake for around 75 minutes, until a toothpick inserted into the center comes out clean. If the top is browning faster than you'd like, cover it with aluminum foil - mine got darker than I'd like, so don't hesitate to cover it early.
Pro tip
Be careful not to jiggle or bump the pan if you rotate it halfway through the bake time. This can make the middle of the loaf dense and gummy.
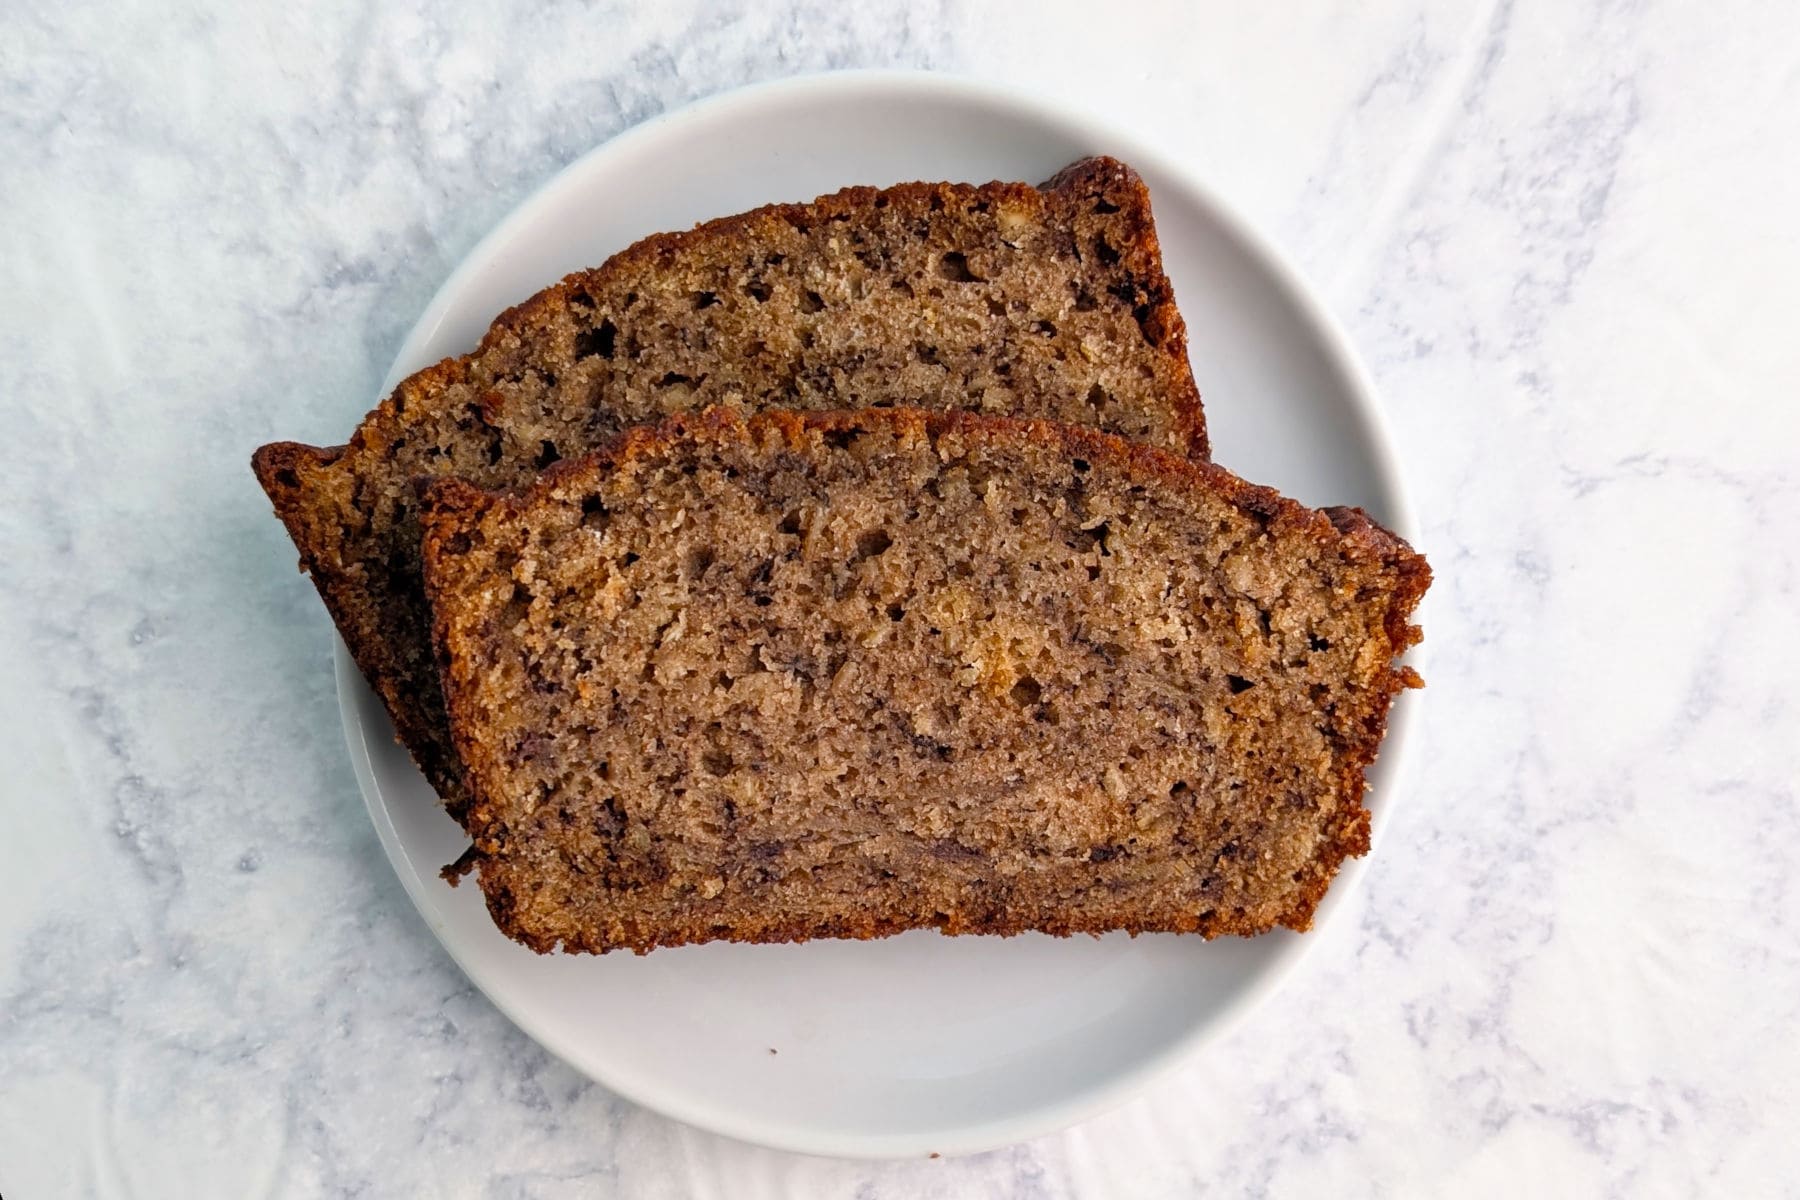
Let the bread rest in the pan for 10 minutes, then turn it out onto a wire rack to cool the rest of the way to prevent sogginess.
Serving and Storage
Cool for at least two hours before slicing. If it's late and you don't want to cut it, place the completely cooled bread back in the loaf pan and cover it with a clean, folded kitchen towel.
Serving: It's lightly sweet, so we eat it for breakfast and snacks. I eat mine plain; my husband and daughter eat theirs with peanut butter, hazelnut spread, or my No-Sugar-Added Slow Cooker Apple Butter if we have it on hand. If you love that banana and peanut butter combination, my Banana Cupcakes with Peanut Butter Frosting are worth a look.
Storage: Slices stay moist for days in an airtight container at room temperature. The top crust softens and loses its delightful crunch, but it's still delicious otherwise.
Classic Banana Bread with Oats FAQs
First, avoid overmixing; batter should just come together, and the baking soda will lift the bread. Second, use a kitchen scale. It measures more accurately than cups, which keeps you from adding too much flour and oats, or too little banana. Third, don't jostle the pan as the loaf bakes; this can make the bread dense and gummy.
Three bananas usually weigh 19oz or 545g before peeling, around 12oz or 360g after peeling, and 1 ½ cups once mashed for a full batch. You can still make banana bread even if you have only one banana - just mash your banana, fill a measuring cup, and top off with yogurt if you fall short. It's easy to make a half batch; see the muffin FAQ or loaf pan FAQ for guidance.
If you only have one banana and you don't want a half batch, my Yeasted Banana Sandwich Bread takes just one.
I often use frozen bananas to make this banana bread. Remove them to thaw at least an hour in advance. Still-frozen bananas don't mash well and will affect the baking time. Bananas release liquid as they thaw - just mix it in the batter.
Refrigerate overripe bananas to keep them from ripening further; the peel turns brown, which is fine. Peel them before freezing - frozen peel is tough! Place side-by-side in a freezer bag; don't let them touch, or they'll freeze into a solid block. Squeeze out air before placing in the freezer.
Yes! For banana bread muffins, grease muffin tins or use paper liners, fill ⅔ full, and bake at 350F for 15-18 minutes in the middle of the oven; they'll brown too much on the lower rack. You'll get around 24 muffins, depending on the size of your cups.
The best pan will be light metal - avoid nonstick, dark, or glass pans. This classic banana bread with oats bakes in a 9x5-inch loaf pan, but you can also bake it in two 8 ½ x 4 ½-inch loaf pans for around 60 minutes. For dark metal or glass pans, reduce the temperature to 325F and start checking for doneness at 15 minutes before the suggested bake time.
This banana bread recipe already includes whole wheat, making it 60% whole grain. While I haven't tested it with this recipe, I make a 100% whole wheat zucchini bread, another sweet quick bread, which gives me confidence that it will work here too.
Other Simple Baking to Try
Here are some of my other easy baking recipes - no mixer required.


I hope this becomes a recipe you'll return to. If you try it, a star rating below helps others find it - and I'd love to hear how yours turns out in the comments! 💕 Questions or trouble? Drop a note, and I'll do my best to help.
📖 Recipe

Classic Banana Bread with Oats
Equipment
- 9x5-inch loaf pan, preferably light-colored
- Potato masher (affiliate link)
- wire whisk (affiliate link)
Ingredients
- 1 ½ cups bananas (mashed; 360 grams or 3 bananas, but see notes)
- 1 ¼ cups sugar (250 grams)
- ½ cup vegetable oil (112 grams)
- 2 eggs
- ½ cup yogurt (113 grams; may use buttermilk)
- 1 teaspoon vanilla (5 grams)
- 1 cup all-purpose flour (120 grams)
- 1 cup whole wheat flour (120 grams)
- ½ cup rolled oats (40 grams)
- 1 teaspoon baking soda
- 1 teaspoon table salt
- 1 cup walnuts (optional; 120 grams, chopped)
Instructions
- Lower your baking rack to the bottom position in the oven (if using a 9x5-inch loaf pan). Preheat oven to 350℉. Grease the bottom only of your loaf pan.
- In a large mixing bowl, mash your bananas using a potato masher (affiliate link) (preferred) or a fork, until relatively smooth.
- Add sugar, oil, eggs, yogurt, and vanilla. Use a whisk to mix until thoroughly combined, although you may still have lumps of banana if it wasn't completely mashed.
- Use a rubber spatula to fold in the flour, oats, baking soda, and salt. Mix until just combined; be sure there are no clumps of dry flour, but don't overmix. Your batter won't be smooth. Stir in nuts, if using.
- Pour batter into the prepared pan. Bake on the bottom oven rack at 350℉ for about 75 minutes, until a toothpick inserted into the center comes out clean. If the top is getting too dark, cover it with aluminum foil while it finishes baking.
- Let the bread cool for 10 minutes in the pan, then turn the bread out onto a wire cooling rack to let it release remaining steam (or else your bread will be soggy).
- Cool at least 2 hours before cutting with a serrated bread knife (affiliate link).
- Store in an airtight container at room temperature for up to 5 days.
Banana Bread Muffins
- Divide batter into 24 greased muffin cups, filling about ⅔ full. Bake at 350F for 15-18 minutes, checking at 15, until a toothpick inserted into the center comes out clean. Cool for about 5 minutes before removing to a wire rack; leaving them in the muffin tin will cause the bottoms to become soggy.


josephine says
I’m 11 years old and the bread was so easy and fun to make and it was delicious.
Leona Konkel says
I'm so glad to hear that. Thank you for making my recipe and rating it!
Leona Konkel says
This recipe is still a keeper. I've clarified a few things as of June 2025. I hope you find it as easy to make, and just as satisfying, as we do!