
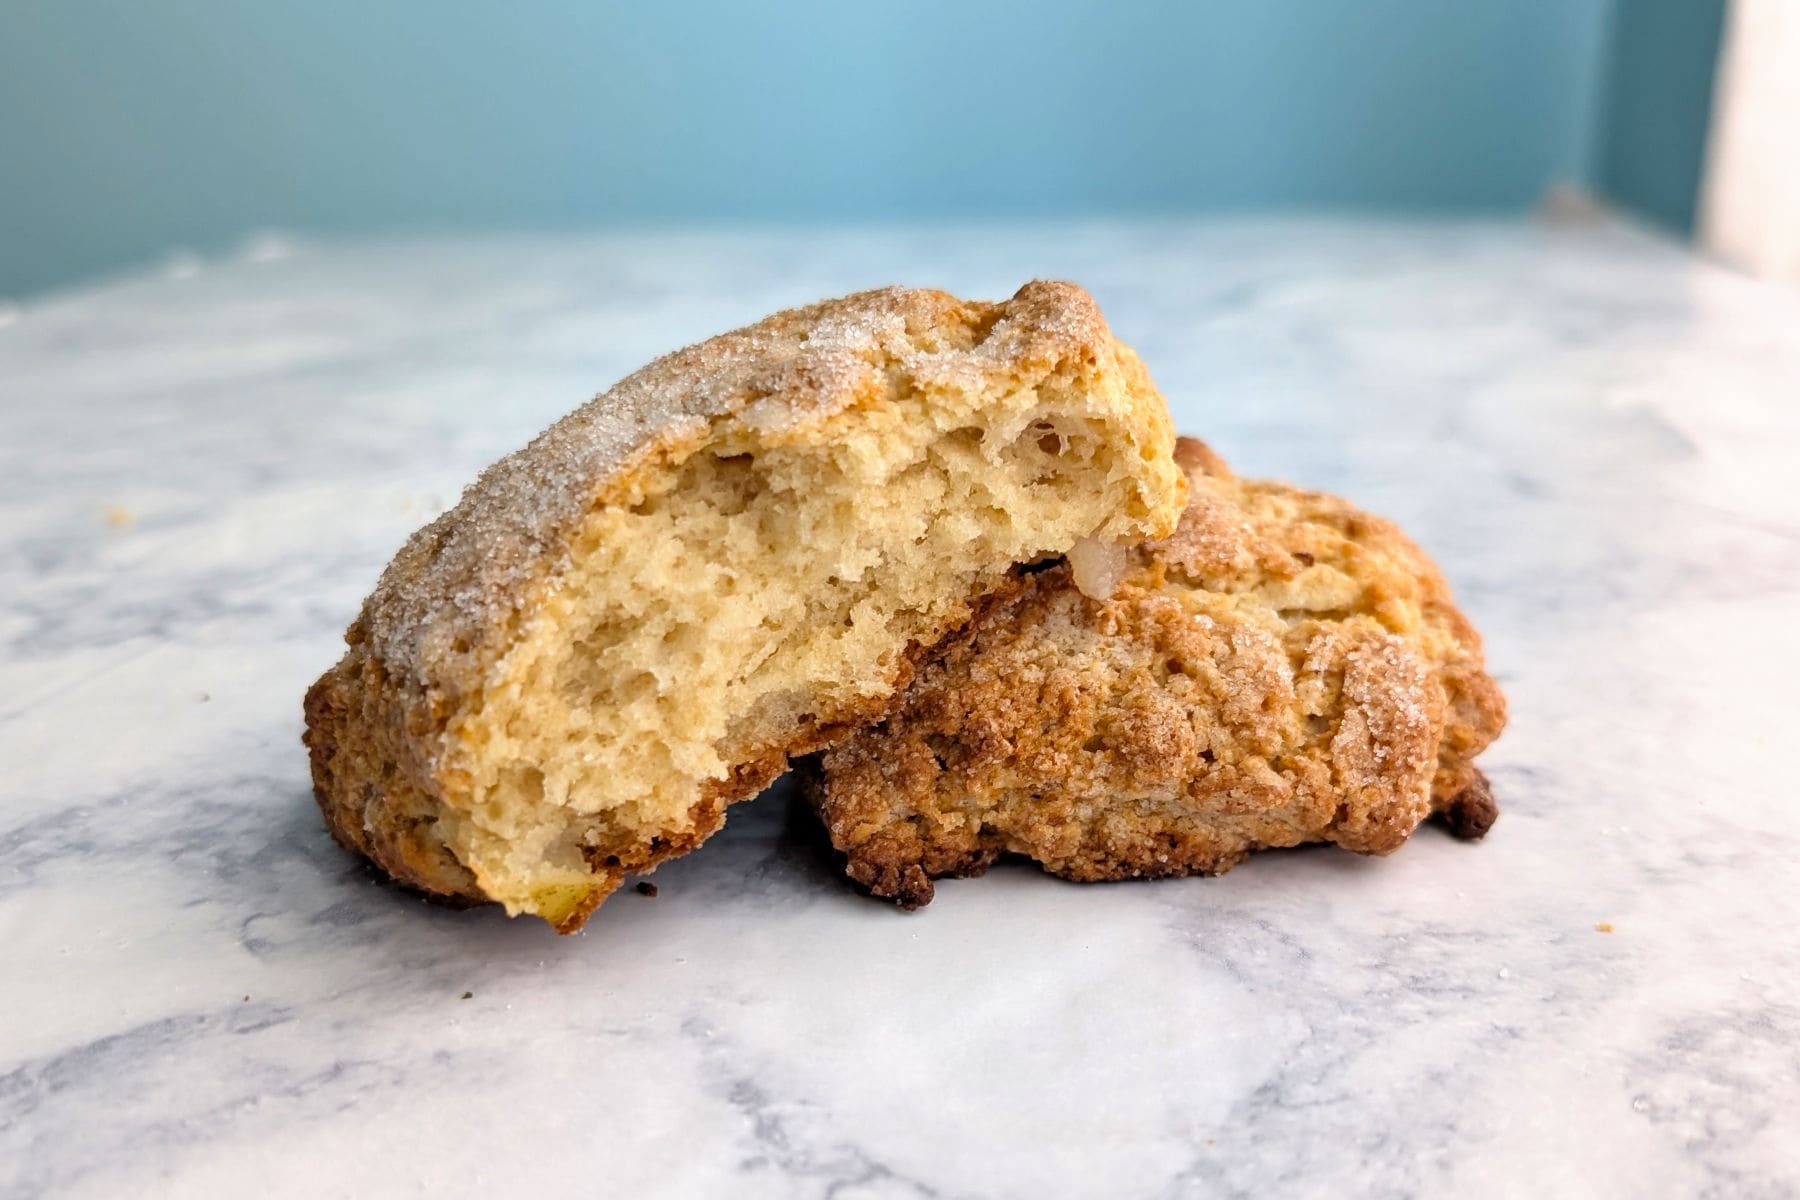
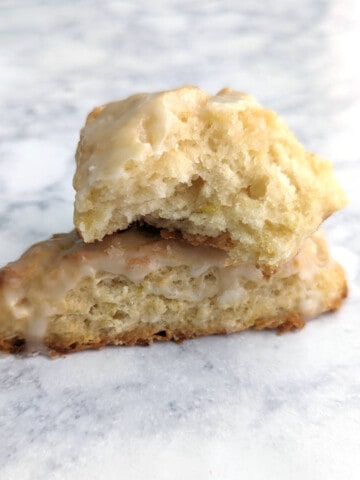
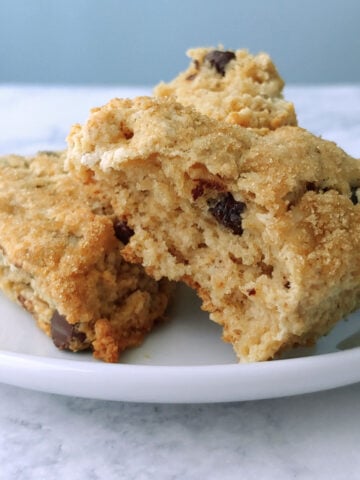
My Apple and Pear Scones are sweet, with a crisp outside but a tender inside. Flavored lightly with brown sugar, they're a great place to tuck away autumn apples and pears!
These scones are a nice change of pace - an apple-pear baked good that doesn't have cinnamon. Alex noted that they're great when you want apple, but not dessert. That definitely makes them breakfast!
Like most scones, they're best freshly baked. Luckily, you can also make them ahead of time! Although they're sweet, they're not overly so, which means you don't feel guilty eating them with your morning tea or coffee.
I first made this recipe in 2012 when I had a pear, an apple, and some buttermilk to use up. I'm not big on fruit in desserts, but it goes wonderfully in scones!
[This post contains affiliate links. I may make a commission for purchases made through links on this post. As an Amazon Associate, I earn from qualifying purchases.]
Jump to:
Ingredients
Scones (at least here in the US) are made very much like biscuits, but are usually a bit sweeter. This recipe takes usual baking ingredients, plus fruity additions:
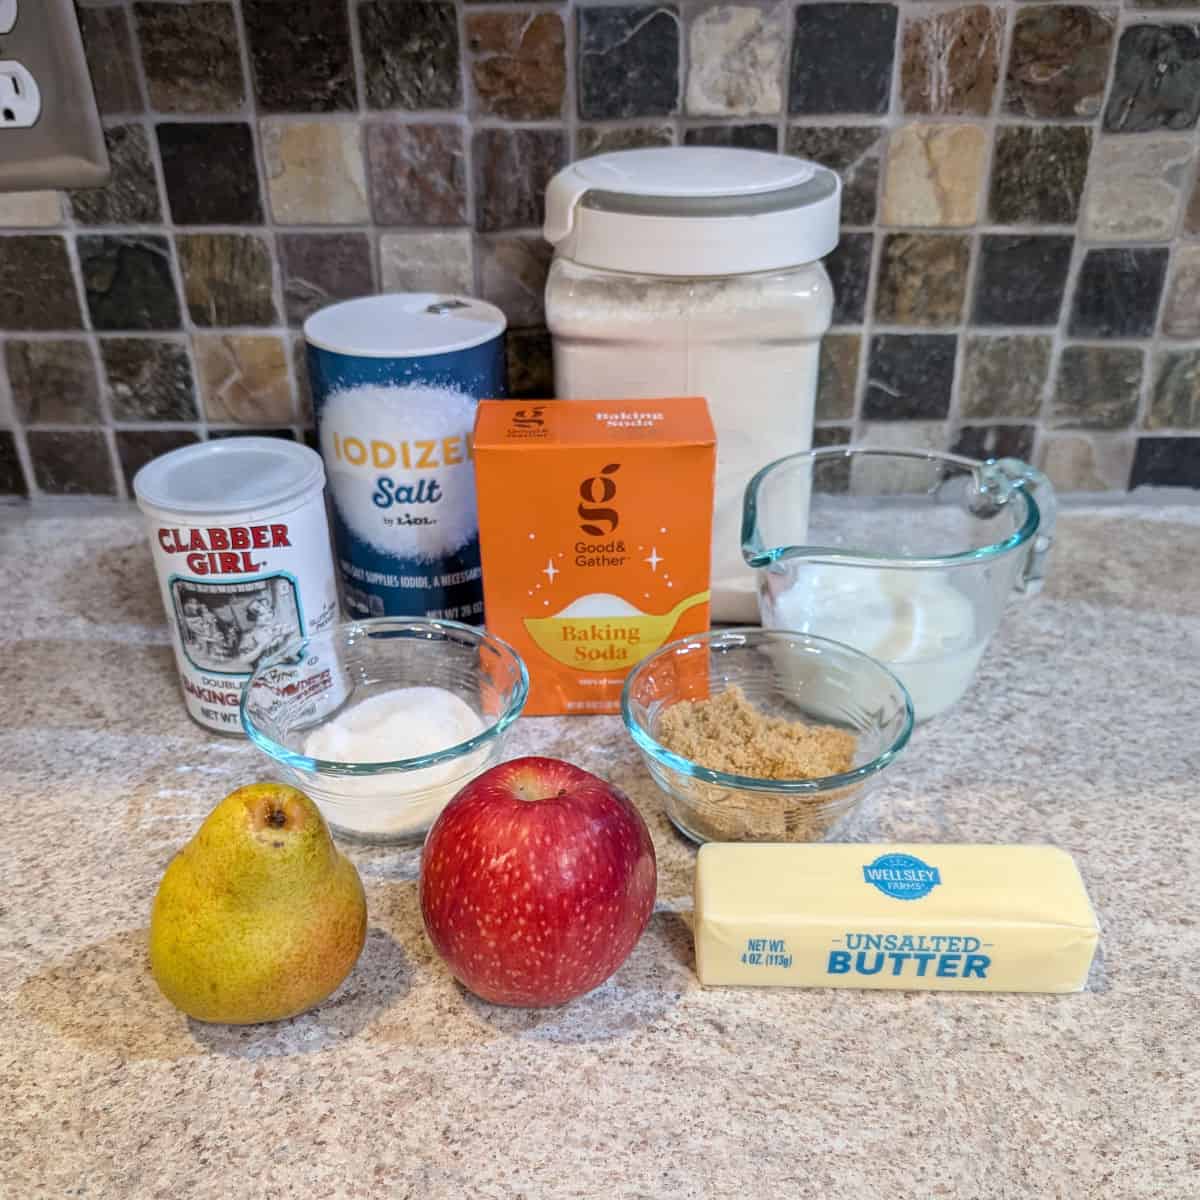
- Flour
- Brown sugar and granulated sugar
- Baking powder, baking soda, and salt
- Butter
- Apple
- Pear
- Buttermilk or sour milk
We include brown sugar along with the granulated sugar for a little extra flavor.
Baking soda is included with the baking powder to react with the acid in the brown sugar and the buttermilk.
Use cold butter when you make scones. Cube it and cut it into small pieces before you add it to the scones, because this will make it much easier to work in.
Apple and pear are your mix-ins for the scones. I prefer them diced very small so they are distributed throughout the dough evenly. I often cut mine into chunks, and then slice them so they're thin. I don't peel mine unless the skins are tough; you may prefer to peel your fruit.
Last time I made these, I used a Pink Lady apple and a perfectly ripe Bartlett pear. Be sure your fruit is flavorful. I used to prefer firm fruit in these, but I really like how the Bartlett in particular melded into the scones. (PS: This would be a great place to use up an extra pear that you have around after making my Fennel Roasted Pork with Potatoes and Pears!)
Instructions and Equipment
I adapted this recipe from a website called Group Recipes, but I deleted the link at some point; it must have become spammy. In any case, here's how I make Apple and Pear Scones.
Don't pull your butter from the refrigerator before you need it, as the scones bake their best when the butter is cold. Cut it into very small pieces, because cutting butter into flour, even with a pastry cutter (affiliate link), is a big workout for your wrist.
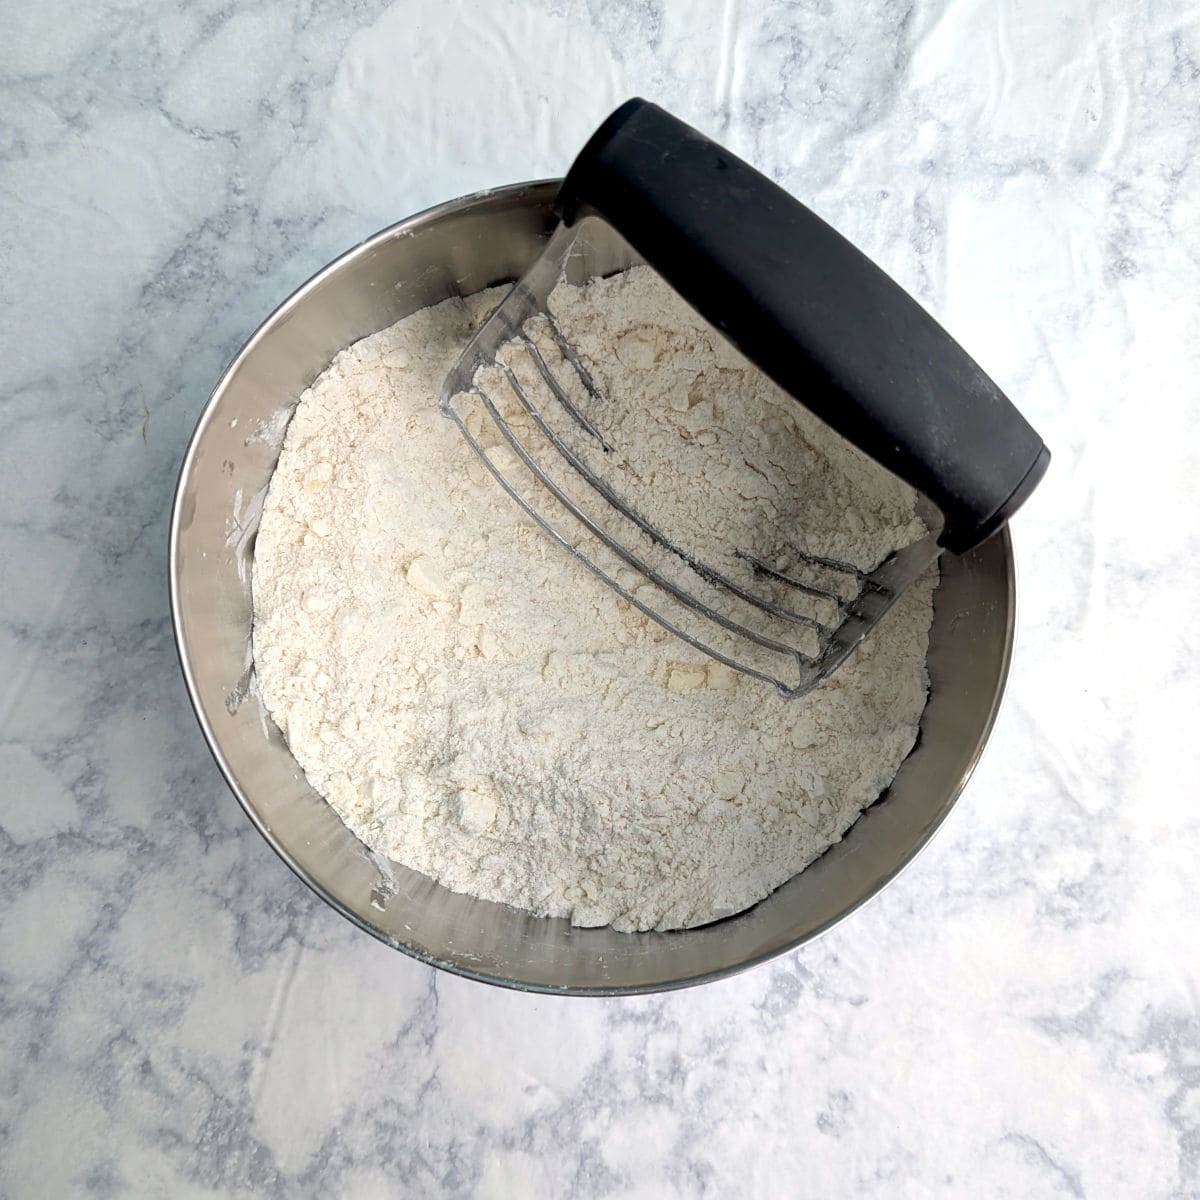
- Mix together all the dry ingredients in a large bowl. Pull the butter from the refrigerator, cut it into small pieces, and then use a pastry cutter (affiliate link) or two knives to work it into the flour. The mixture should resemble crumbs.

- Dice the apple and the pear right before you add them to the flour; they will begin to brown when exposed to air. Use a fork to toss the fruit in the flour, breaking it up so the pieces don't stick together.
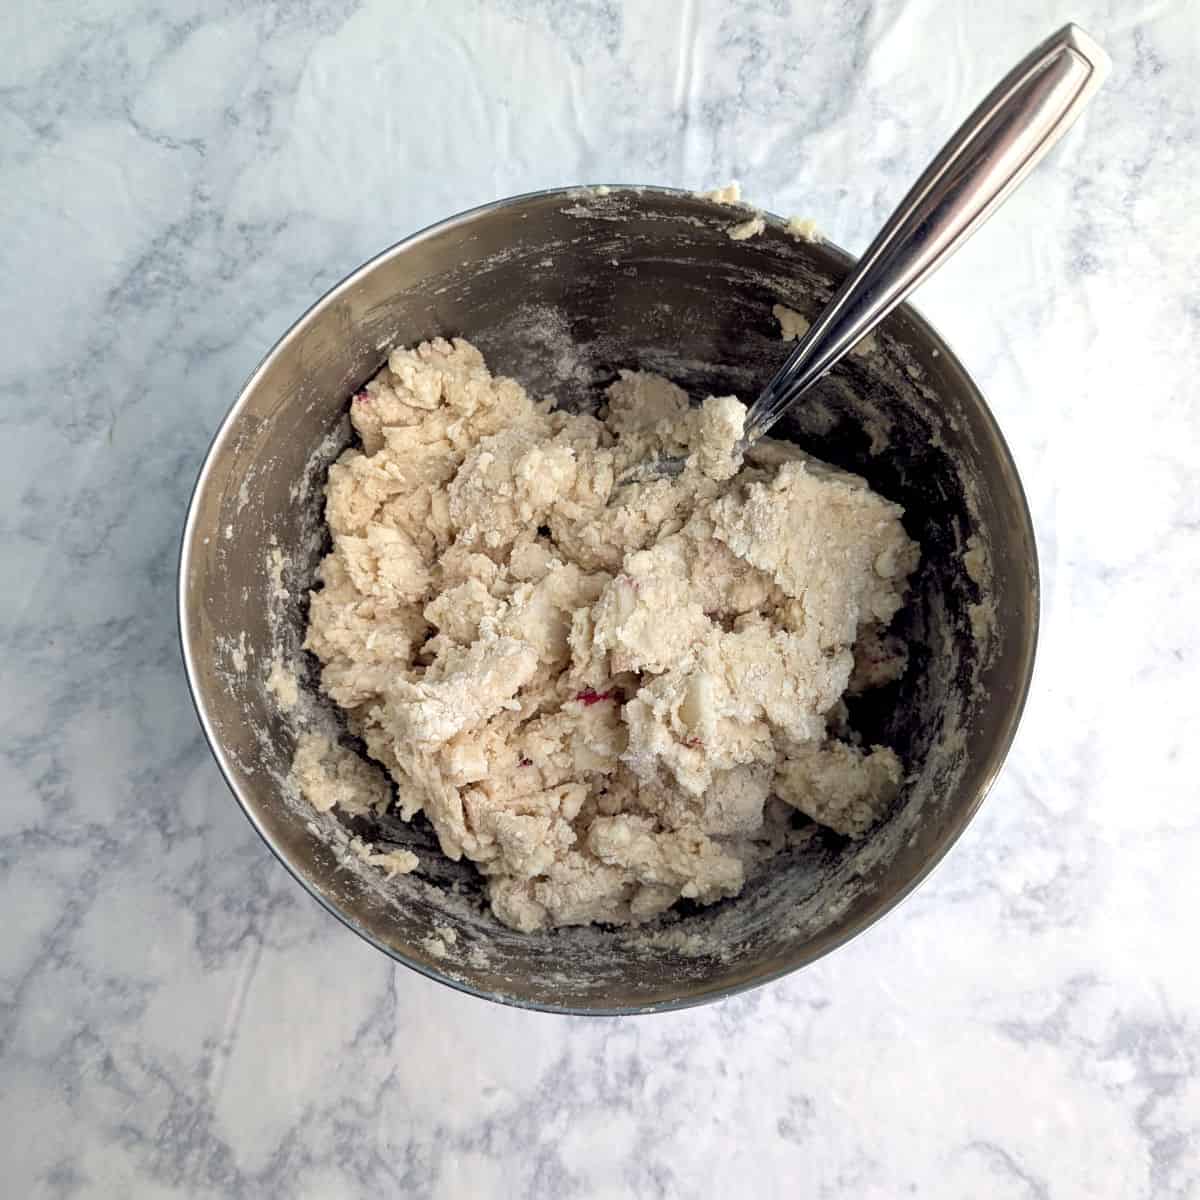
- Use a fork to stir in the buttermilk, mixing until just combined. I stir by pushing the dough from one side to grab the flour, rather than stirring in a circle. Don't overmix.
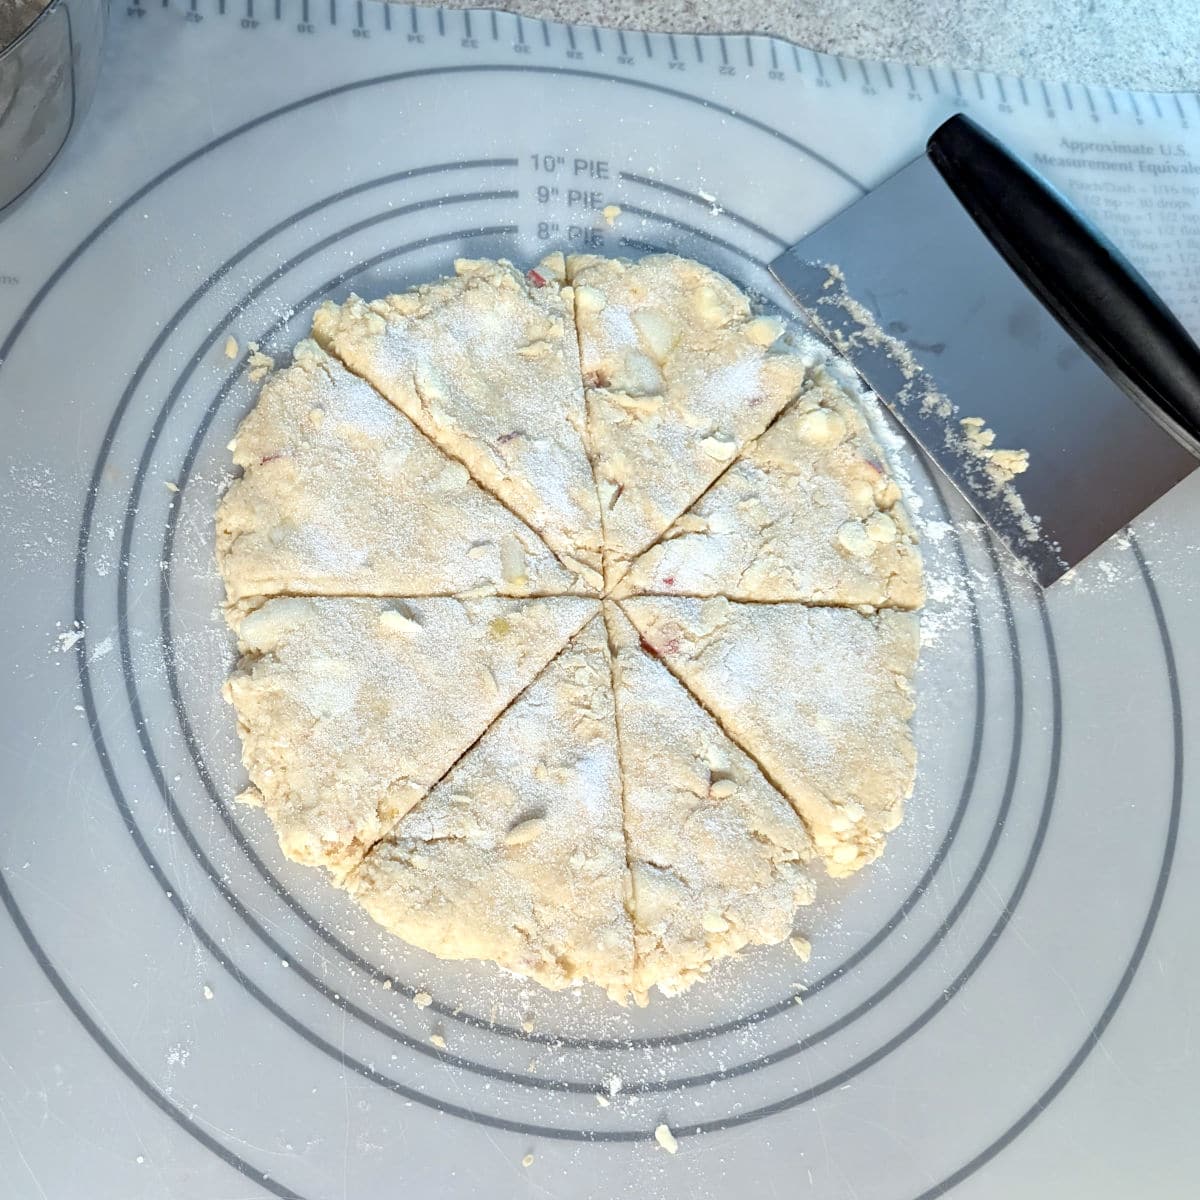
- Gather the dough into a ball and transfer to a floured surface. Pat into a 9-inch round that's about 1 inch tall. Sprinkle with sugar, then cut into 8 wedges. (My bench scraper (affiliate link) works well for cutting evenly, as well as transferring the scones to the baking sheet.)
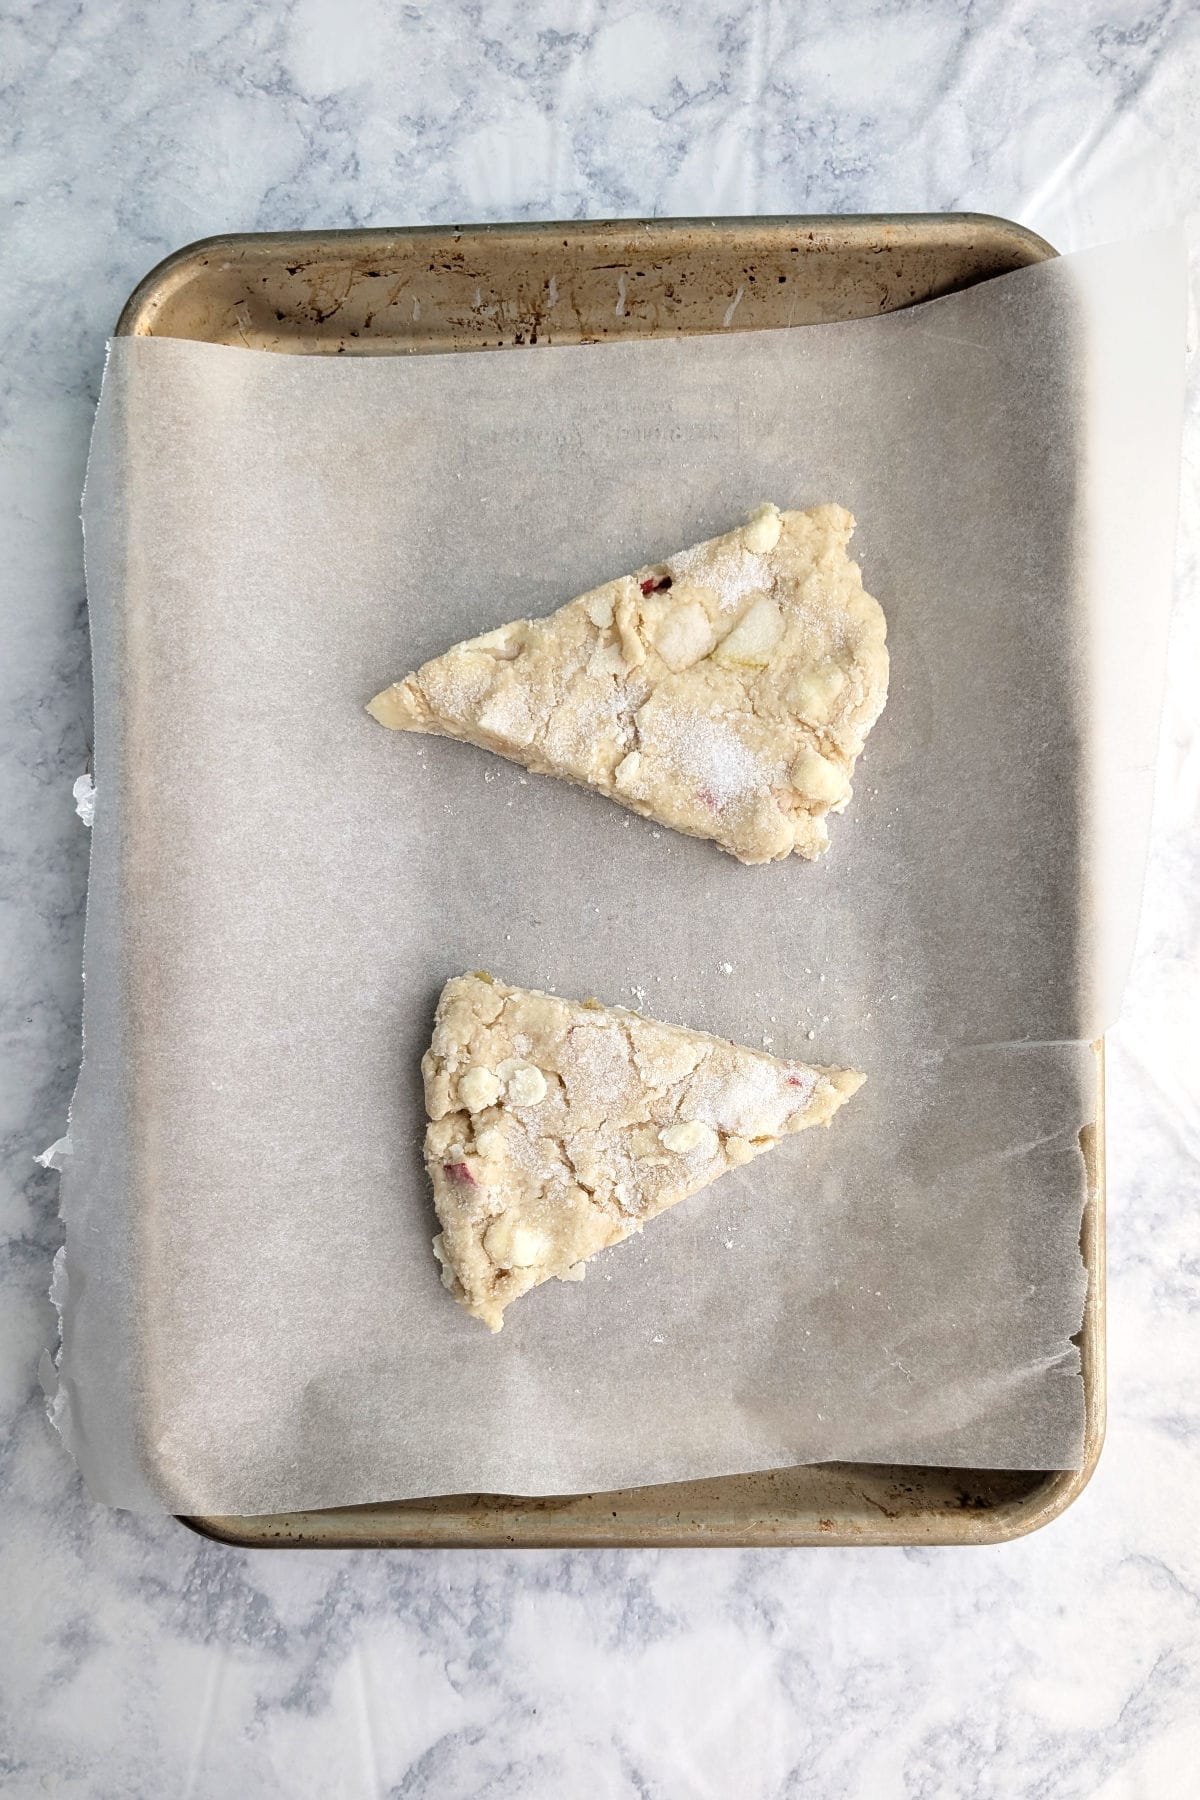
- Separate the scones and place on a parchment- or Silpat-lined baking sheet.
Optionally, chill in the refrigerator for 15 minutes before baking.

- Bake at 375F for 20-25 minutes, until the scones are golden and a toothpick inserted into one comes out clean.
Cool for a few minutes before removing from the baking sheet.
Hint: Chilling the scone dough allows the butter to firm up, which means that it melts more slowly and the scones rise higher. Chilling the scones before baking is optional, but recommended if you have the time.
Serving and Storage
Scones are best eaten fresh, while warm.
Once cooled, you can store leftovers in an airtight container at room temperature. Place on a plate and reheat briefly for 5-10 seconds in the microwave.
Make-Ahead
Like most scones, you can make the dough ahead of time. Make and shape the scones, then transfer to a lined baking sheet or plate. Freeze until firm, then remove from the liner and store in a freezer-safe zipper bag.
Bake without thawing, adding 2 minutes to the baking time. Pieces of scone dough that touch the fruit may be softer; however, this wasn't as big an issue as when I made Peach Cobbler Scones.
Top Tip
Don't overmix scone dough! Mixing activates the gluten in the flour, which will make the scones tough. Once you add the buttermilk, handle the dough as little as possible.
Recipe FAQ
Scones and biscuits are very similar. You make them the same way - combine flour with baking powder and other leavenings, cut in butter into small pieces, add liquid, shape them, and bake them. In the United States, scones are usually sweet, while biscuits aren't.
I originally recommended firm apples like Cortland and firm pears like Bosc for Apple and Pear Scones. However, when I made them last I used a Pink Lady apple (which we enjoy eating out of hand) and a perfectly ripe Bartlett pear. I liked the way the pear in particular melded into the scone. Whatever variety you choose, be sure it's flavorful, and cut it into very small pieces.
I almost never use actual buttermilk; instead, I make sour milk. To make the ⅔ cup of sour milk needed for this recipe, use 2 teaspoons of lemon juice or white distilled vinegar (10 grams) and combine with enough milk (140 grams) to equal ⅔ cup (150 grams). Do this when you start baking so that the milk has time to thicken and curdle.
You can also use yogurt mixed with milk to substitute for buttermilk.
In any case, do not use regular milk. The buttermilk, sour milk, or yogurt mixture provides extra acidity that interacts with the baking soda to provide lift, while also providing extra flavor and keeping the scones more moist.
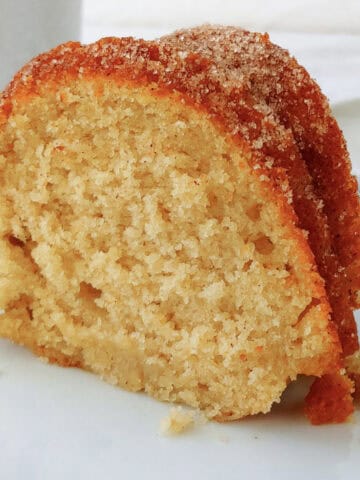
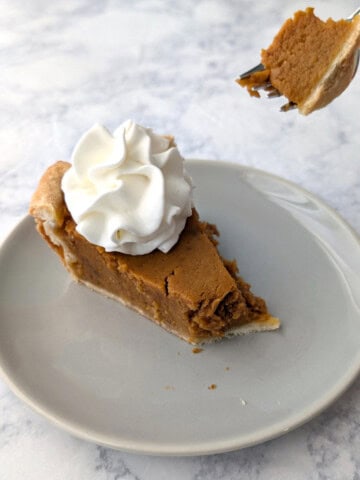
Other Fall Recipes
Here's some other delicious fall recipes!

Interested in other recipes? I save and share recipes I like or want to try on my Pinterest page - follow me there! You can also check out my Facebook page for more recipes and helpful tips. I'm also happy to try to help troubleshoot my recipes there.
Have you tried this recipe? Or have a question about it? Rate it or leave a comment below! (PS: rating my recipes helps other people find them, too!)
📖 Recipe

Apple and Pear Scones
Equipment
- pastry cutter (affiliate link)
- bench scraper (affiliate link)
- parchment paper
- baking sheet
Ingredients
- 2 ½ cups all-purpose flour (300 grams)
- ¼ cup granulated sugar (50 grams)
- ¼ cup lightly packed brown sugar (55 grams)
- 2 teaspoons baking powder
- ½ teaspoon baking soda
- ½ teaspoon table salt
- 8 tablespoons butter (cold and diced) (113 grams)
- ½ cup apple (60 grams, finely chopped, packed into the measuring cup)
- ½ cup pear (80 grams, finely chopped)
- ⅔ cup buttermilk or sour milk (150 grams)
Topping
- 1 tablespoon sugar
Instructions
- Mix together flour, ¼ cup sugar, brown sugar, baking powder, baking soda, and salt. Use a spoon to break up any clumps of brown sugar.
- Add cubes of cold butter, and using a pastry cutter (affiliate link) or two knives, cut in the butter until the mixture resembles crumbs.
- Dice your apple and pear immediately before adding to the flour, so that they don't discolor. Toss with the flour mixture, breaking up the fruit so it doesn't stick together.
- Use a fork to stir in buttermilk, mixing until dough is just combined.
- Turn dough out onto a lightly floured surface. Pat into a 9-inch round. Cut into 8 wedges, and sprinkle with 1 tablespoon sugar.
- Separate scones and place on a parchment- or Silpat-lined baking sheet, leaving room between the wedges because they will expand in the oven.
- Optionally, chill the scone dough for 15 minutes before baking, to allow the butter to firm back up so the scones rise higher.
- Bake in a 375F oven for about 20-25 minutes, until browned and a toothpick inserted into the center of a scone comes out clean.
Storage
- Serve immediately; scones are at their best when warm and fresh. Store leftovers in an airtight container at room temperature.
- Reheat leftover scones by transferring to a plate and microwaving for 5-10 seconds.
Make-Ahead
- You can make and shape the scones, then freeze them before baking. Transfer to a freezer-safe zipper bag.
- Bake, without thawing, at 375F for 22-27 minutes. Parts of the dough touching the fruit, however, may not bake fully.
Notes
Nutrition
[Originally written September 24, 2012, and updated with photos in October 2018. Completely redone September 11, 2025.]


Leona Konkel says
These scones let the flavors of apples and pears shine through, without extra spices to distract you. I hope you find my walkthrough useful, and that you love the results! Let me know how they turn out when you try them!